
Formatting vertical comics for mobile scrolling
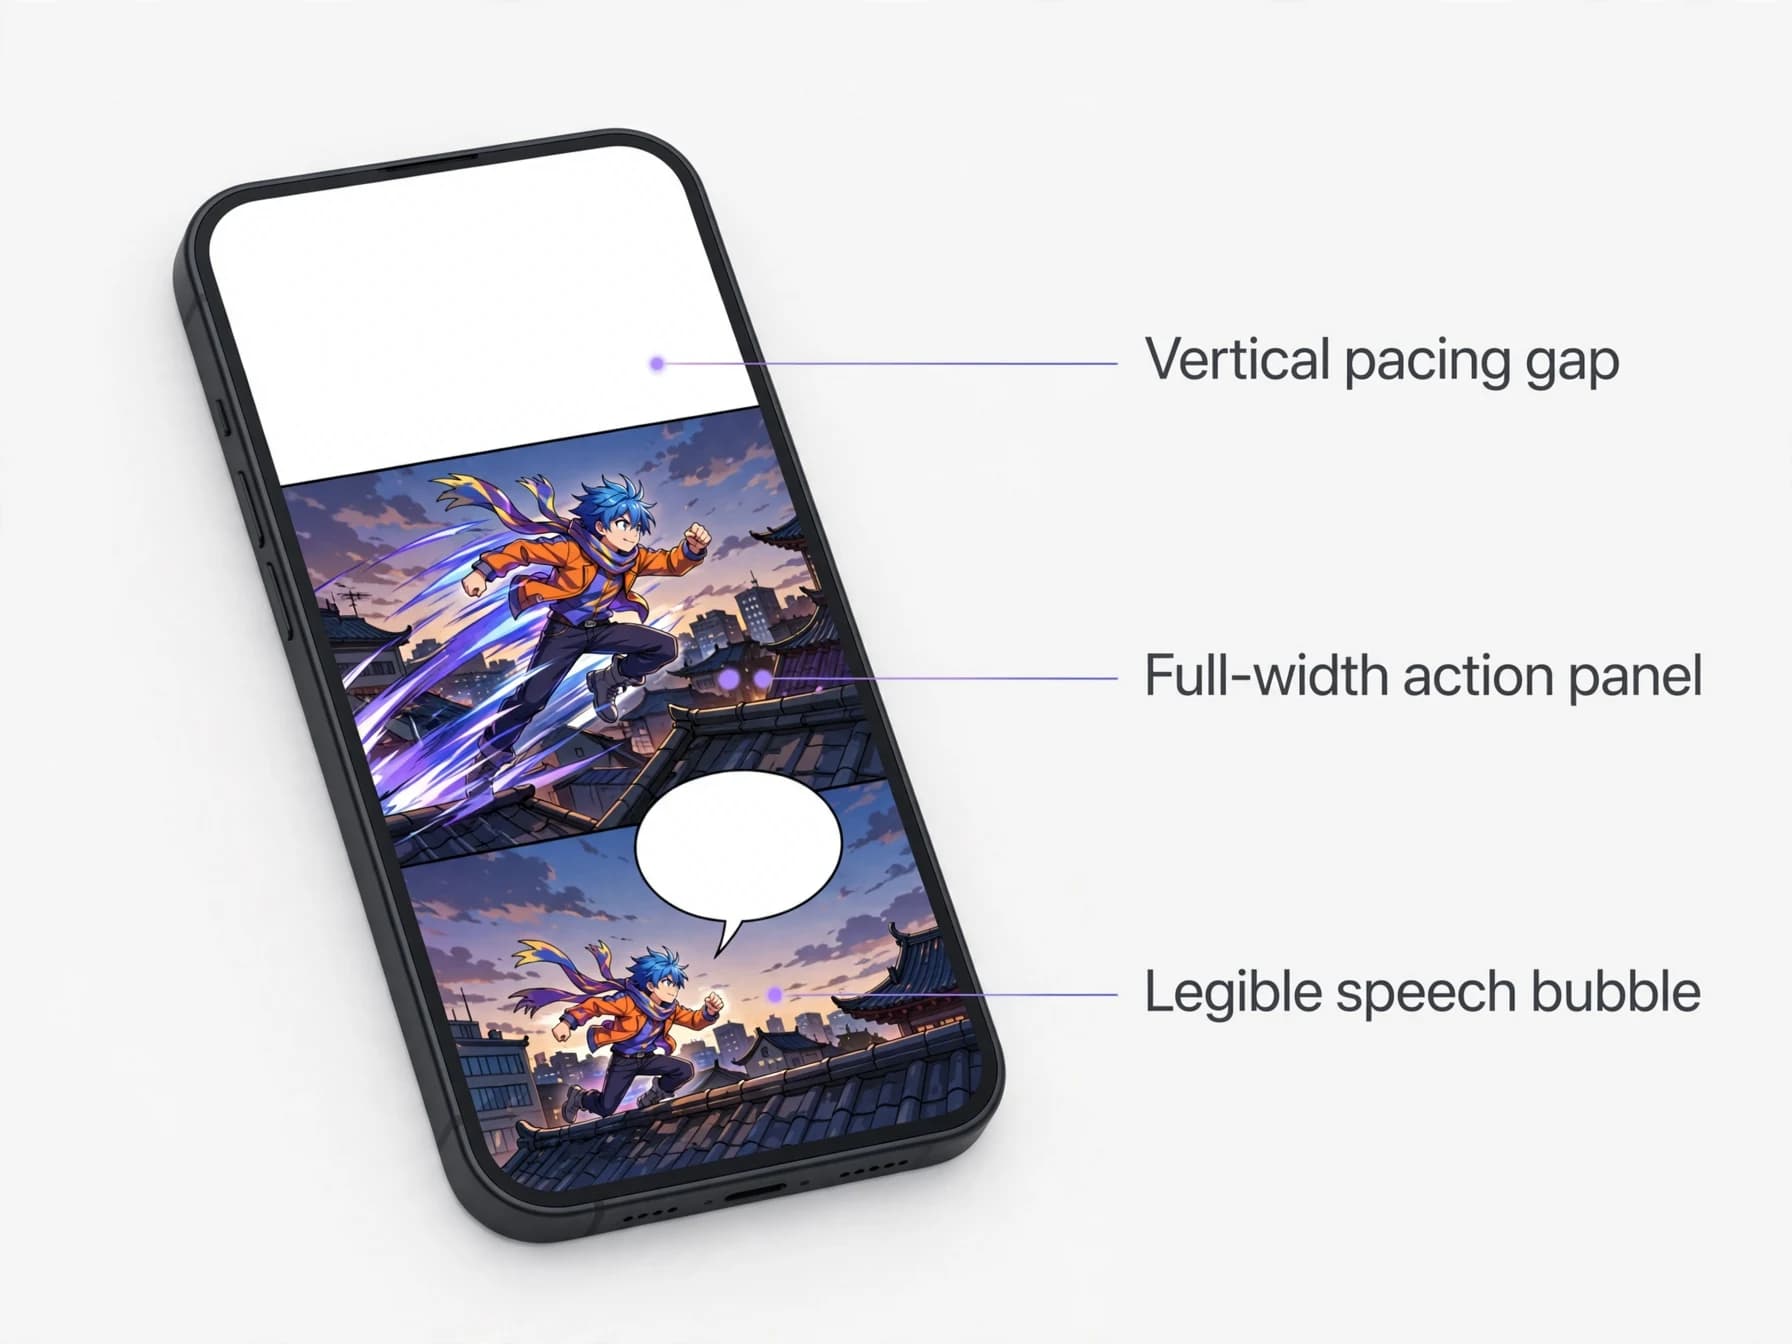
Making a webtoon begins with understanding the mobile reading screen. Unlike traditional print comics that read left to right, digital webtoons unfold downward through an unbroken vertical column. Every transition relies on intentional scroll spacing to control dramatic pacing and narrative rhythm.
Standard mobile episodes usually measure 800 pixels wide, with heights split into sliced files of 1280 pixels. This fixed width ensures your art renders sharply on handheld devices without unexpected cropping. Planning panels around a vertical flow allows you to place breathing room between key dialogue balloons.
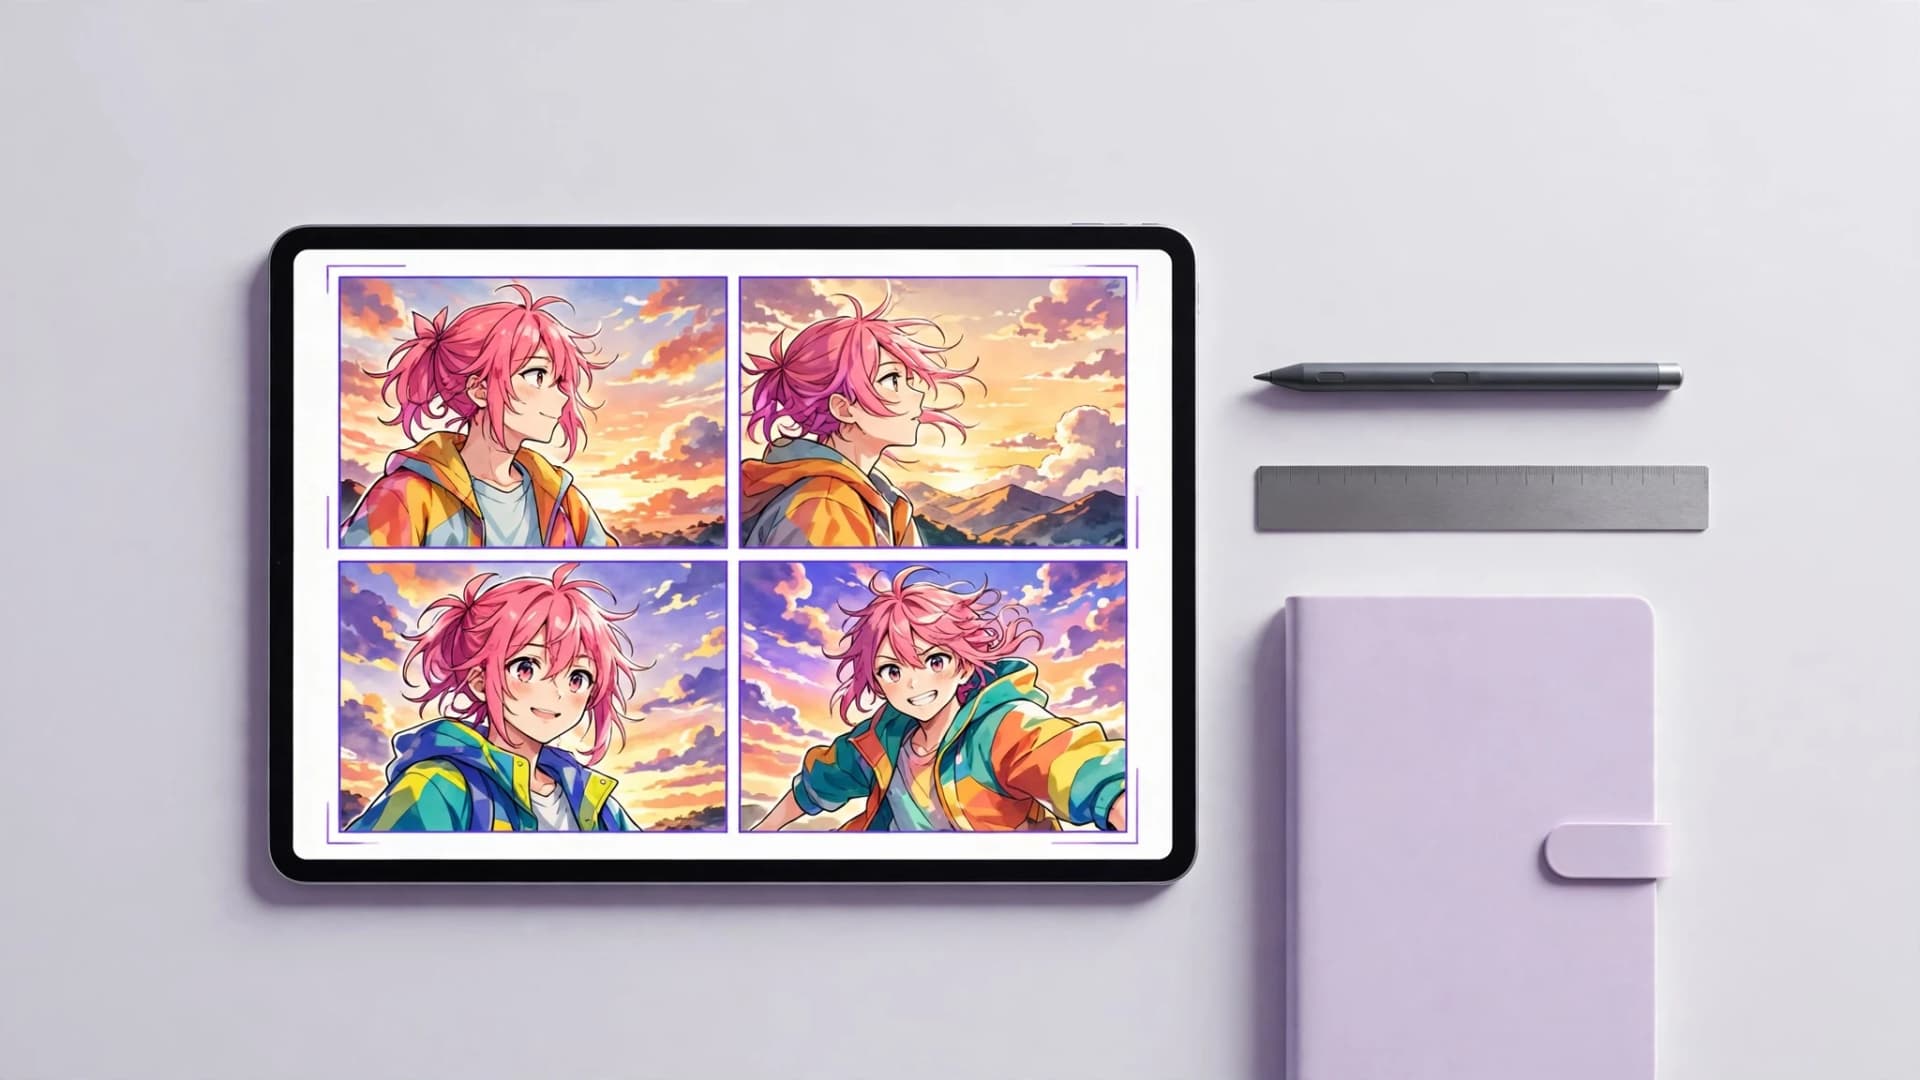
When crafting your series, treat empty negative space as an active storytelling tool. Wide white or black gutters build suspense before a major revelation, while tightly clustered panels speed up dynamic action scenes. If you want to draft early panel concepts, trying an ai webtoon generator helps you visualize your pacing on a digital screen before final production.
How to make a webtoon story: episode outlines and scripts
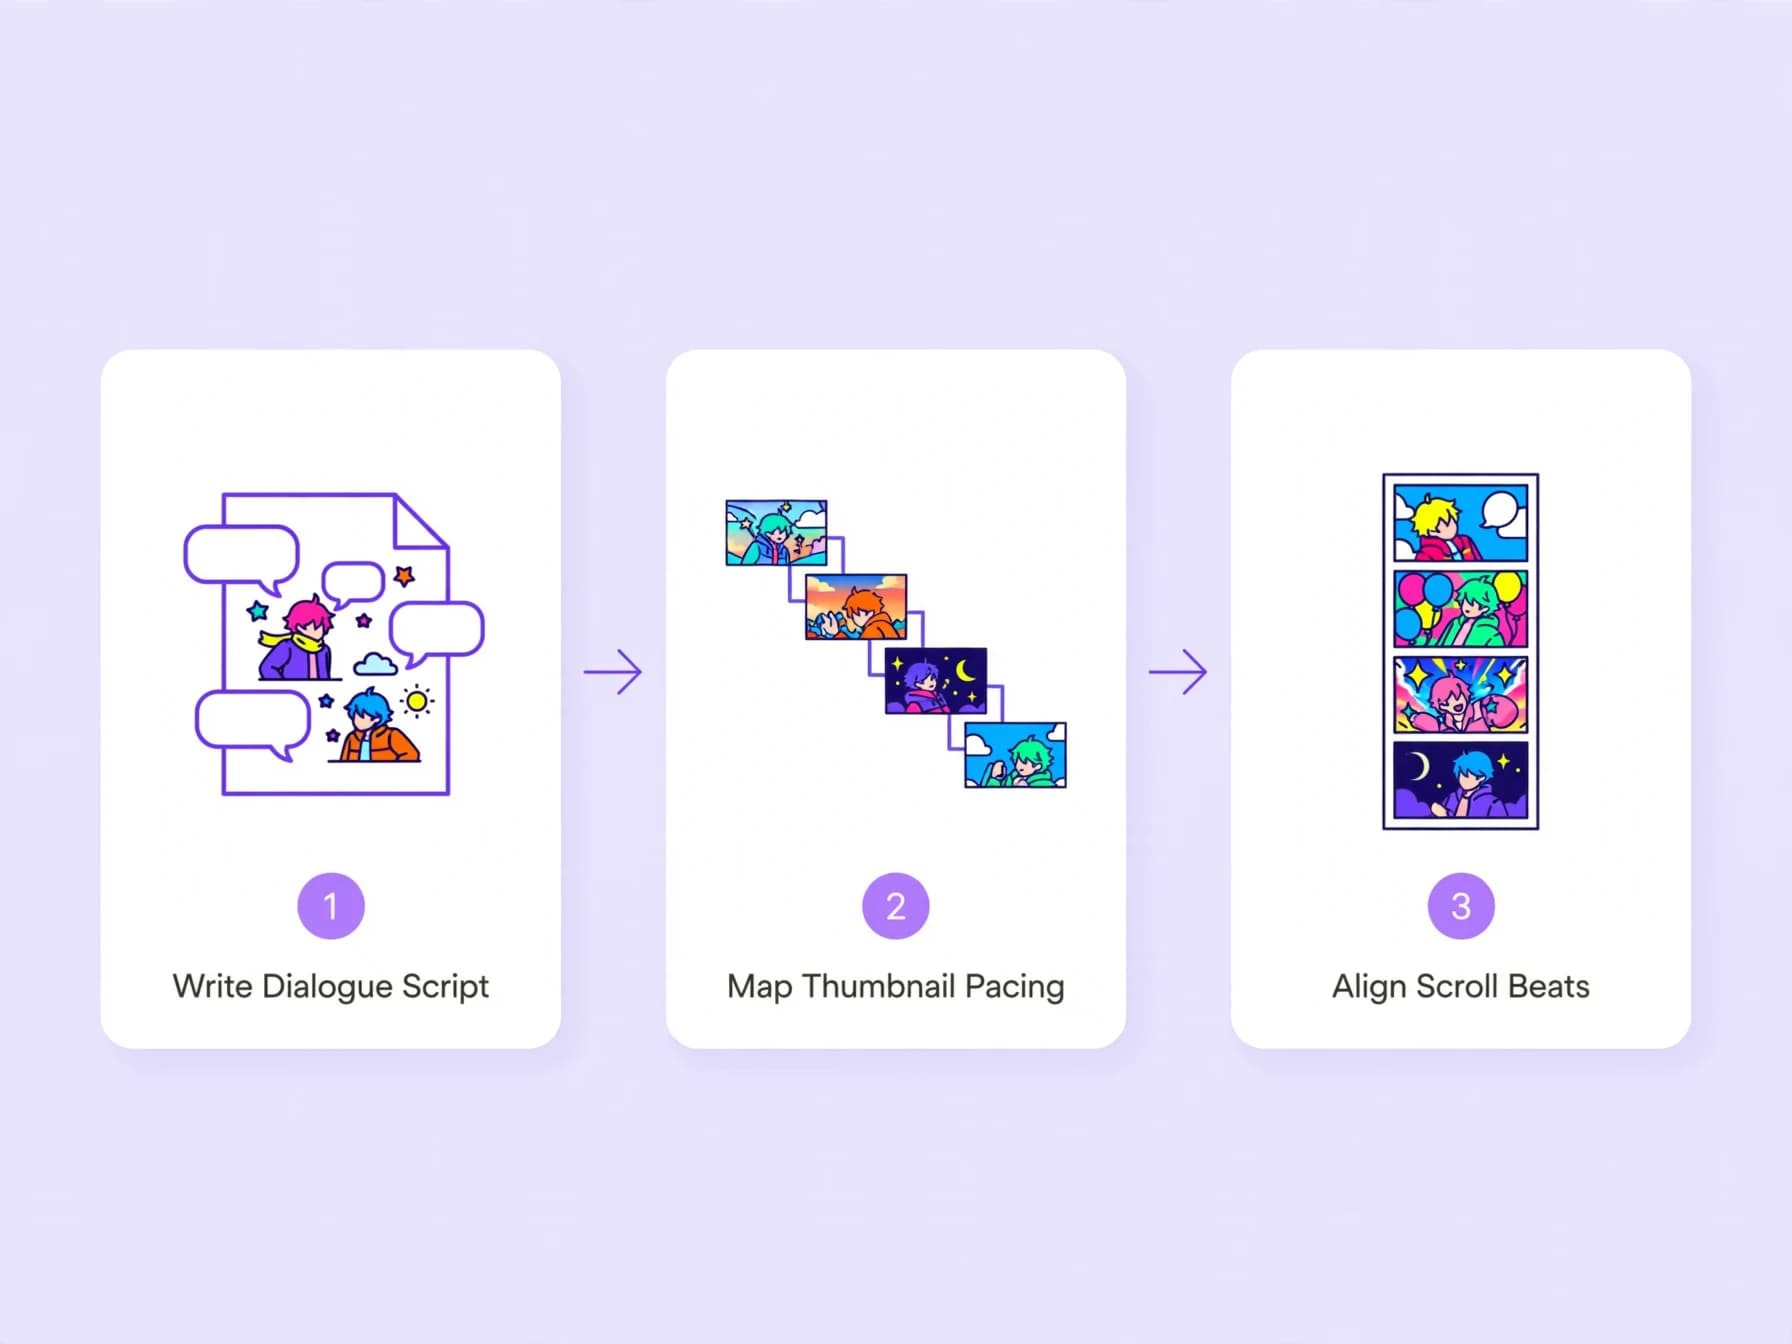
Mastering how to create webtoon scripts requires shifting your focus from page turns to vertical scroll beats. A solid episode script breaks the narrative into individual scroll moments rather than static printed rectangles. You should record character actions, specific dialogue lines, and visual transitions before sketching your initial storyboard.
Aim for roughly thirty to fifty panels per standard digital chapter to keep readers engaged without overwhelming your production schedule. Writing punchy dialogue prevents bulky word balloons from covering up character expressions. If you want structured writing prompts, looking at comic ideas, reading about how to make a manga, or reviewing our core guide on how to make a comic can help spark character conflicts and episode cliffhangers.
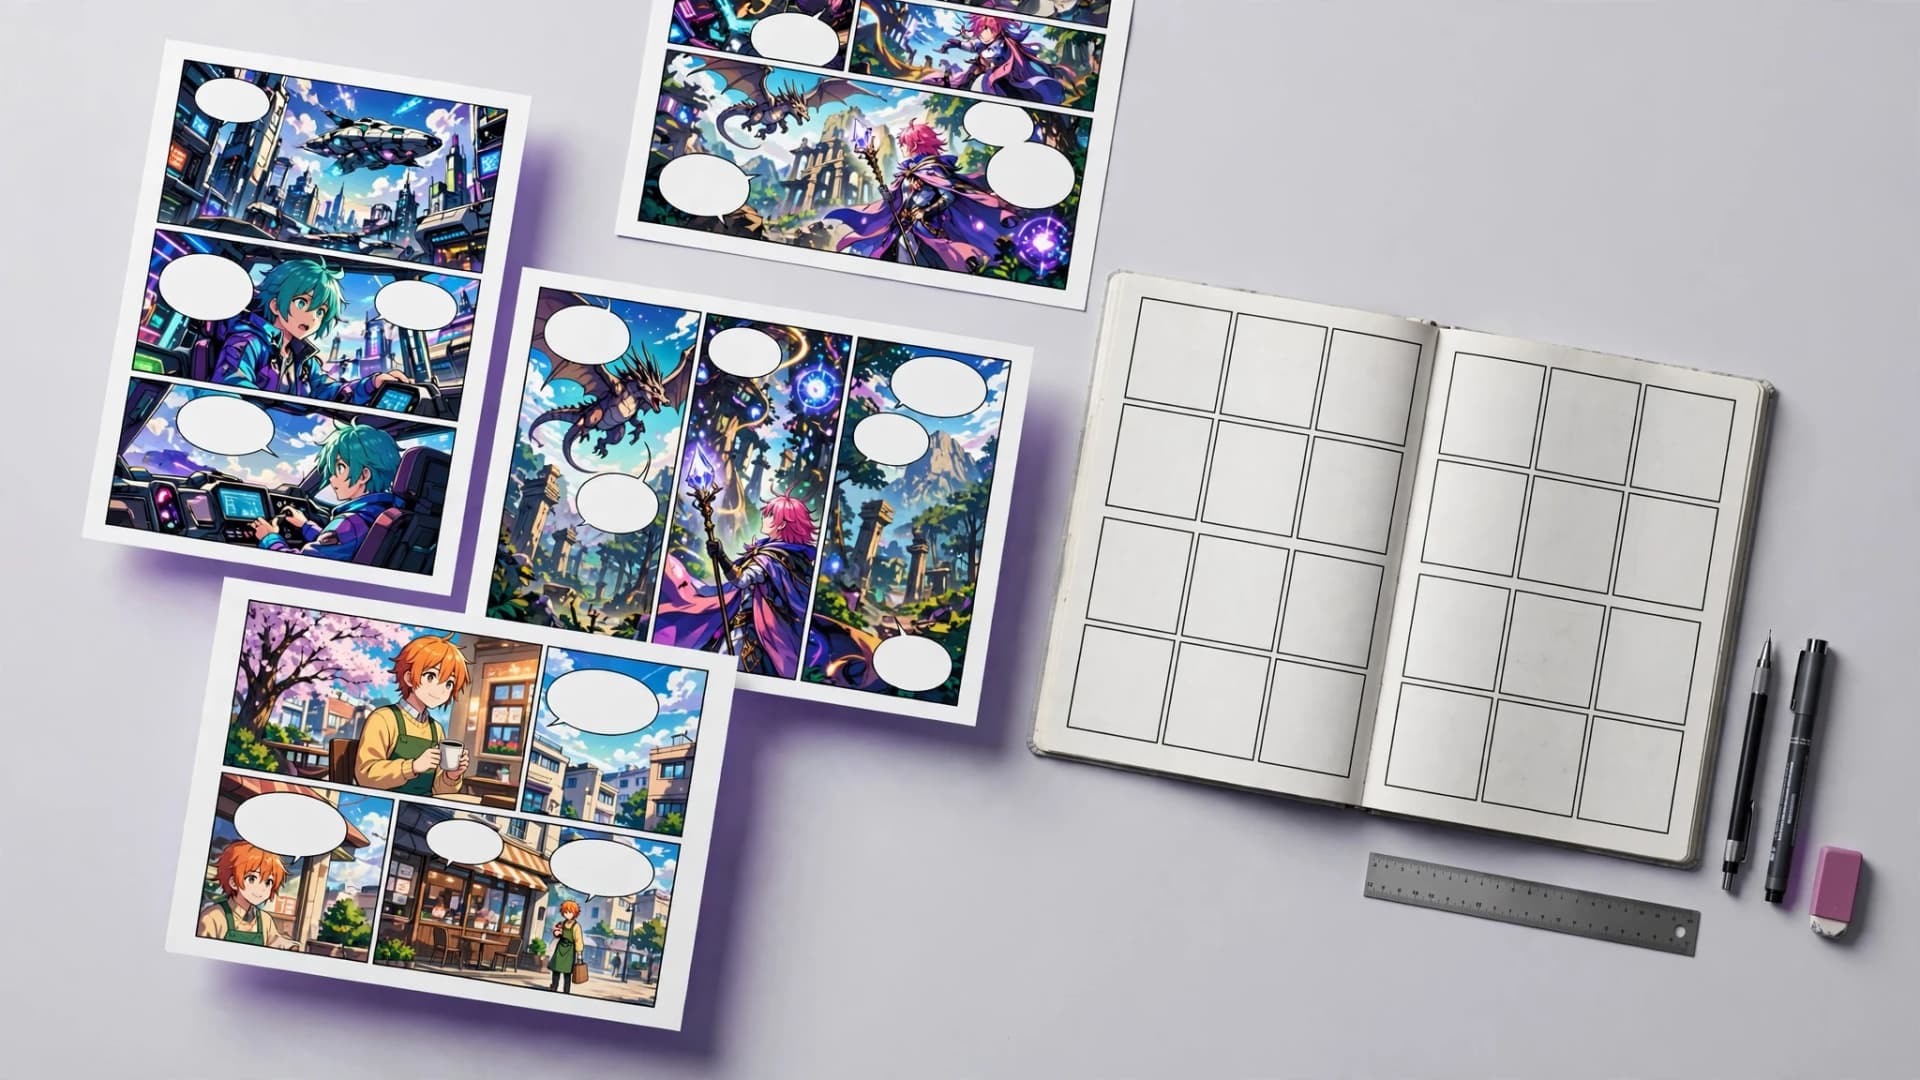
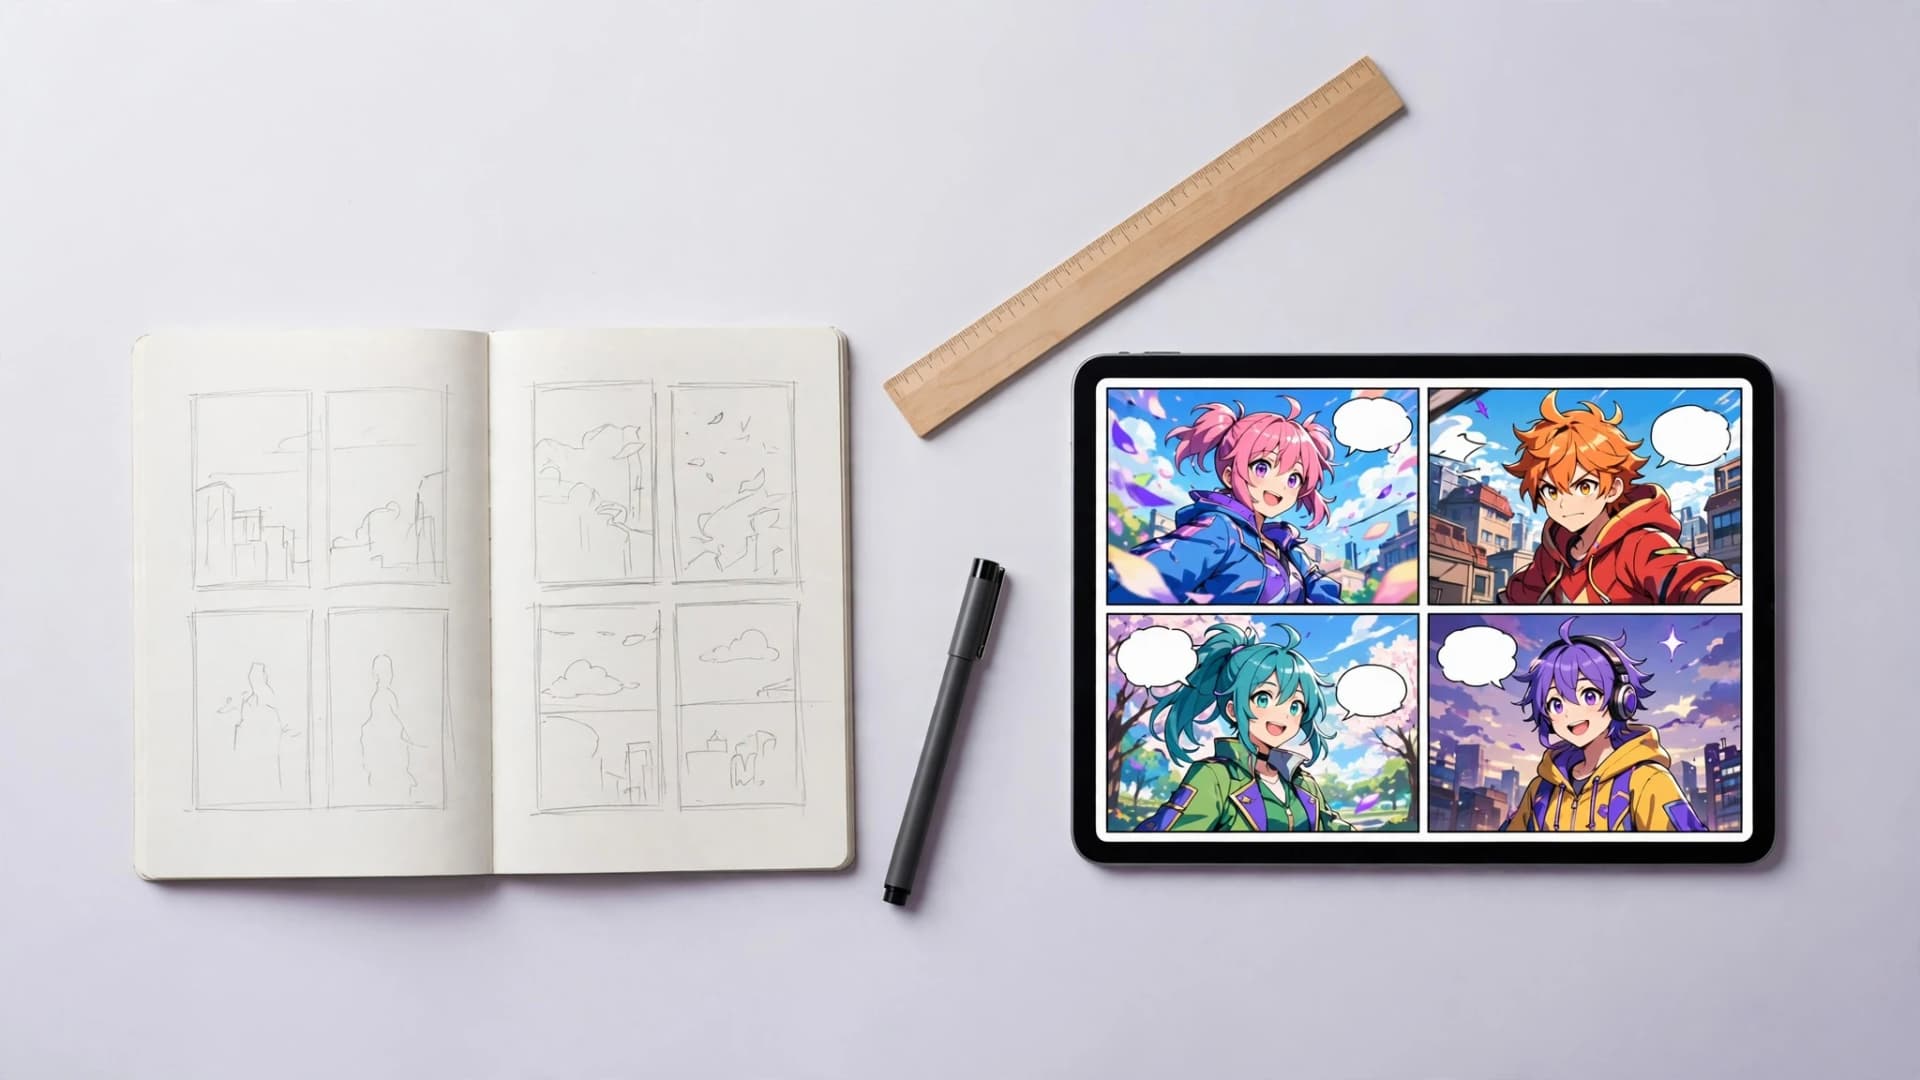
After drafting your text, map out quick thumbnail sketches to establish camera angles and reading direction. Eye movement should glide smoothly from the top panel downward toward each dialogue balloon. This step uncovers pacing issues early, saving hours of revision once final coloring begins.
How to make a webtoon, step by step
Here is how to create your own webtoon episode, step by step:
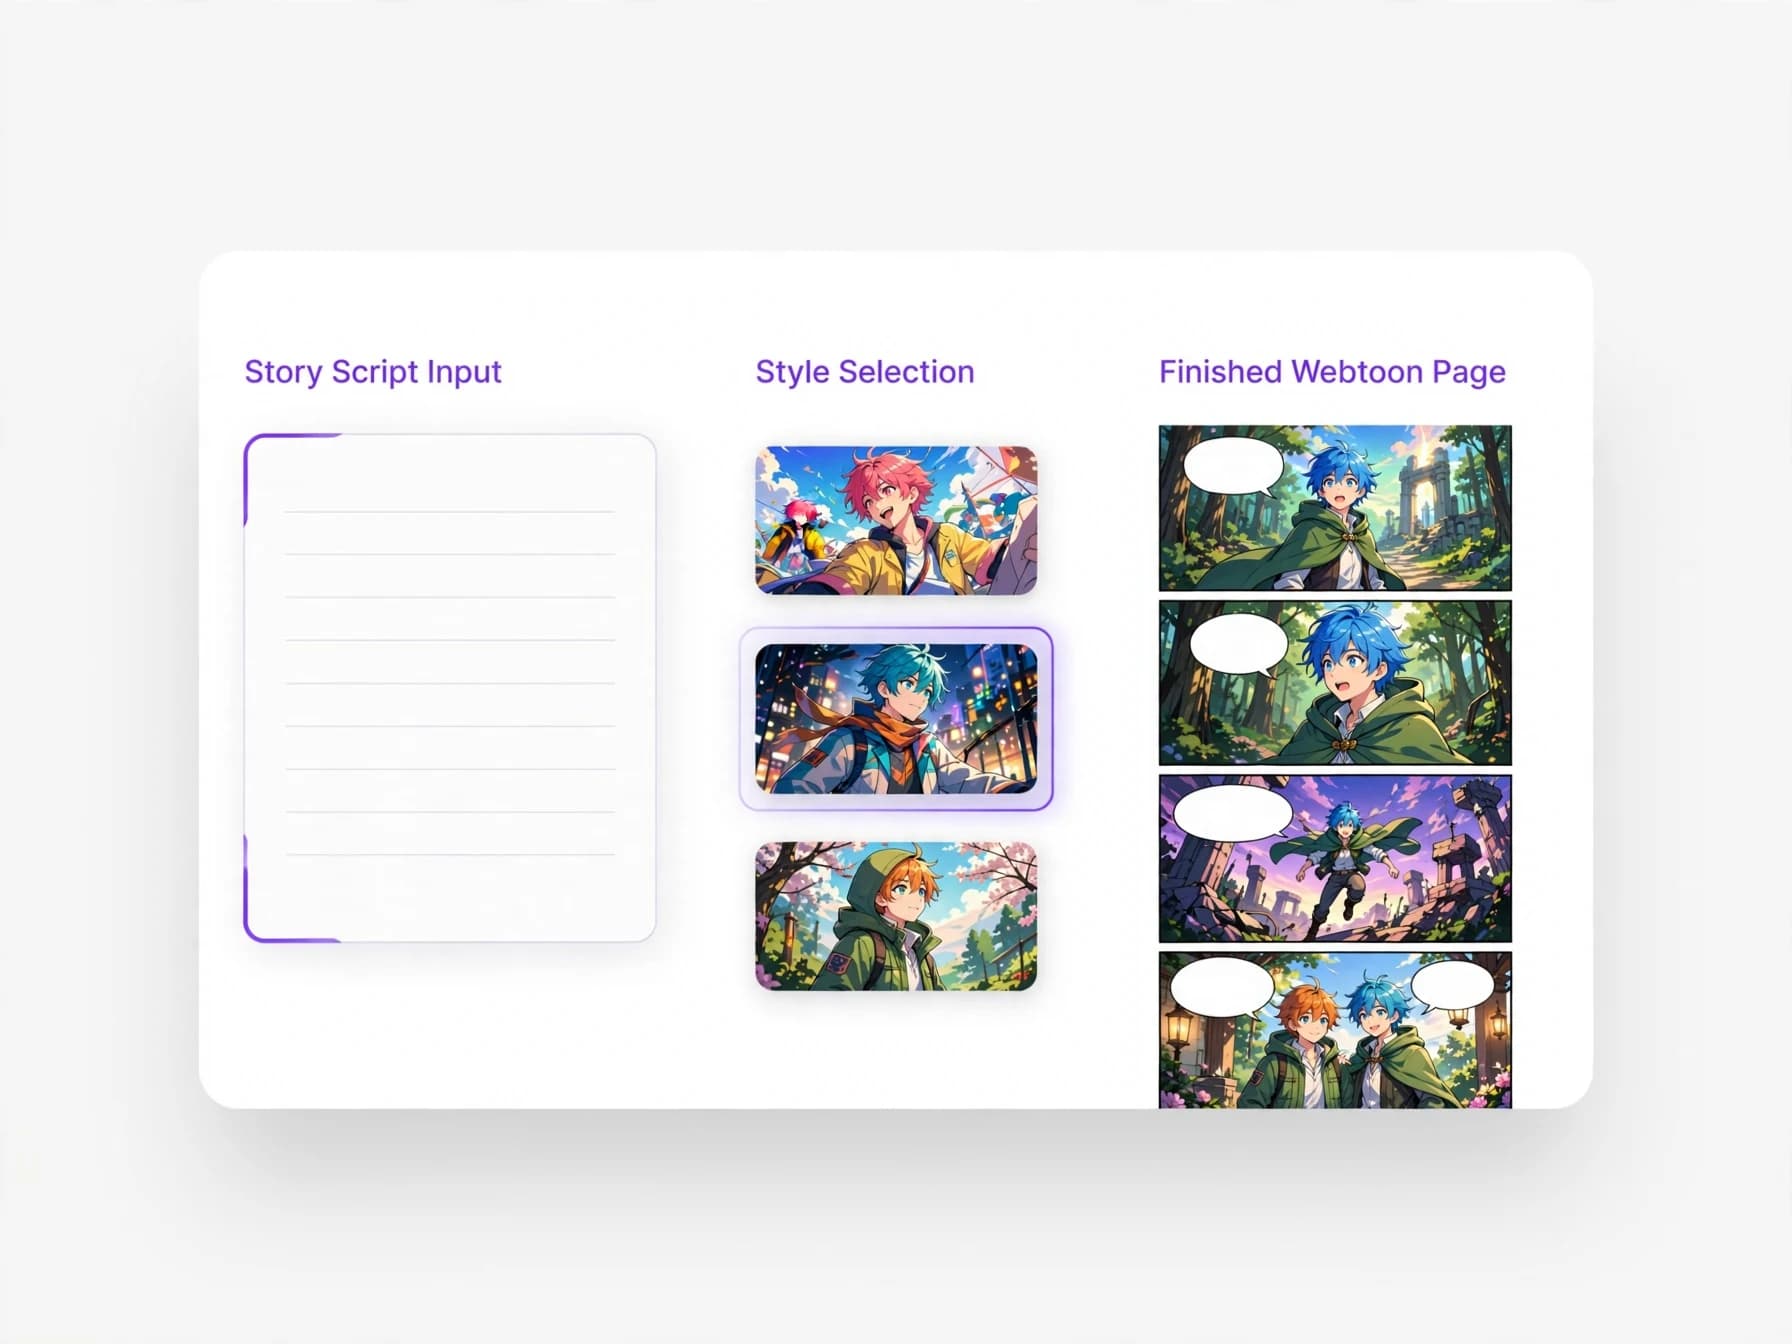
1. Step 1
Outline the episode.** Write a short outline and turn each scene into clear dialogue lines.
2. Step 2
Set up a vertical canvas.** Work at 800 pixels wide and sketch rough panel layouts with generous spacing between major beats.
3. Step 3
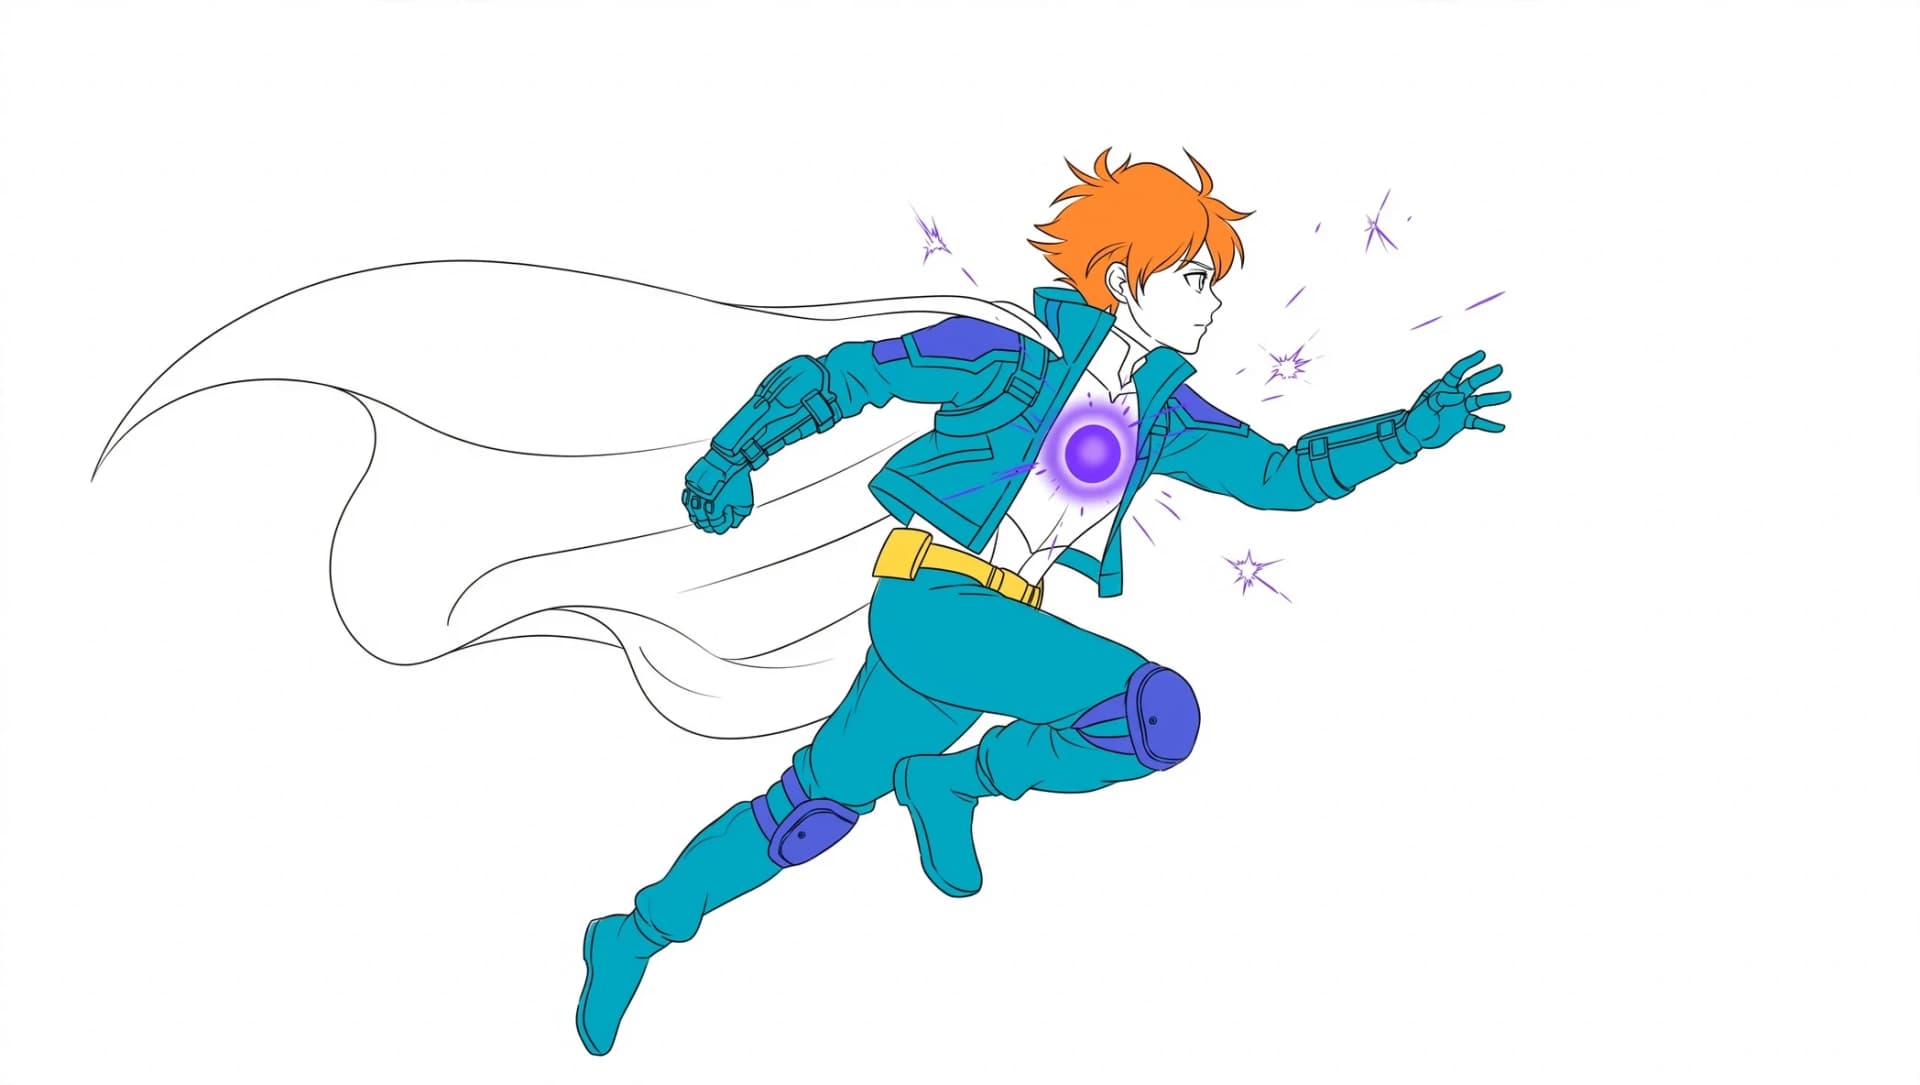
Draw and color.** Line your characters, add base colors, and paint backgrounds that match the scene lighting.
4. Step 4
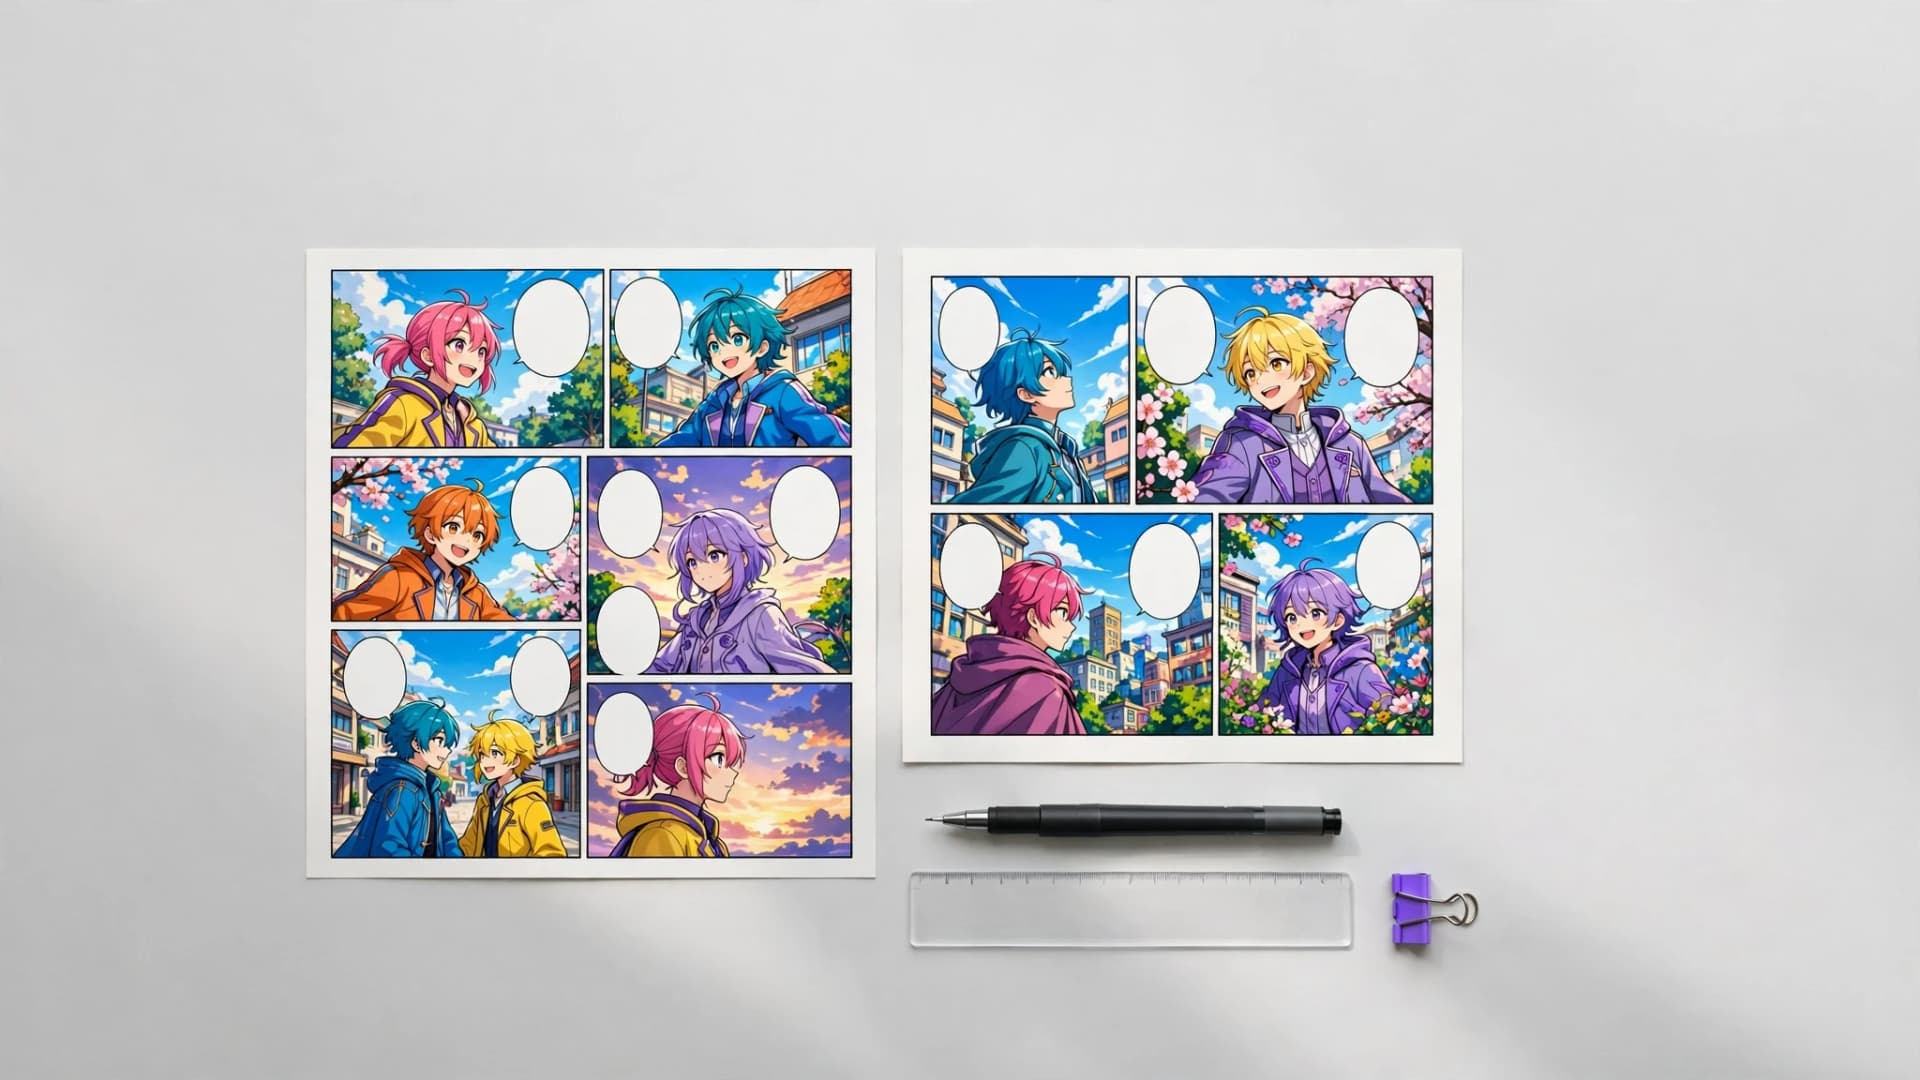
Letter the dialogue.** Typeset dialogue into clean balloons placed along the downward eye line, so the reader never scrolls back to see who is speaking.
5. Step 5
Review on a phone.** Read the whole scroll on a mobile screen and check readability and color contrast.
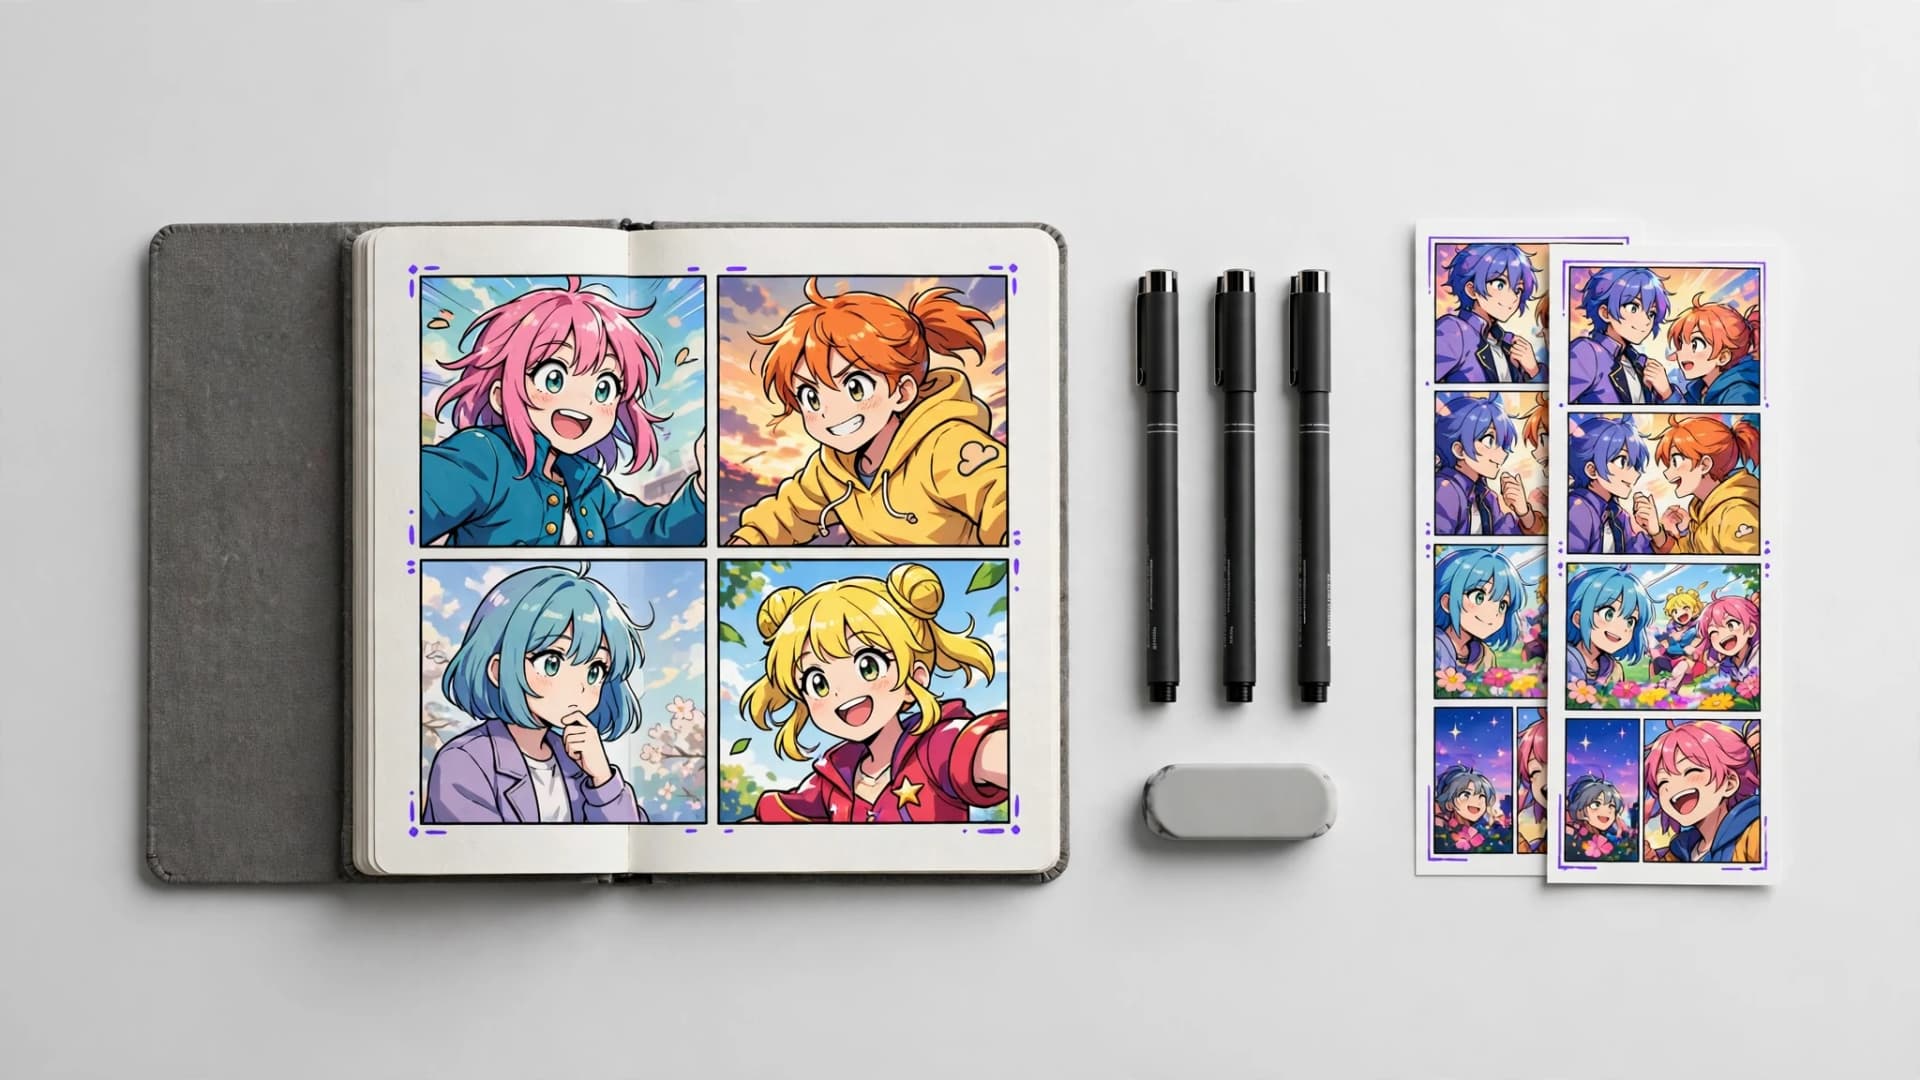
If you'd rather generate draft pages from your written script, Yume Comic's AI comic maker turns prompts into multi-panel pages with dialogue bubbles. Trying your storyline in an ai manhwa generator can also give you layout ideas while you keep the rhythm of the episode.
Maintaining visual consistency across your cast
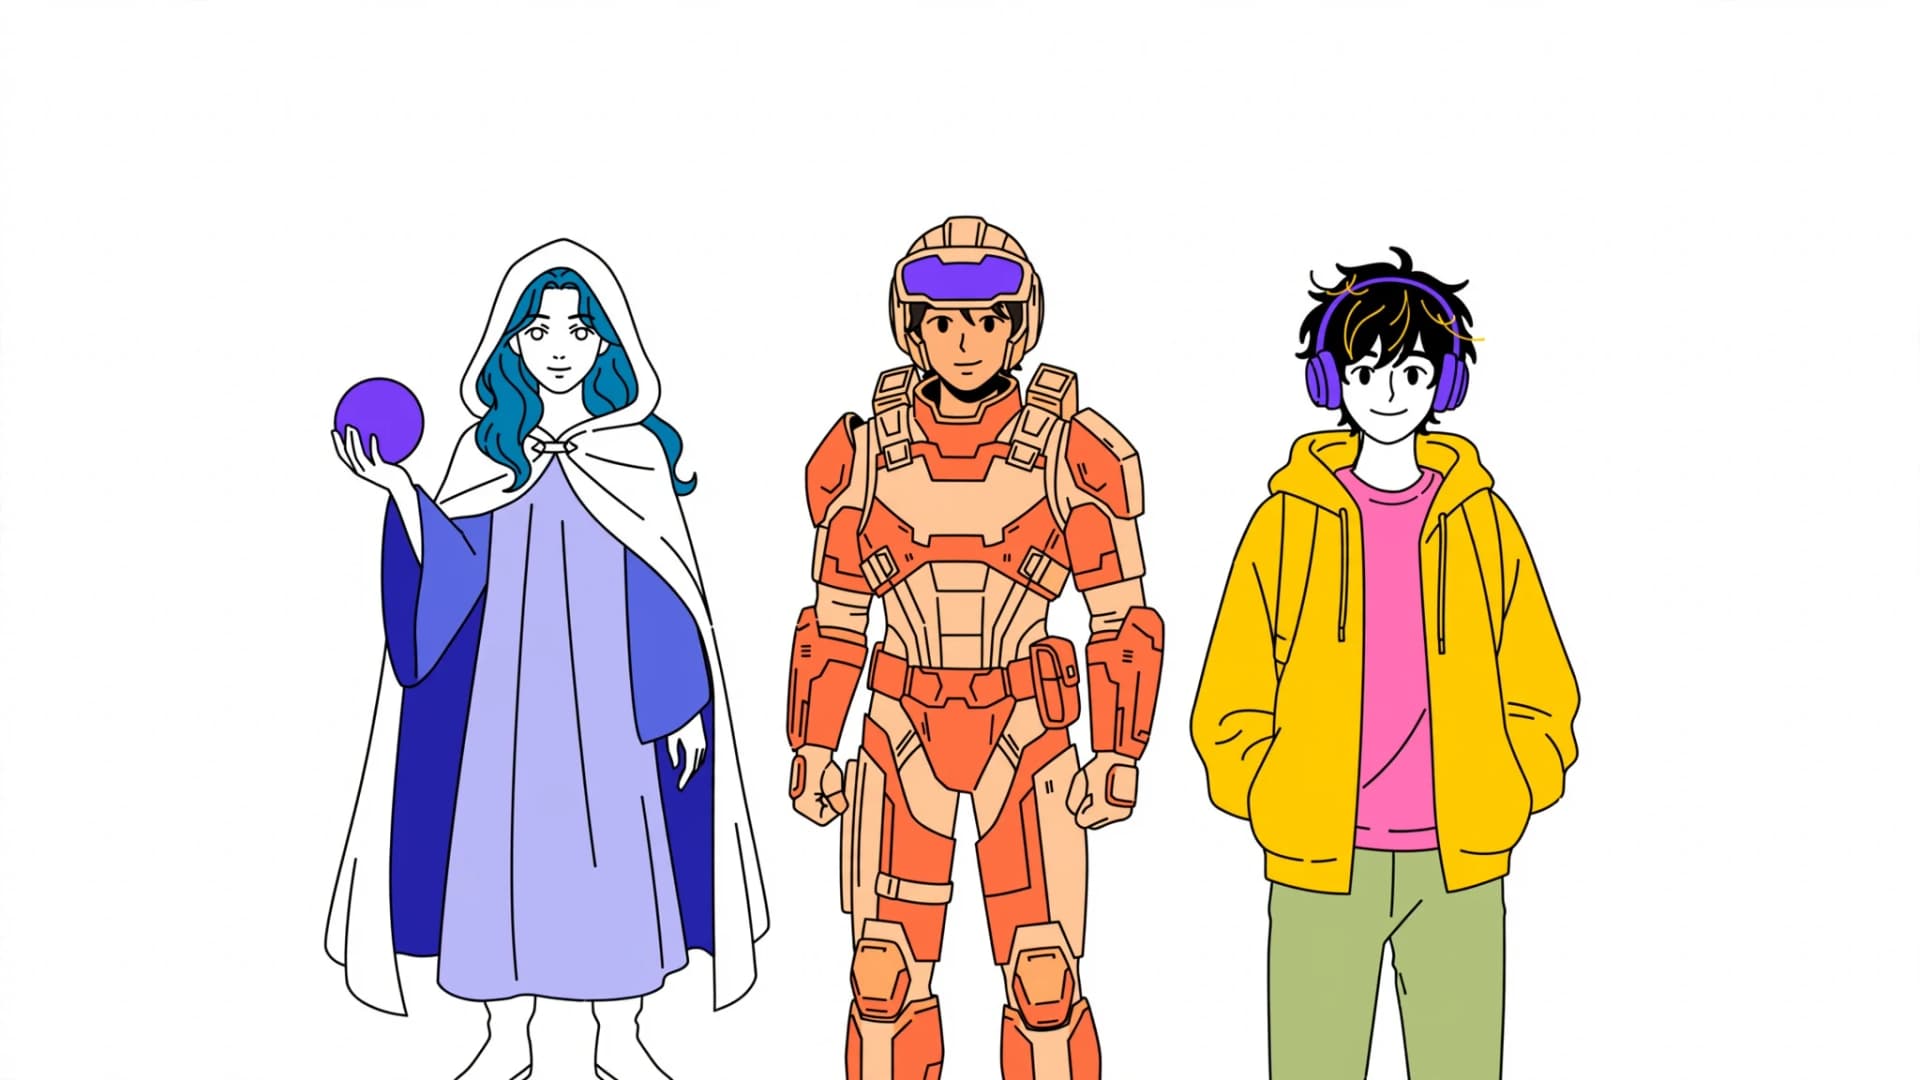
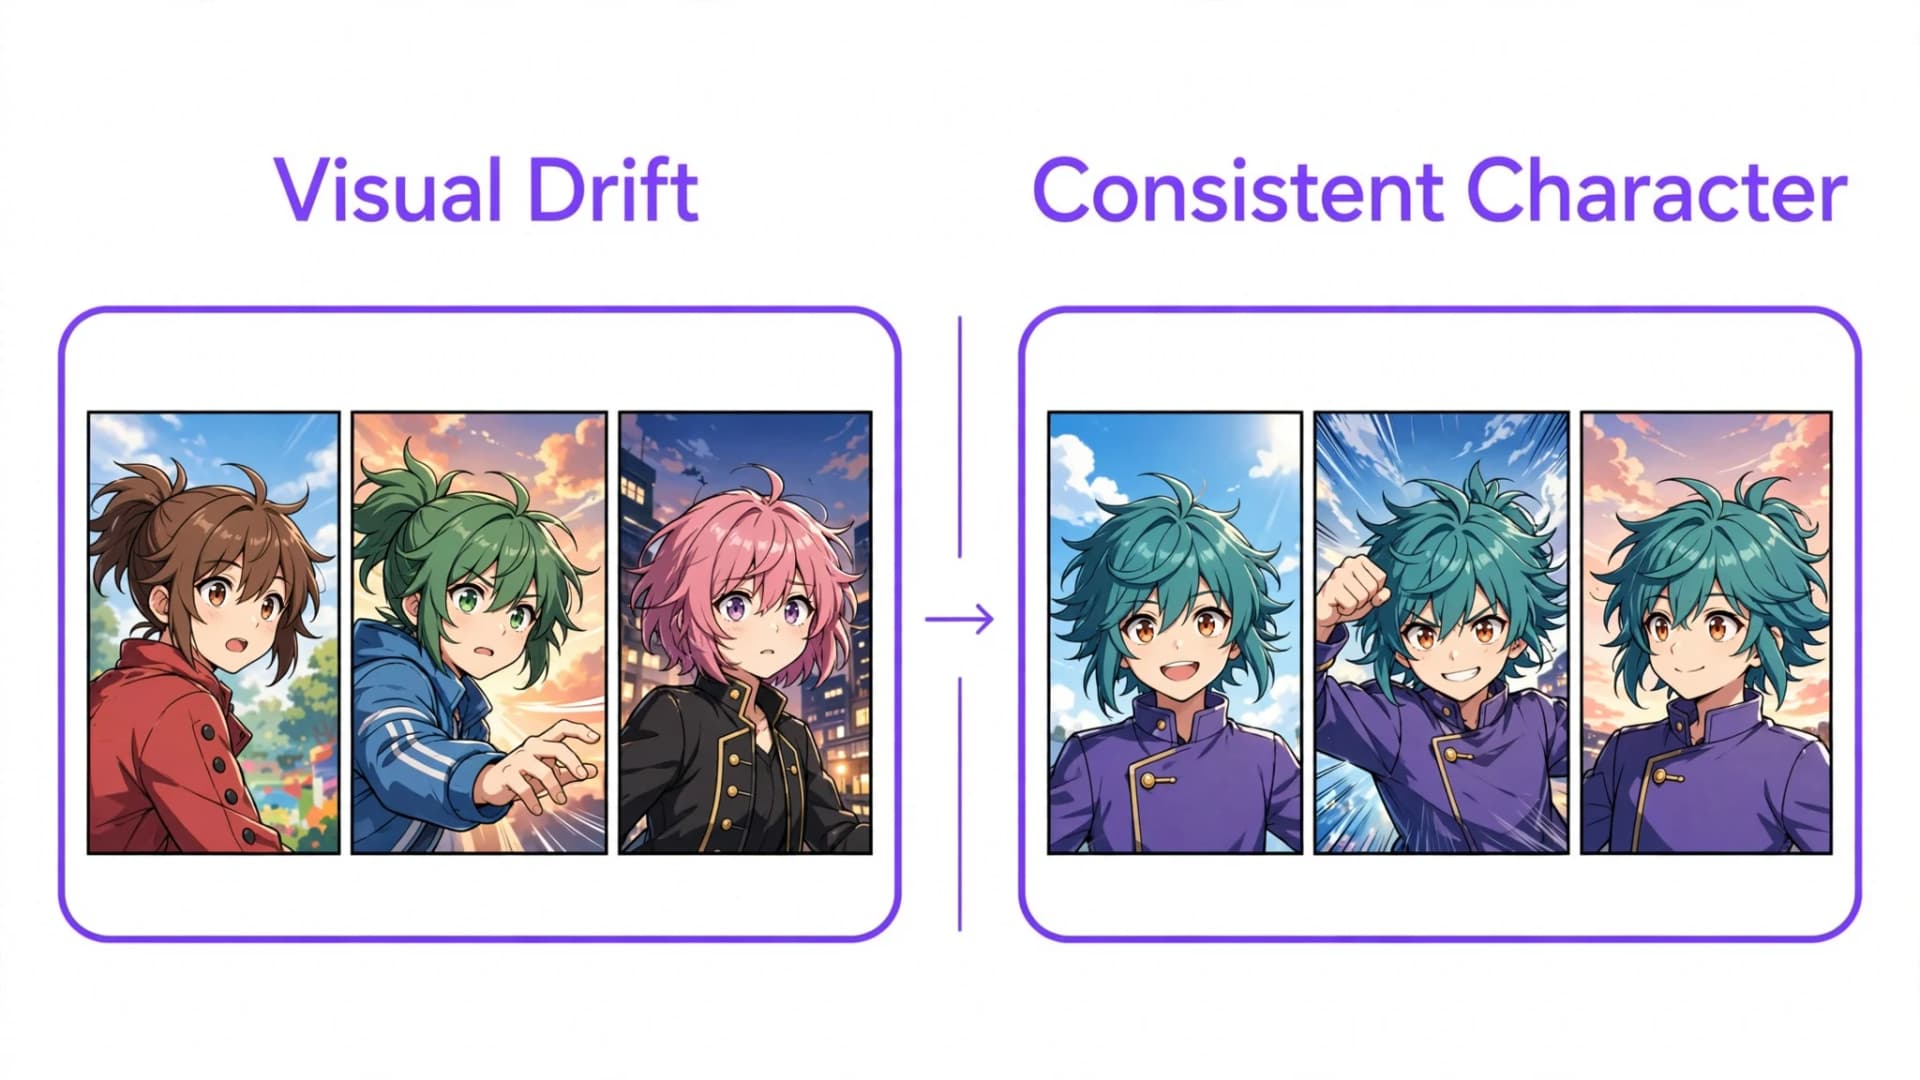
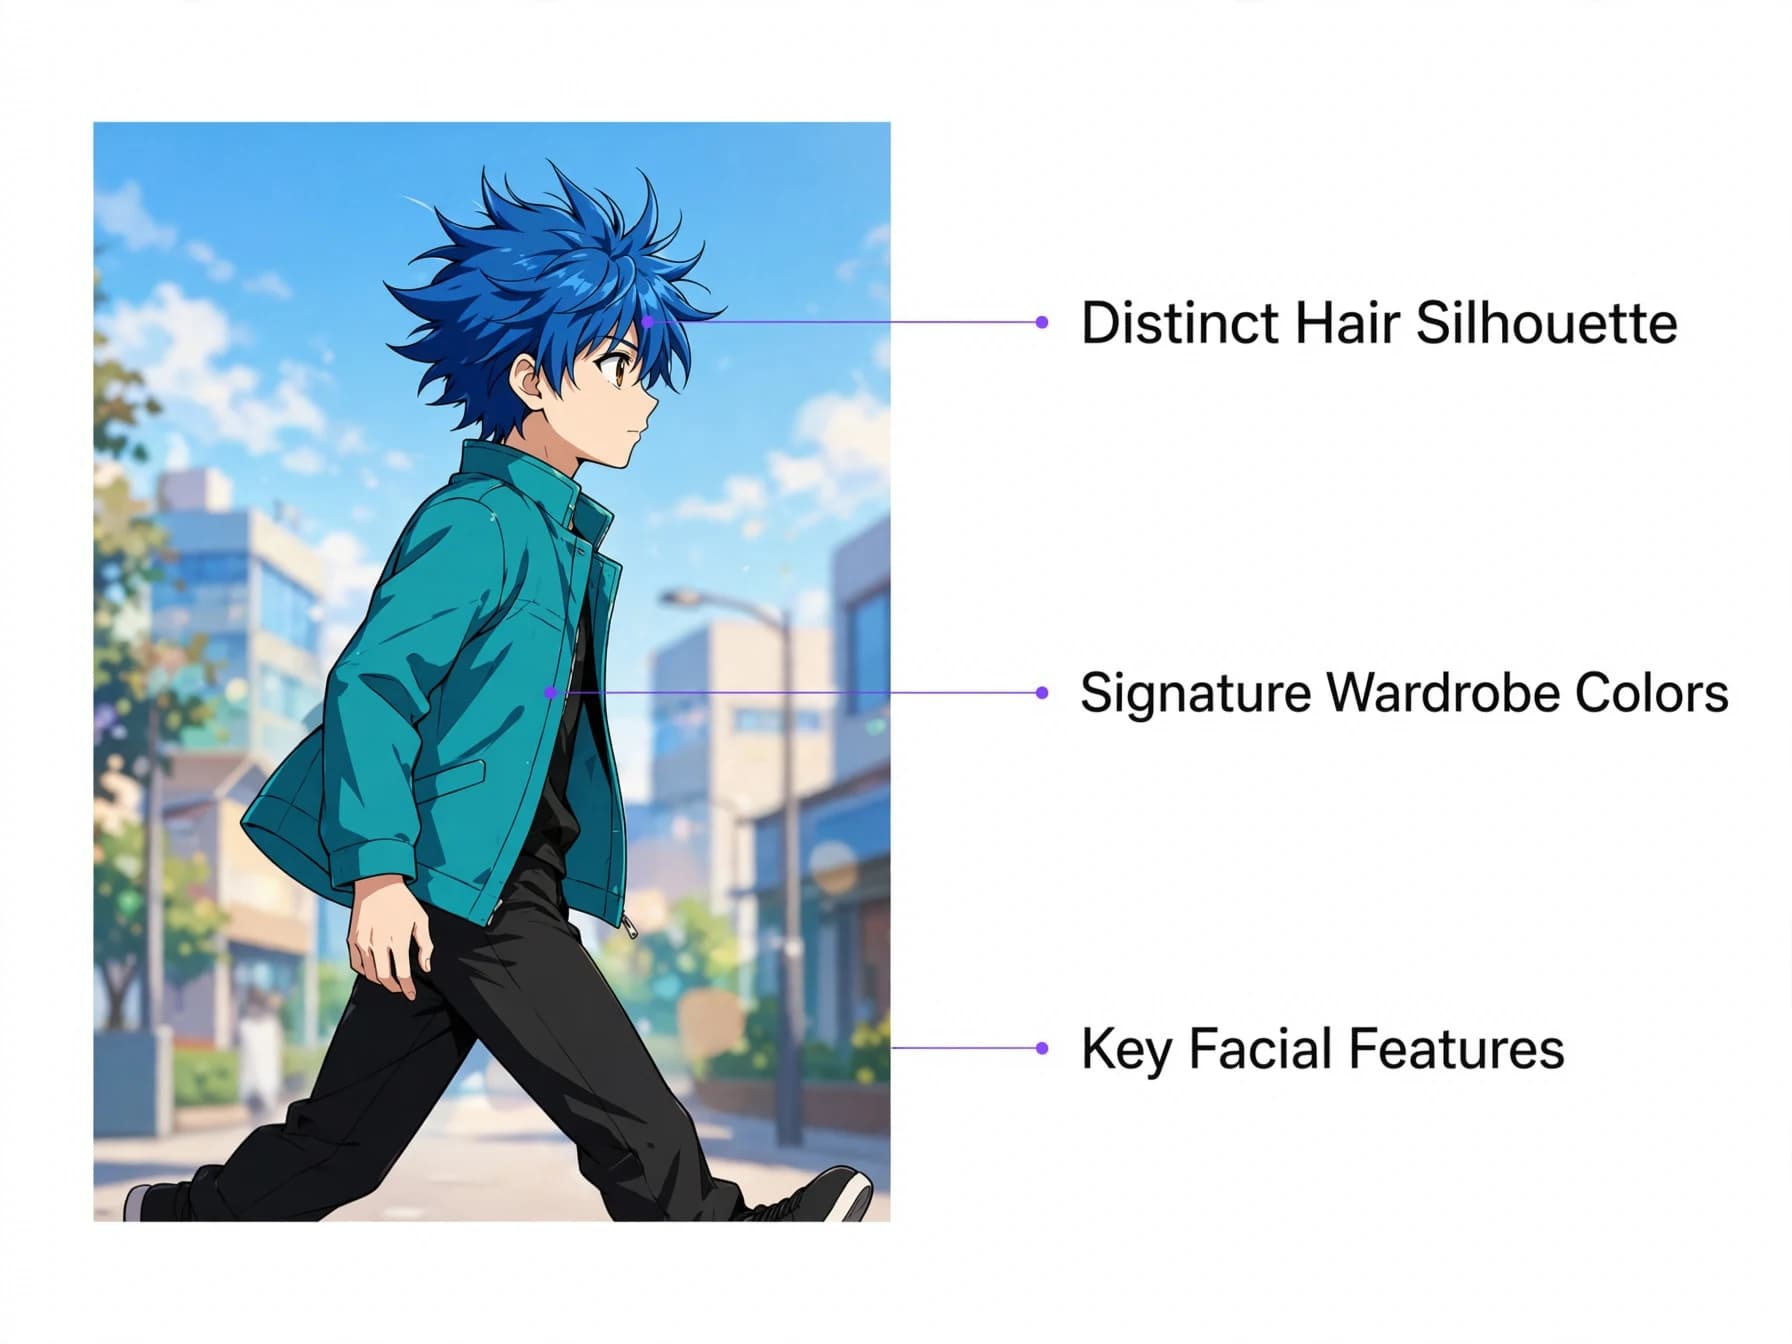
Figuring out your visual style becomes much simpler when you lock in character designs early. Readers connect with recognizable silhouettes, signature hair shapes, and distinct wardrobe color palettes. Changing key facial proportions between scenes confuses your audience and weakens narrative immersion.
Build a master reference document containing front angles, side profiles, and common emotional expressions for your main cast. Brainstorming memorable oc ideas, planning your cast with an oc maker, and keeping exact color hex codes for hair, skin tones, and outfits guarantees uniform coloring throughout long story arcs. When creating your comic with automated tools, consistent character rendering becomes even more vital.
In Yume Comic, you can save up to 4 characters per comic using text descriptions or reference images so your protagonist stays consistent across generated panels. This workflow helps solo creators maintain cohesive designs across multi-page projects without redrawing models from scratch. Standardizing key design traits lets you focus on emotional dialogue and pacing.
How do you prepare a webtoon for Canvas publishing?
Publishing your completed chapter on platforms like WEBTOON Canvas requires adhering to strict file upload specifications. Each uploaded image slice can be up to 800 by 1280 pixels, saved as a PNG or JPG. Keeping total chapter file sizes under 20 megabytes ensures rapid loading times on mobile network connections.
Use image slicing software or a digital comic utility to cut your long continuous scroll into consecutive vertical files. Name your image files sequentially so platform uploaders organize panels in the correct story order automatically. Preview the assembled chapter inside the platform dashboard before pressing the publish button. If your pages are AI-assisted, read the platform's current creator policy on AI-generated art before you upload, because rules differ between platforms and change often.
Your comics come with a worldwide, non-exclusive license to use, share and publish them for personal and commercial purposes under the YumeComic Terms of Service. You keep ownership of the story text and images you upload; generated outputs are not guaranteed to be unique. Verifying file dimensions and clear fonts beforehand guarantees a seamless reading experience for your audience.