
Why does a comic script start with visual pacing?
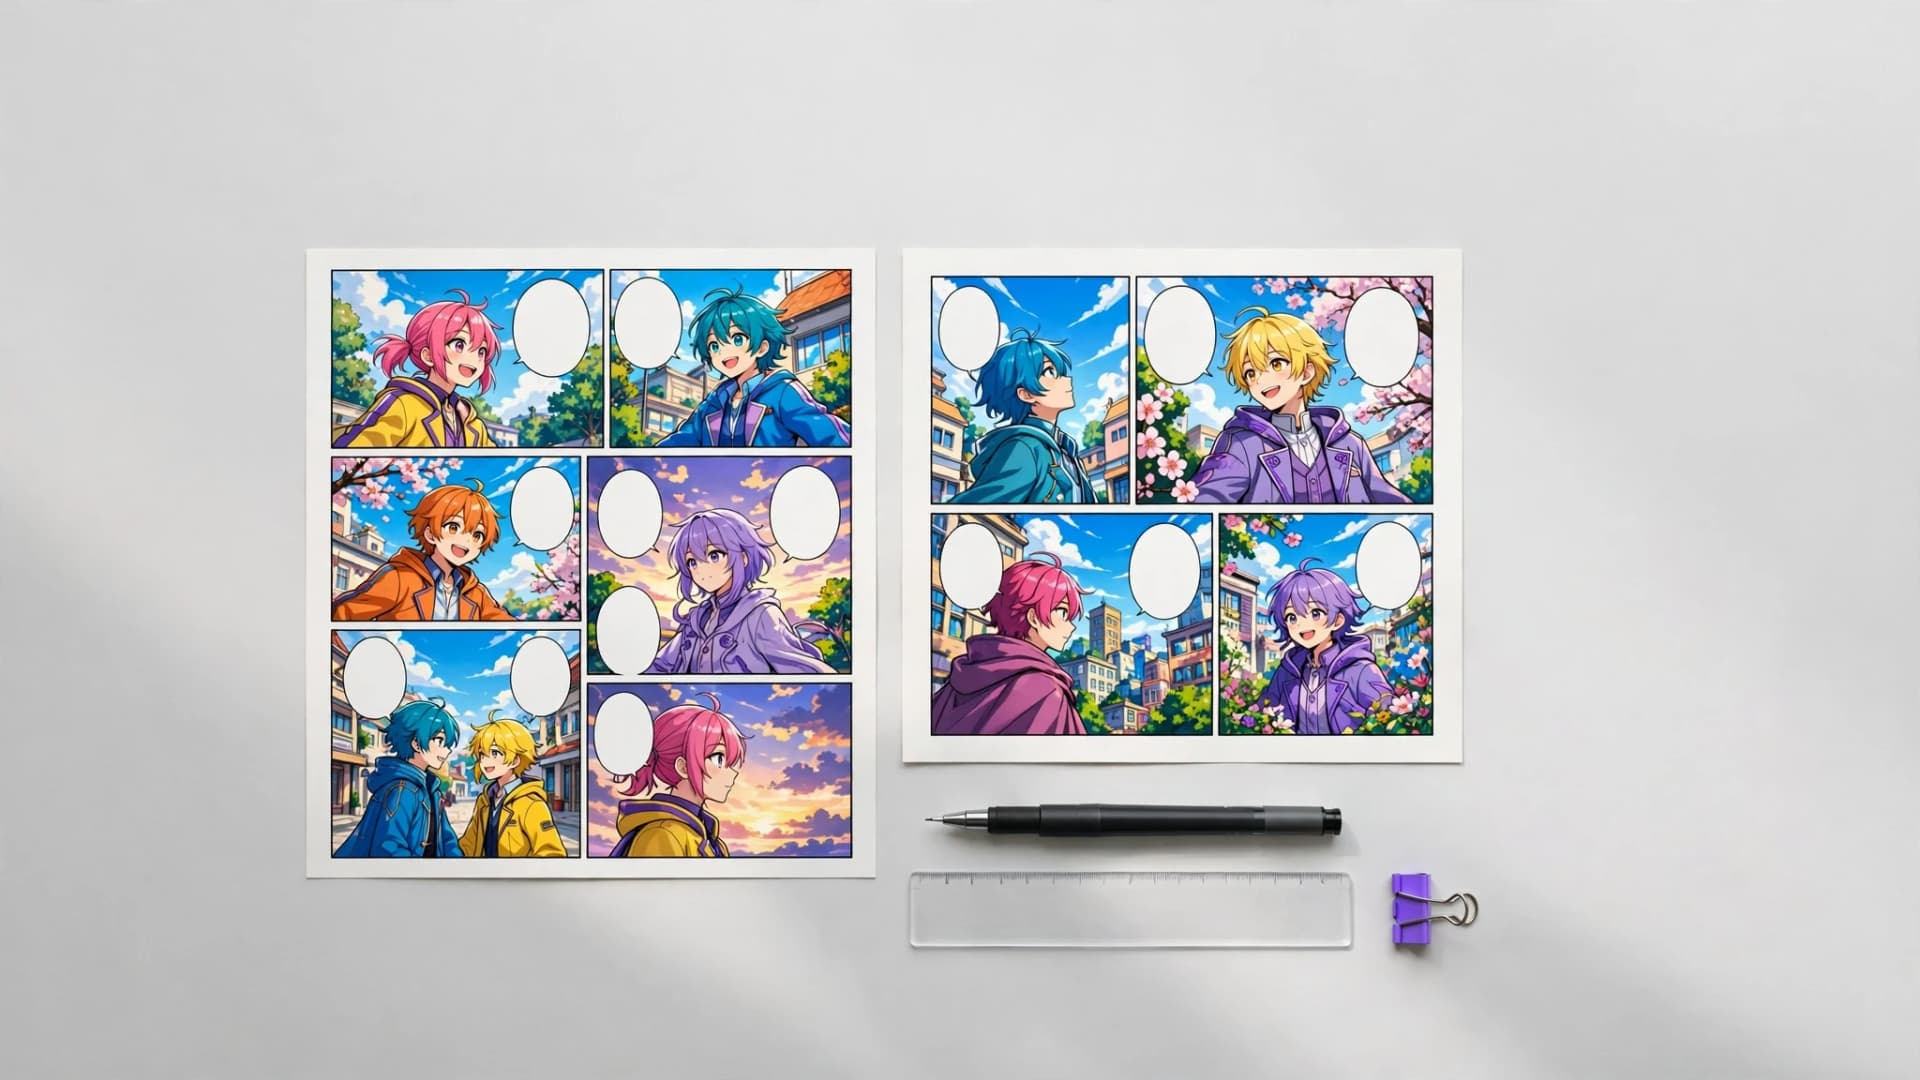
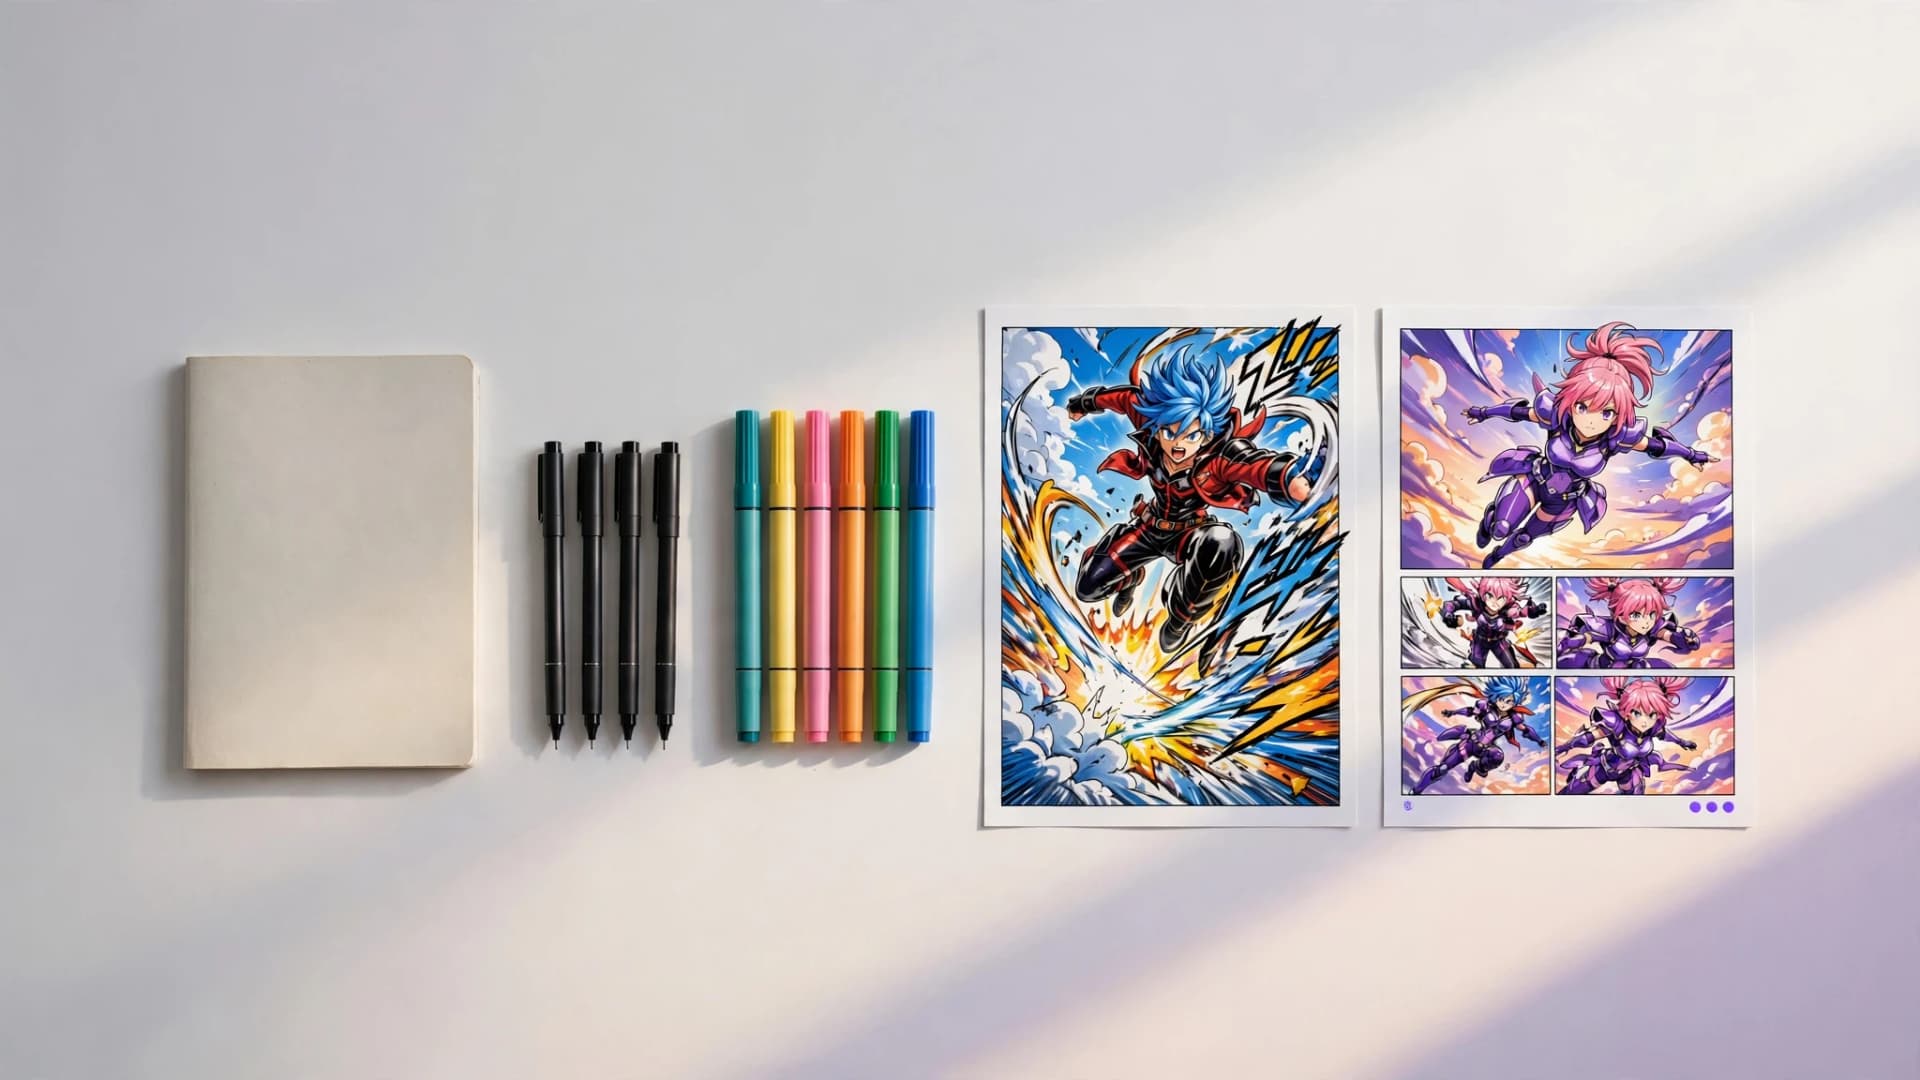
Writing for sequential art requires thinking in pictures rather than continuous prose paragraphs. A comic script directs the reader's eye across the page, balancing quiet character beats against energetic fight and chase scenes. Mastering comic scriptwriting means understanding that every single panel represents a deliberate freeze-frame in time.
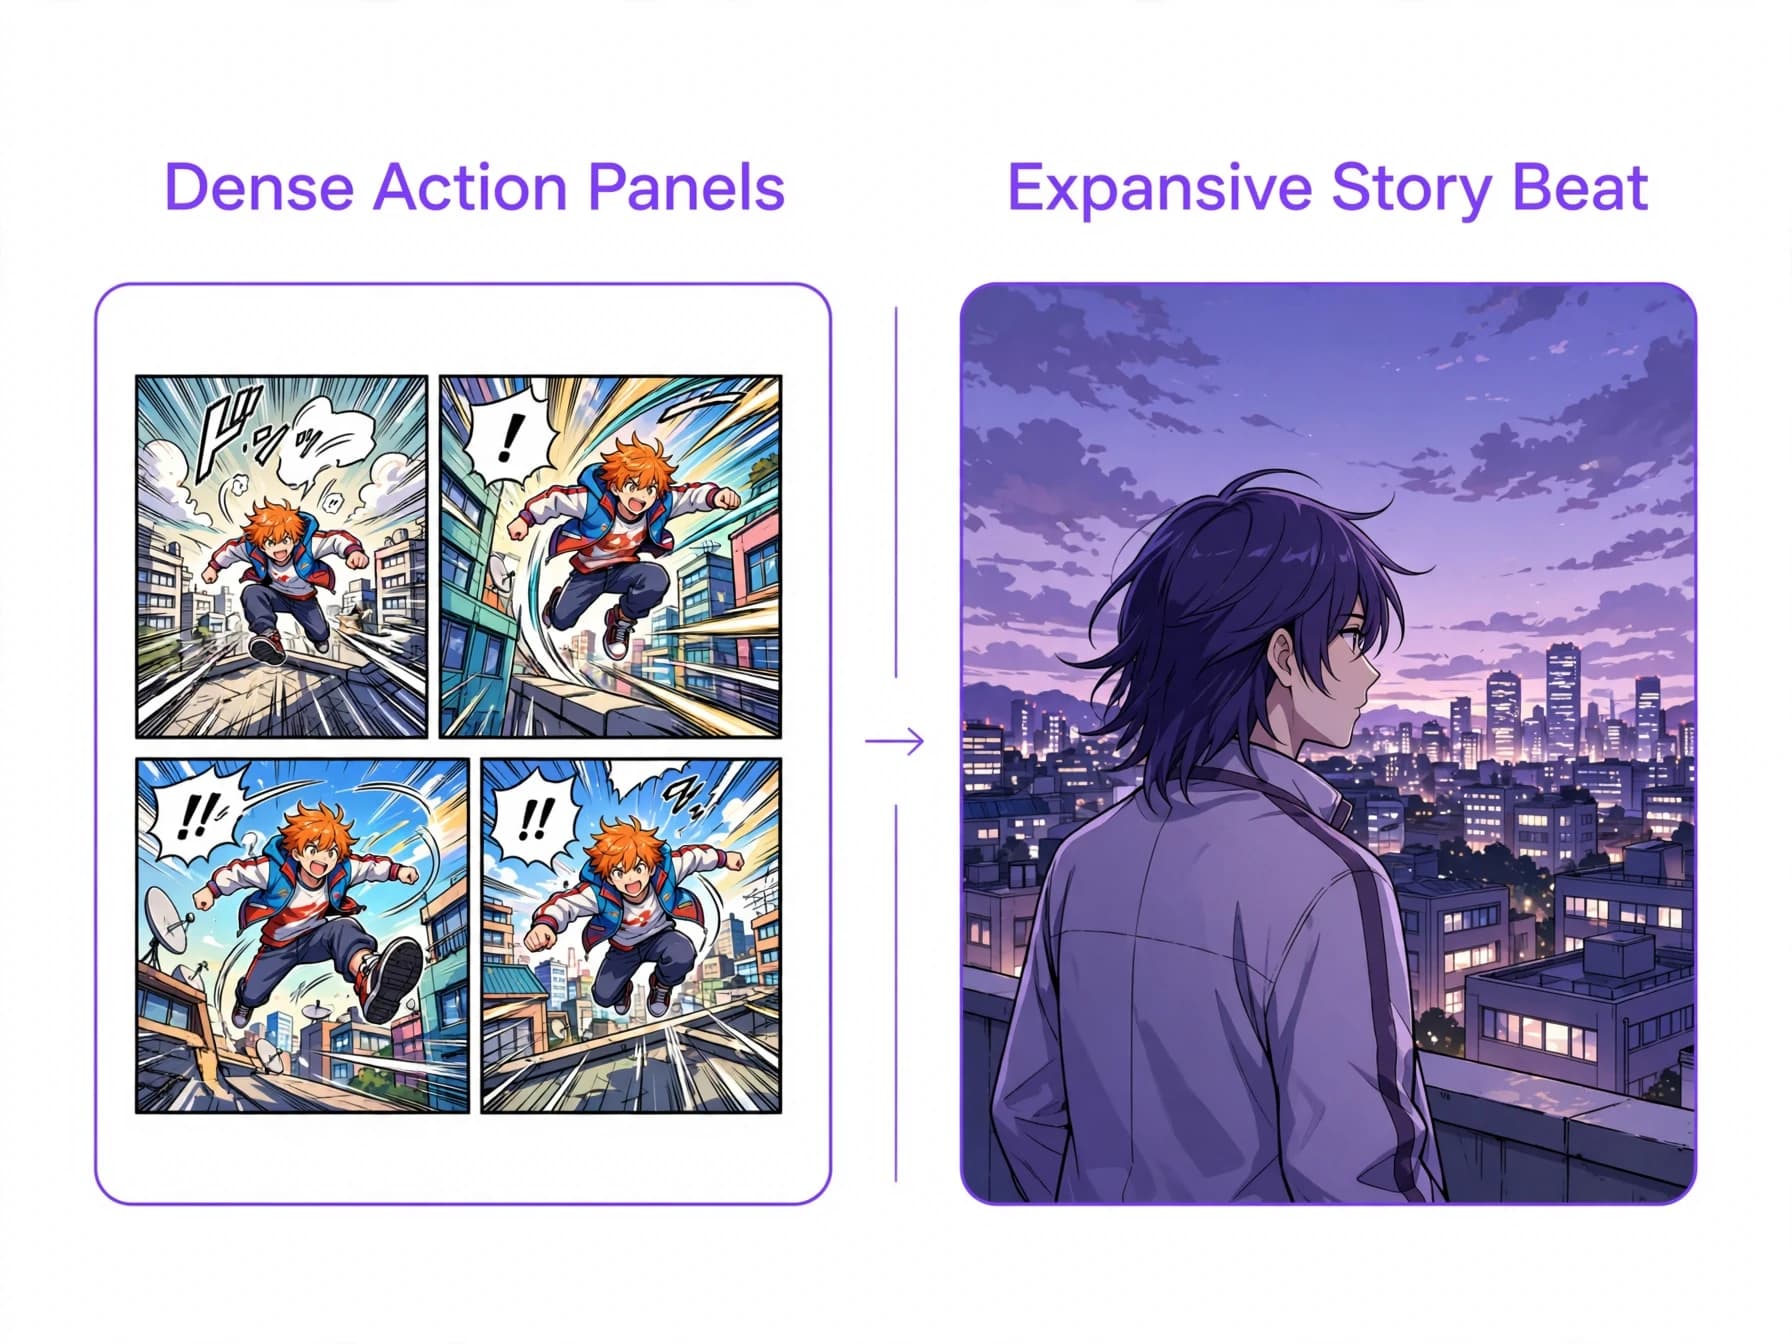
Unlike screenplays that move at the projector's frame rate, comics let the reader control their reading speed. Writers must design page layouts that build suspense and encourage readers to flip forward eagerly. Panel density directly influences pacing, as crowded pages accelerate tension while sparse spreads slow down the scene.
Beginning writers often overwrite descriptions, forgetting that printable page area is strictly limited. Learning how to make a comic begins with clear scripts that communicate what each character does, camera framing, and background cues without micromanaging every tiny background prop. Balancing panel count with story momentum creates the foundation of compelling sequential storytelling.
Standard script formatting for clear visual storytelling
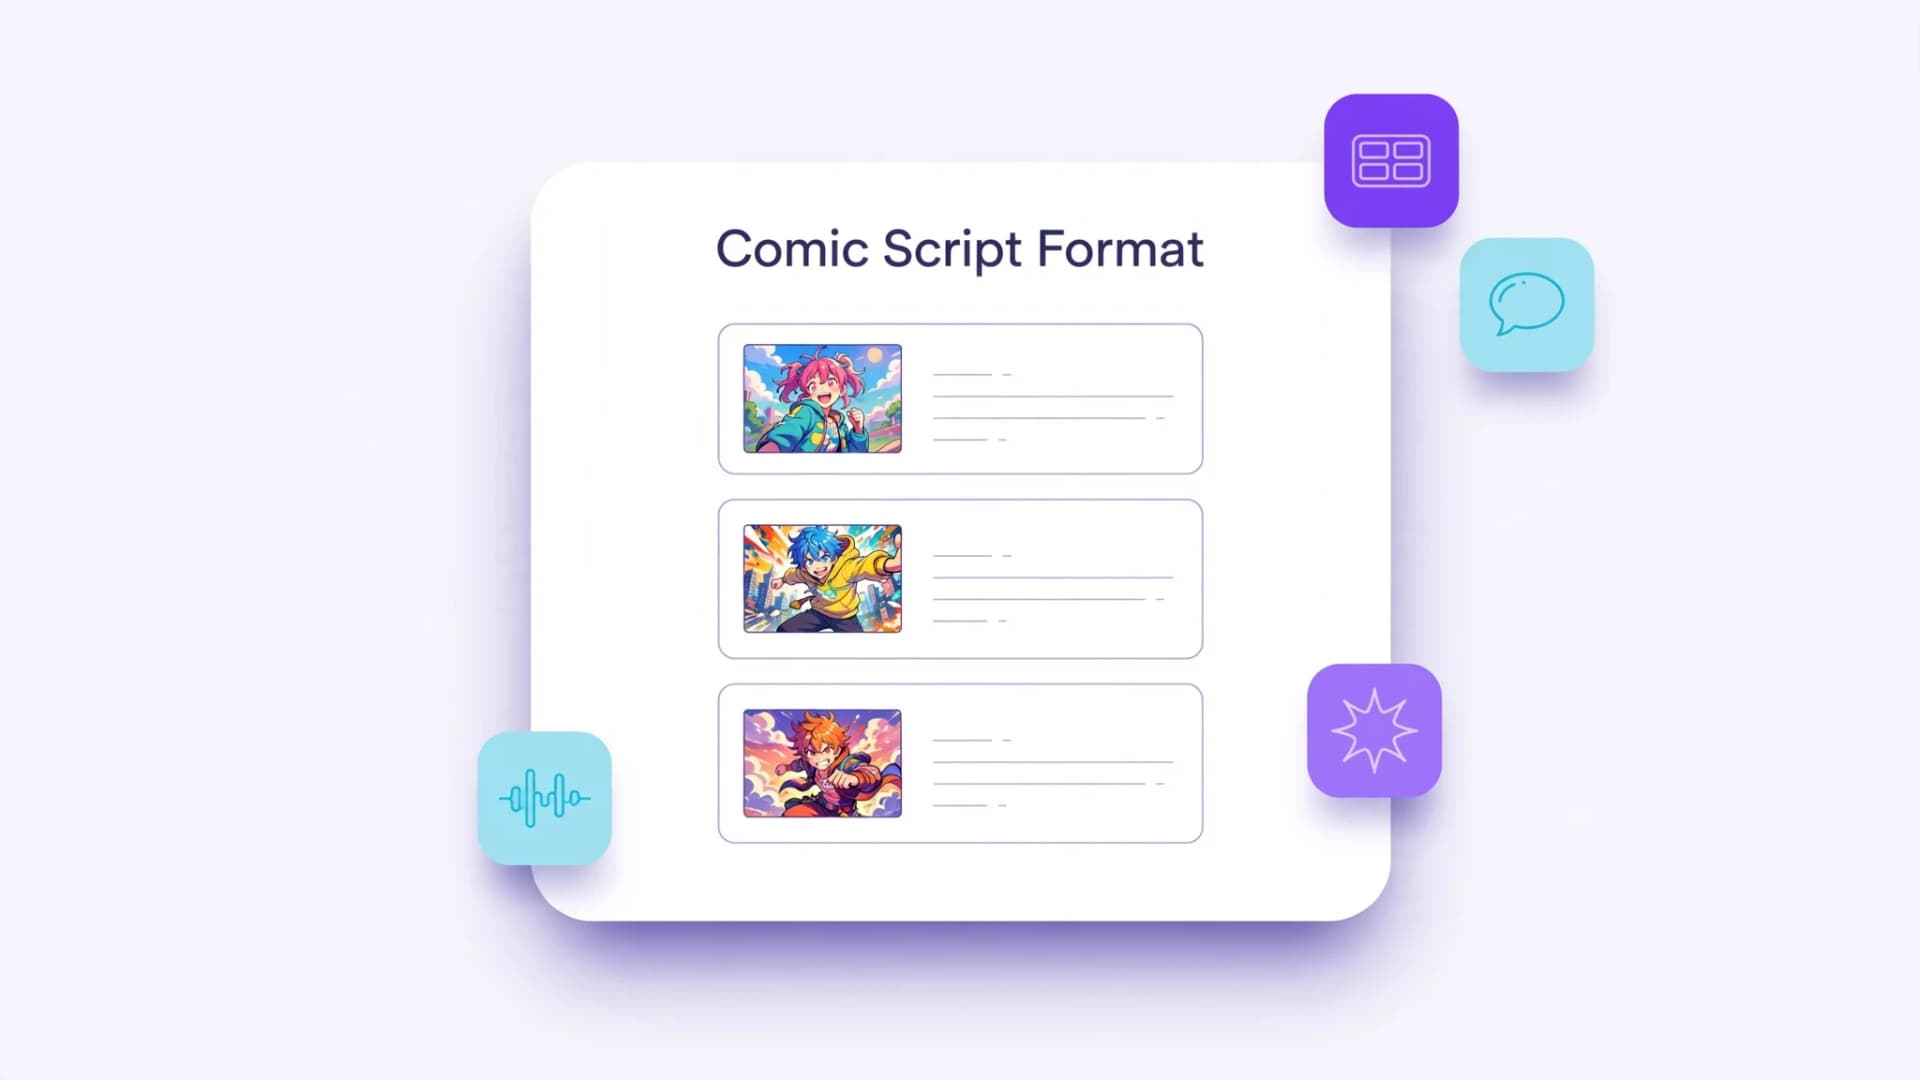
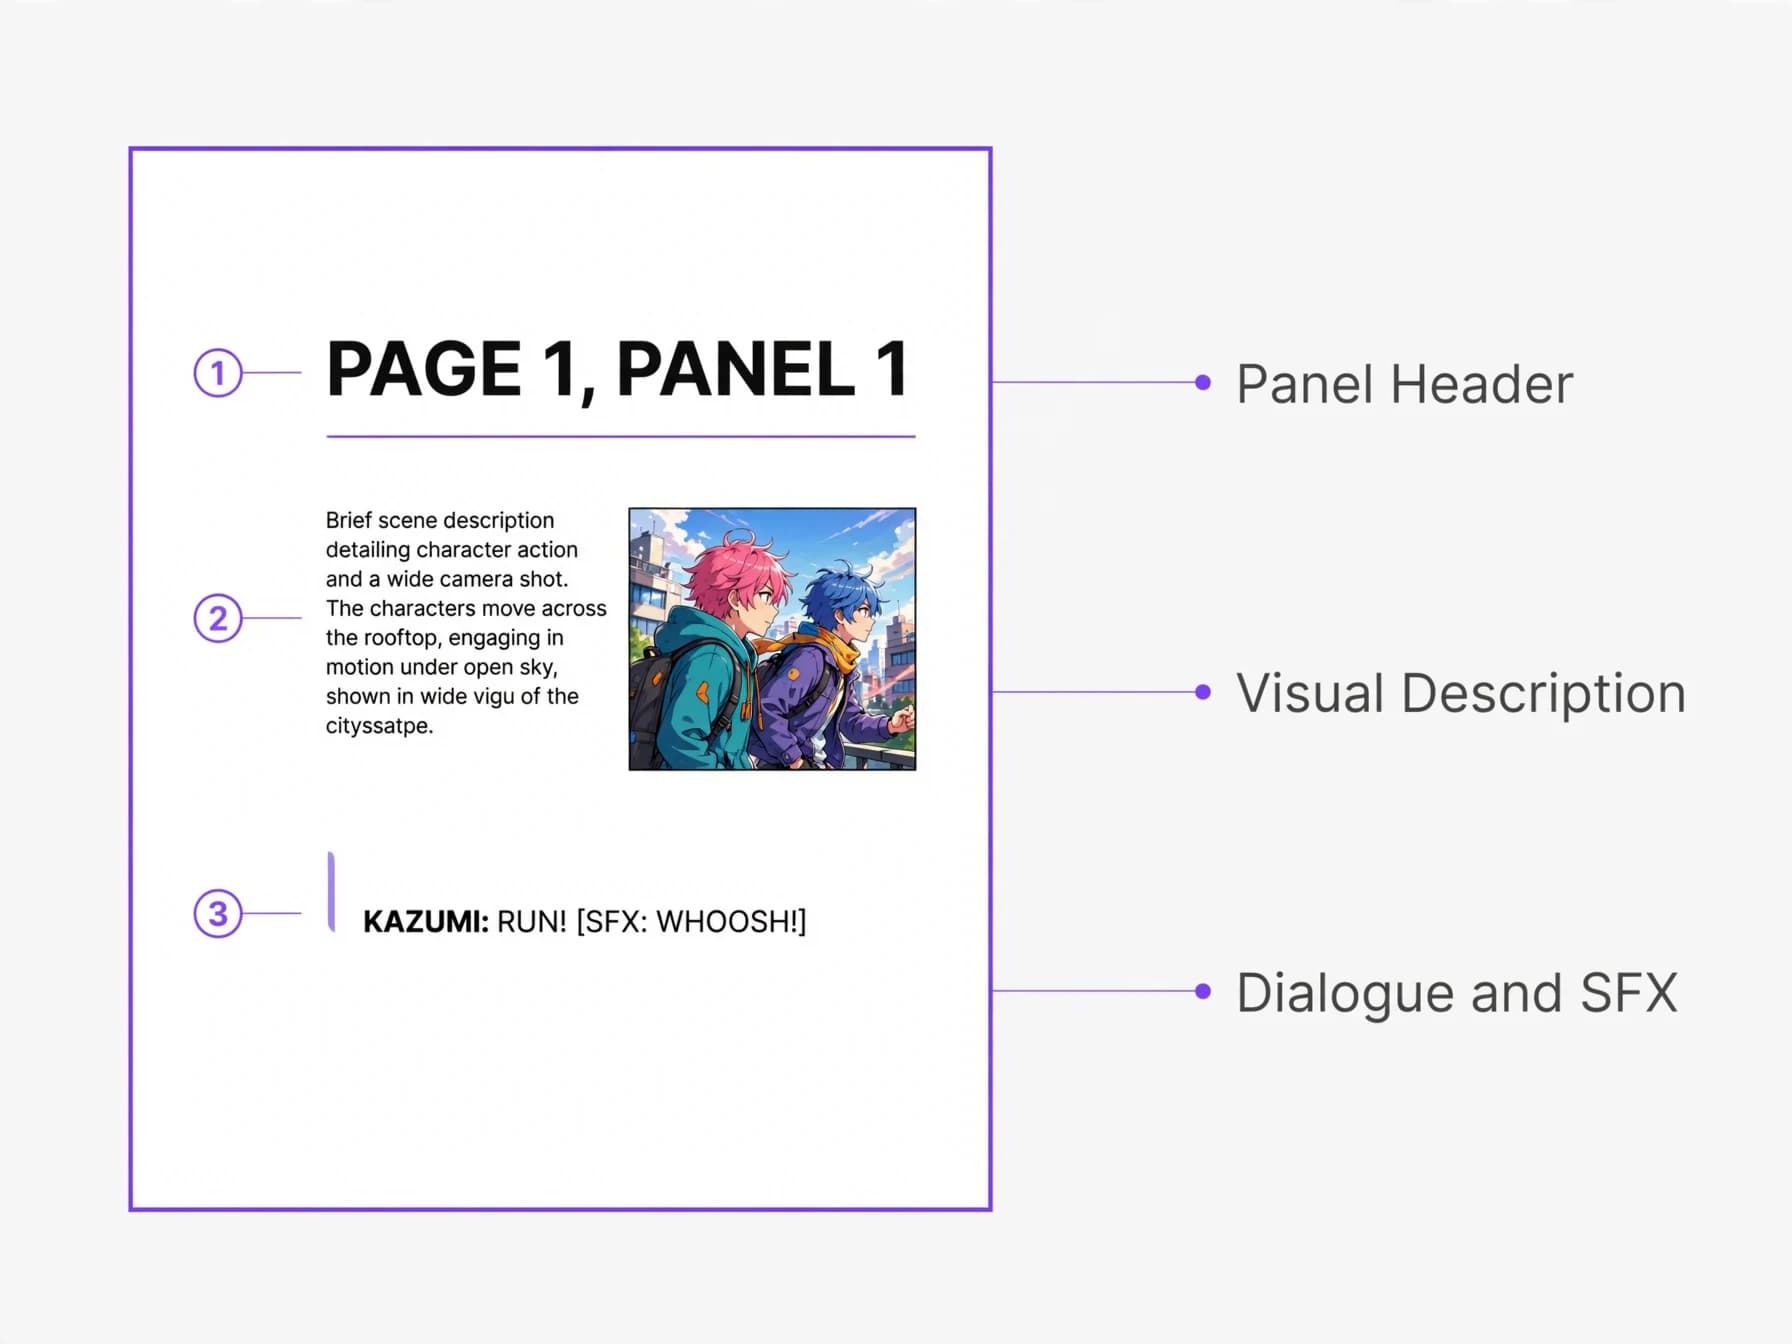
Standard sequential script formatting uses clear labels for page numbers, panel numbers, and dialogue blocks. Each page begins with a capitalized header such as PAGE ONE, followed by individual panel cues like PANEL 1. This clean layout keeps the narrative organized for artists, letterers, and production editors alike.
Beneath each panel header, write a concise visual description outlining character placement, expressions, and what each character is doing. Keep environmental cues brief so the visual flow remains easy to scan at a glance. Specifying camera distance, whether a close-up or wide establishing shot, helps anchor the composition.
Dialogue elements appear directly below the panel description, indented with the speaker's name in bold capital letters. Include parentheticals for whispers or off-panel dialogue, and label sound effects clearly as SFX. Keeping your formatting consistent prevents miscommunication and streamlines the entire production workflow.
Here is a short sample script page you can copy and adapt:
PAGE ONE (four panels)
PANEL 1. Wide shot. A rainy rooftop at night. MIRA (17, short silver hair, oversized yellow raincoat) crouches at the edge, watching the street below.
CAPTION: Three nights. Same corner. Same stranger.
PANEL 2. Close-up on Mira's eyes, narrowed.
MIRA: There you are.
PANEL 3. Mira's point of view. Far below, a figure in a long coat looks straight up at her.
PANEL 4. Mira jerks back from the edge, her raincoat flaring.
SFX: FWUMP
MIRA (whisper): He can't have seen me.
How to write a comic script in four practical steps
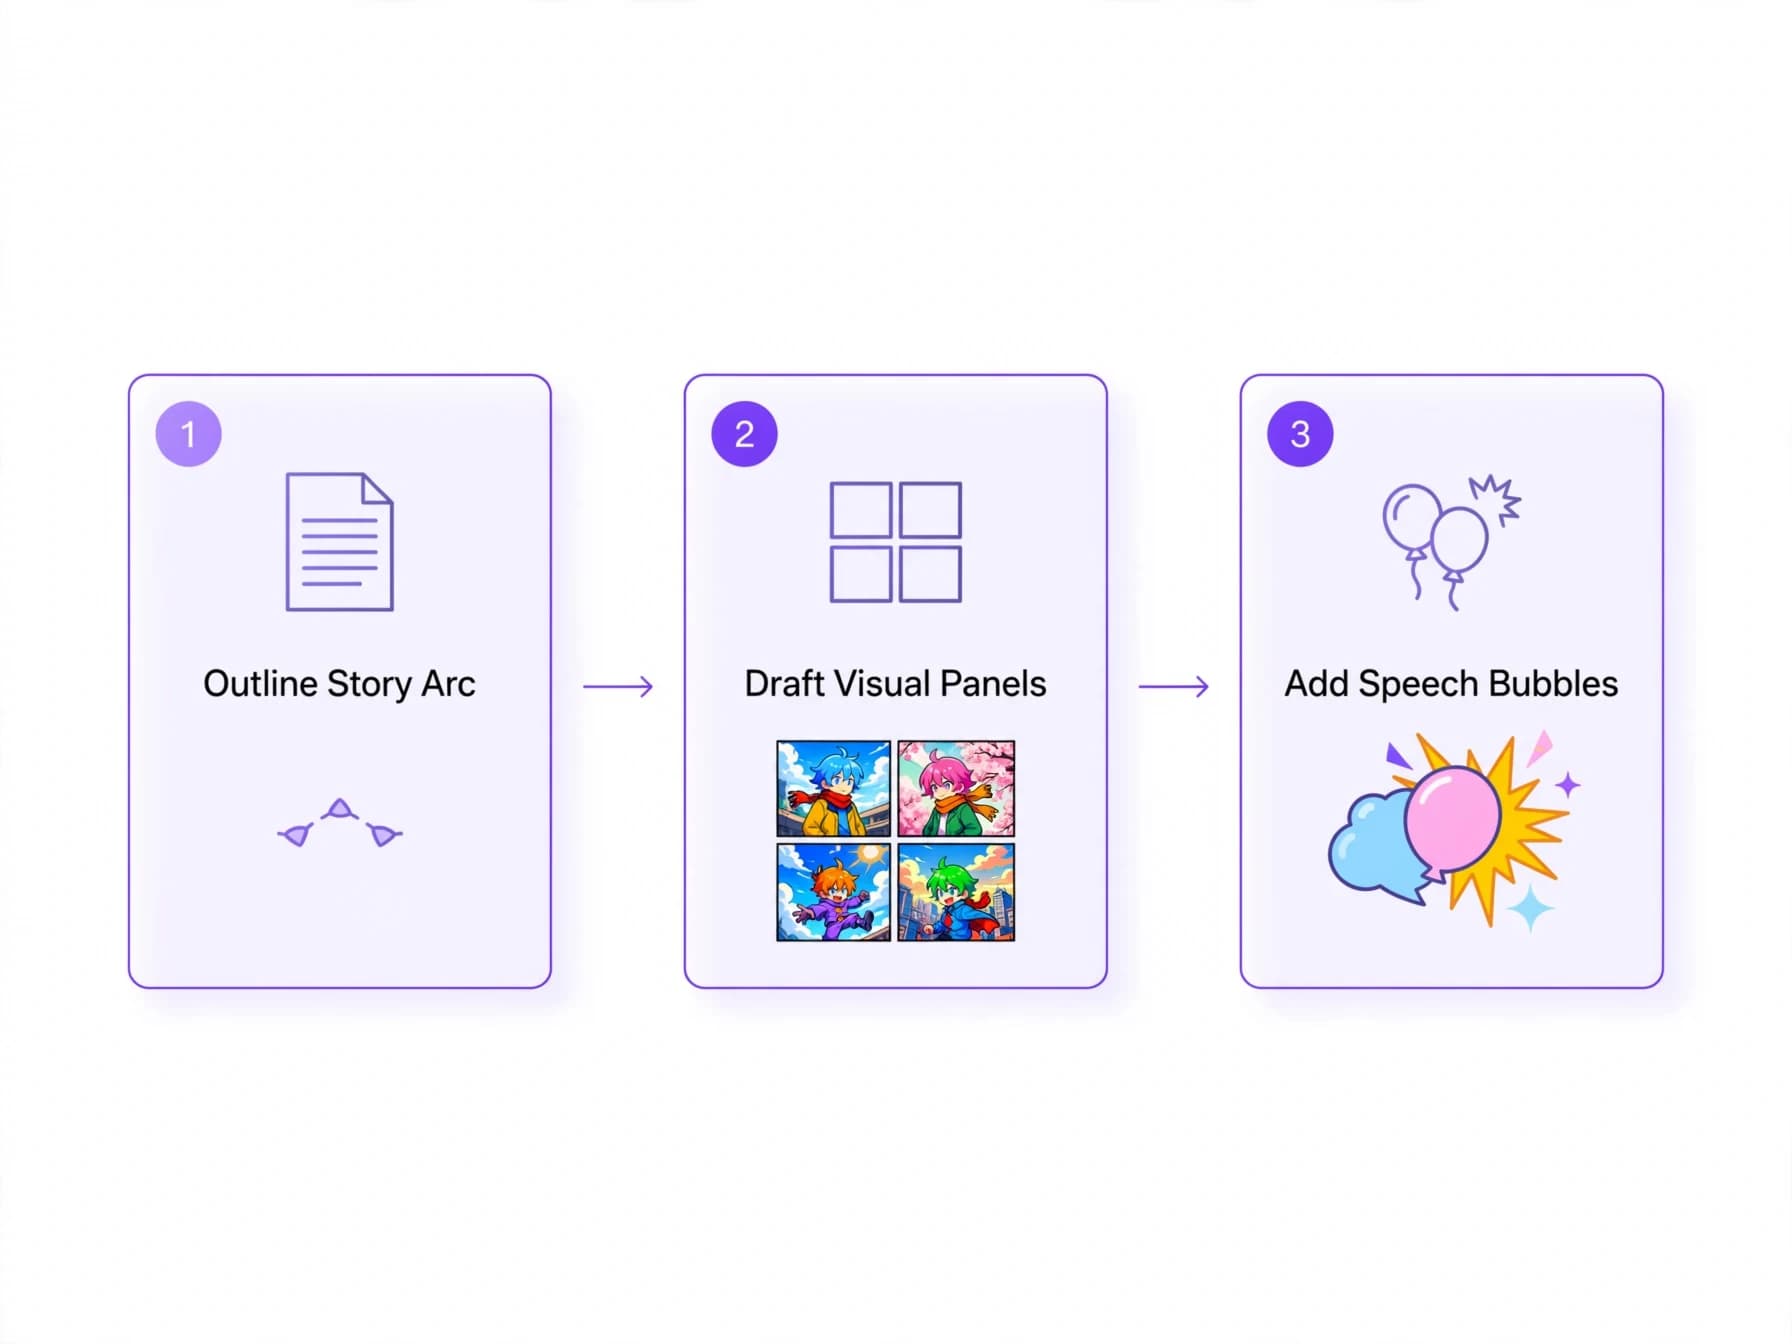
Step 1: Outline your story arc and determine page targets before drafting individual scenes
If you don't have a premise yet, pick one from these comic ideas and give it a clear goal and obstacle. Decide the total page count early, whether you plan a four-panel strip or a twelve-page comic chapter. If you are tailoring your script for traditional Japanese panel pacing, reviewing how to make a manga provides helpful structural insights. Knowing your page budget prevents runaway subplots and helps you map key reveals to dramatic page-turn positions.
Step 2: Break down each page into individual panels with distinct narrative beats
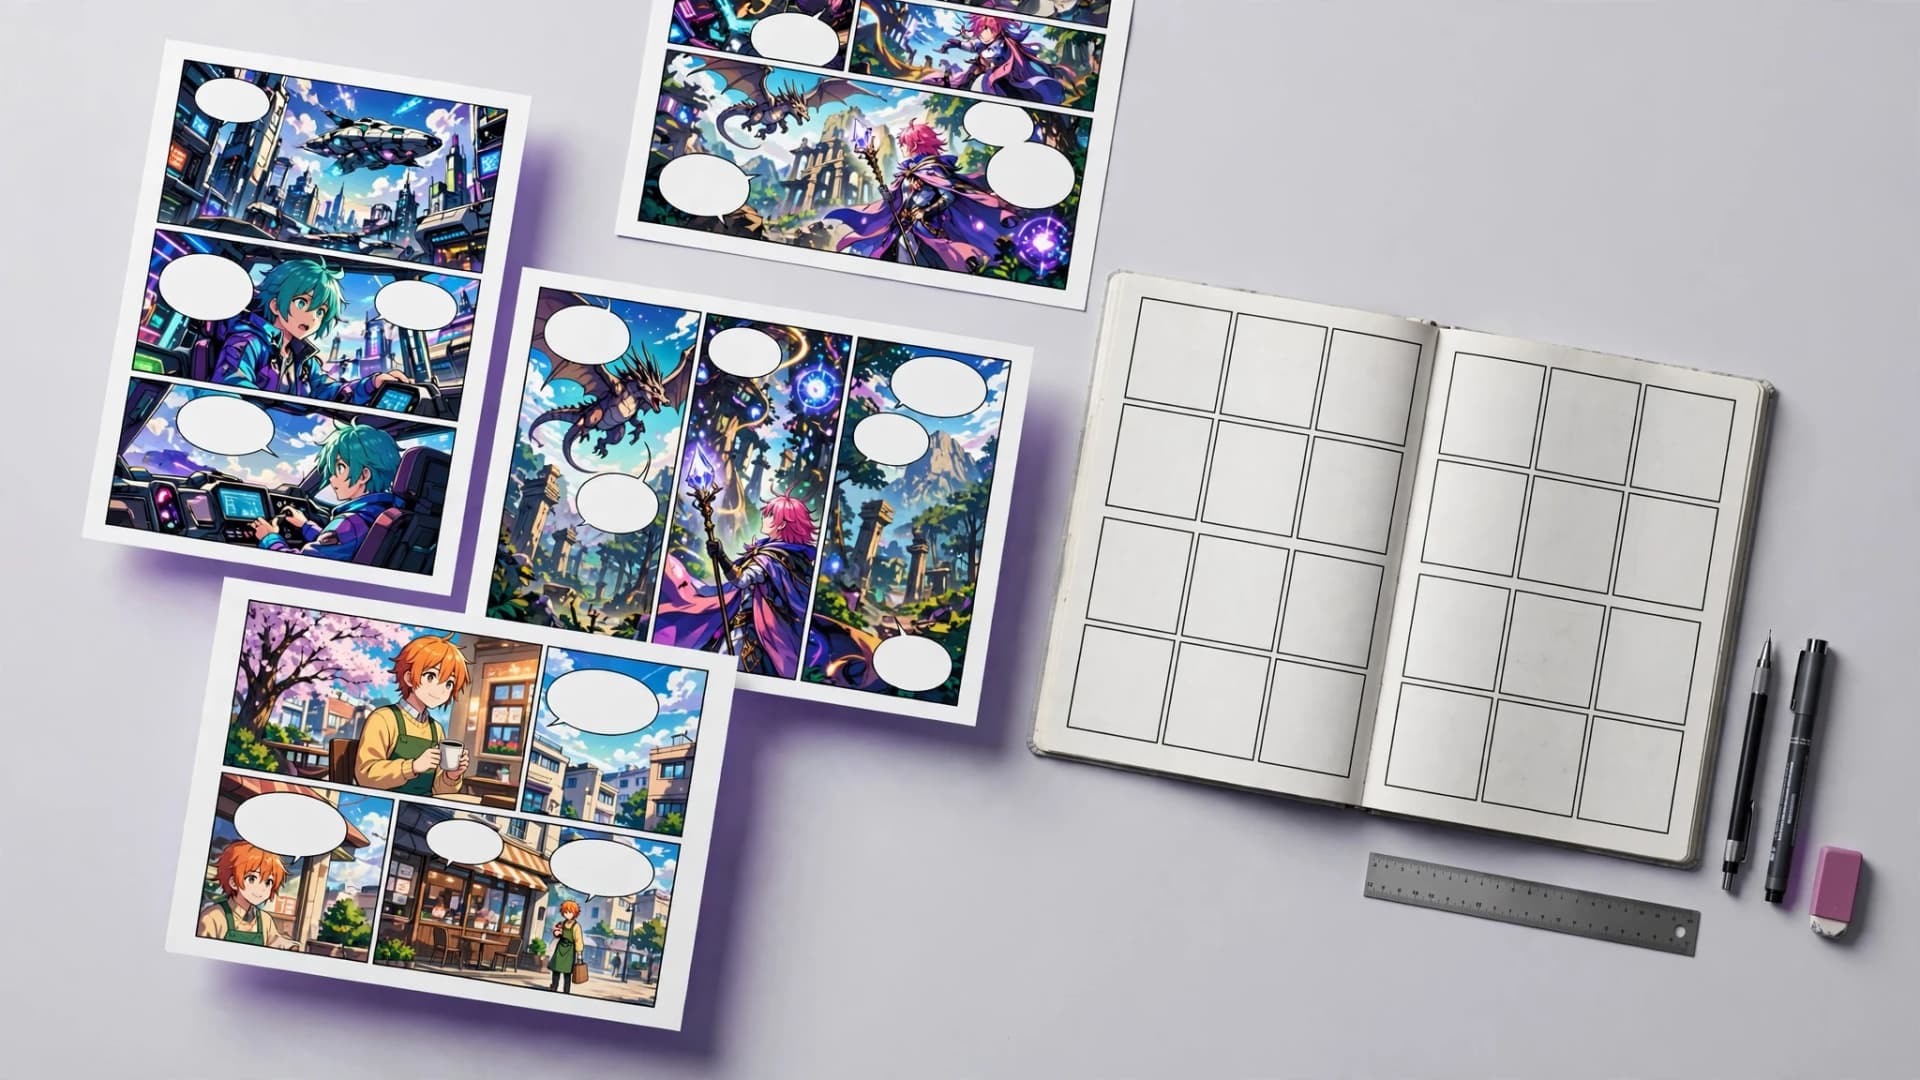
Aim for four to six panels per page during dialogue exchanges, dropping to one or two panels for impactful climaxes. You can study effective comic panel layout techniques to discover how panel sizing guides reader focus.
Step 3: Write visual descriptions focusing on action, emotion, and environment for each frame
Keep character movement clear and avoid packing multiple consecutive motions into a single frame.
Step 4: Add character dialogue, narration captions, and sound effects to complete the draft
Review the finished pass out loud to verify that the speech flows naturally and every panel shows one clear moment.
Building a comic script template for faster drafting
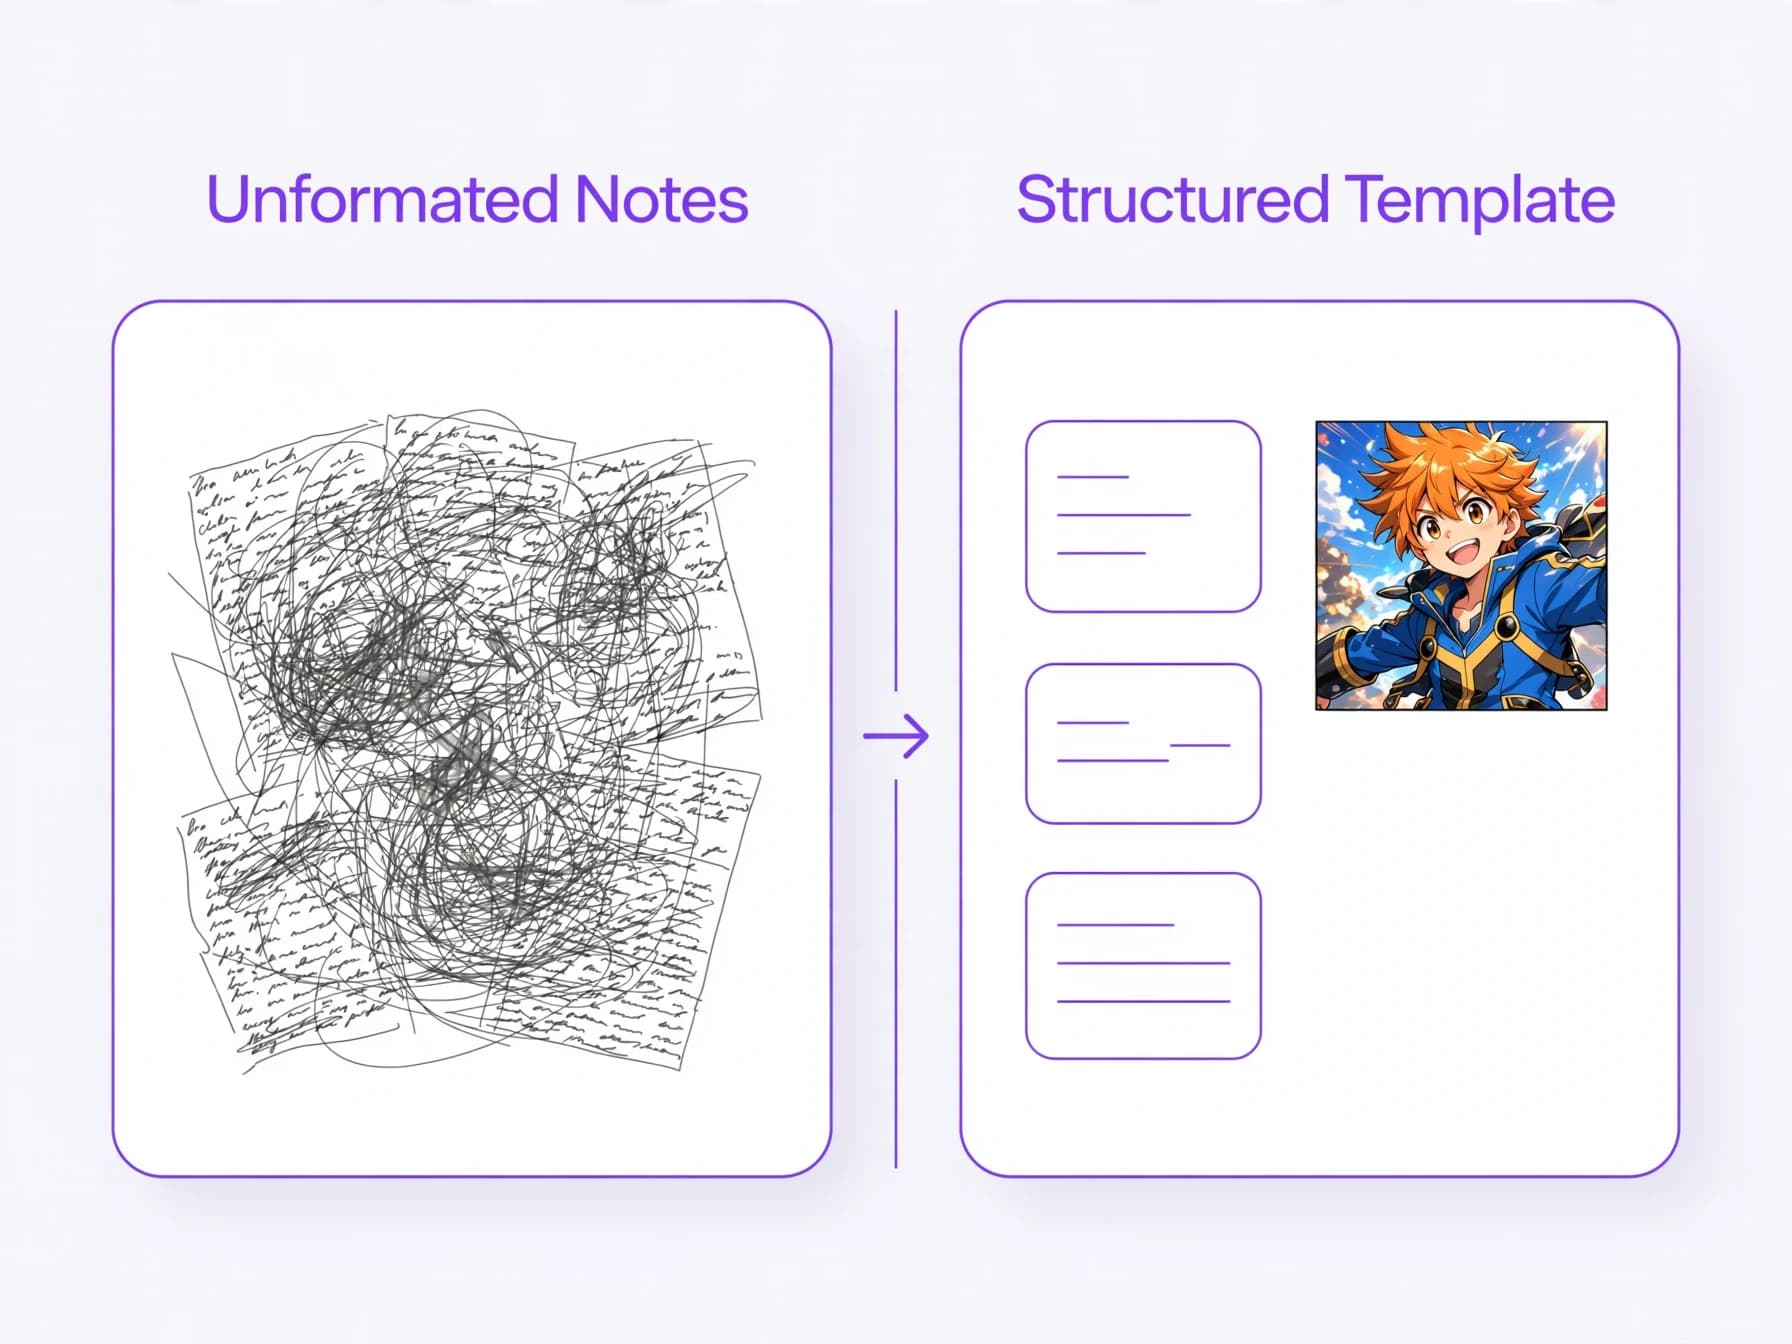
A reliable script template saves hours of repetitive formatting and keeps your writing disciplined across multiple issues. Setting up preset styles for page headings, panel labels, character dialogue, and caption boxes speeds up your keyboard workflow. Standard word processors or plain text editors work perfectly when paired with consistent margins and indentations.
When drafting pages inside your template, separate visual panel directions from spoken lines with clear line breaks. This separation makes it easy to audit dialogue density, ensuring speech bubbles will not obscure vital background art. Whether you illustrate the pages manually or import your scene into a comic book maker, clean formatting accelerates production. If you plan to create longer works, explore our guide on how to make a graphic novel for expanded structure ideas.
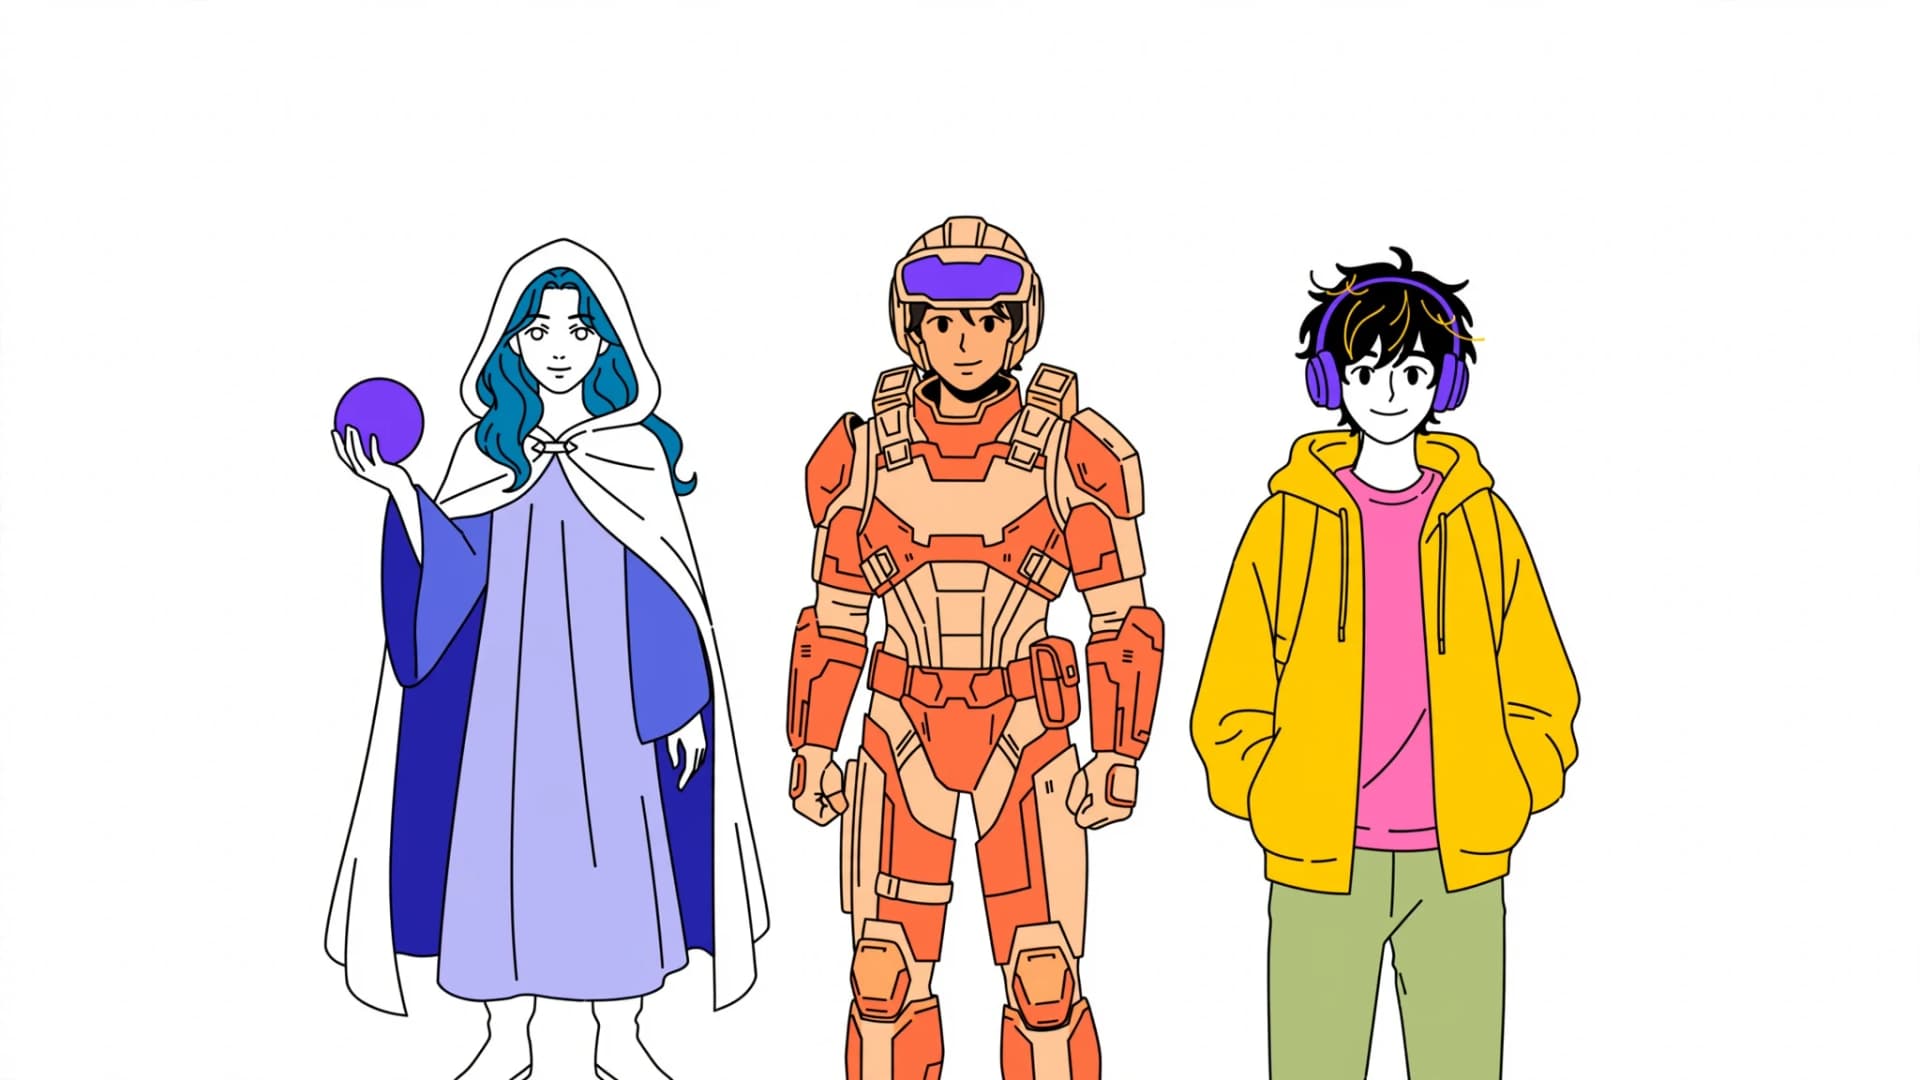
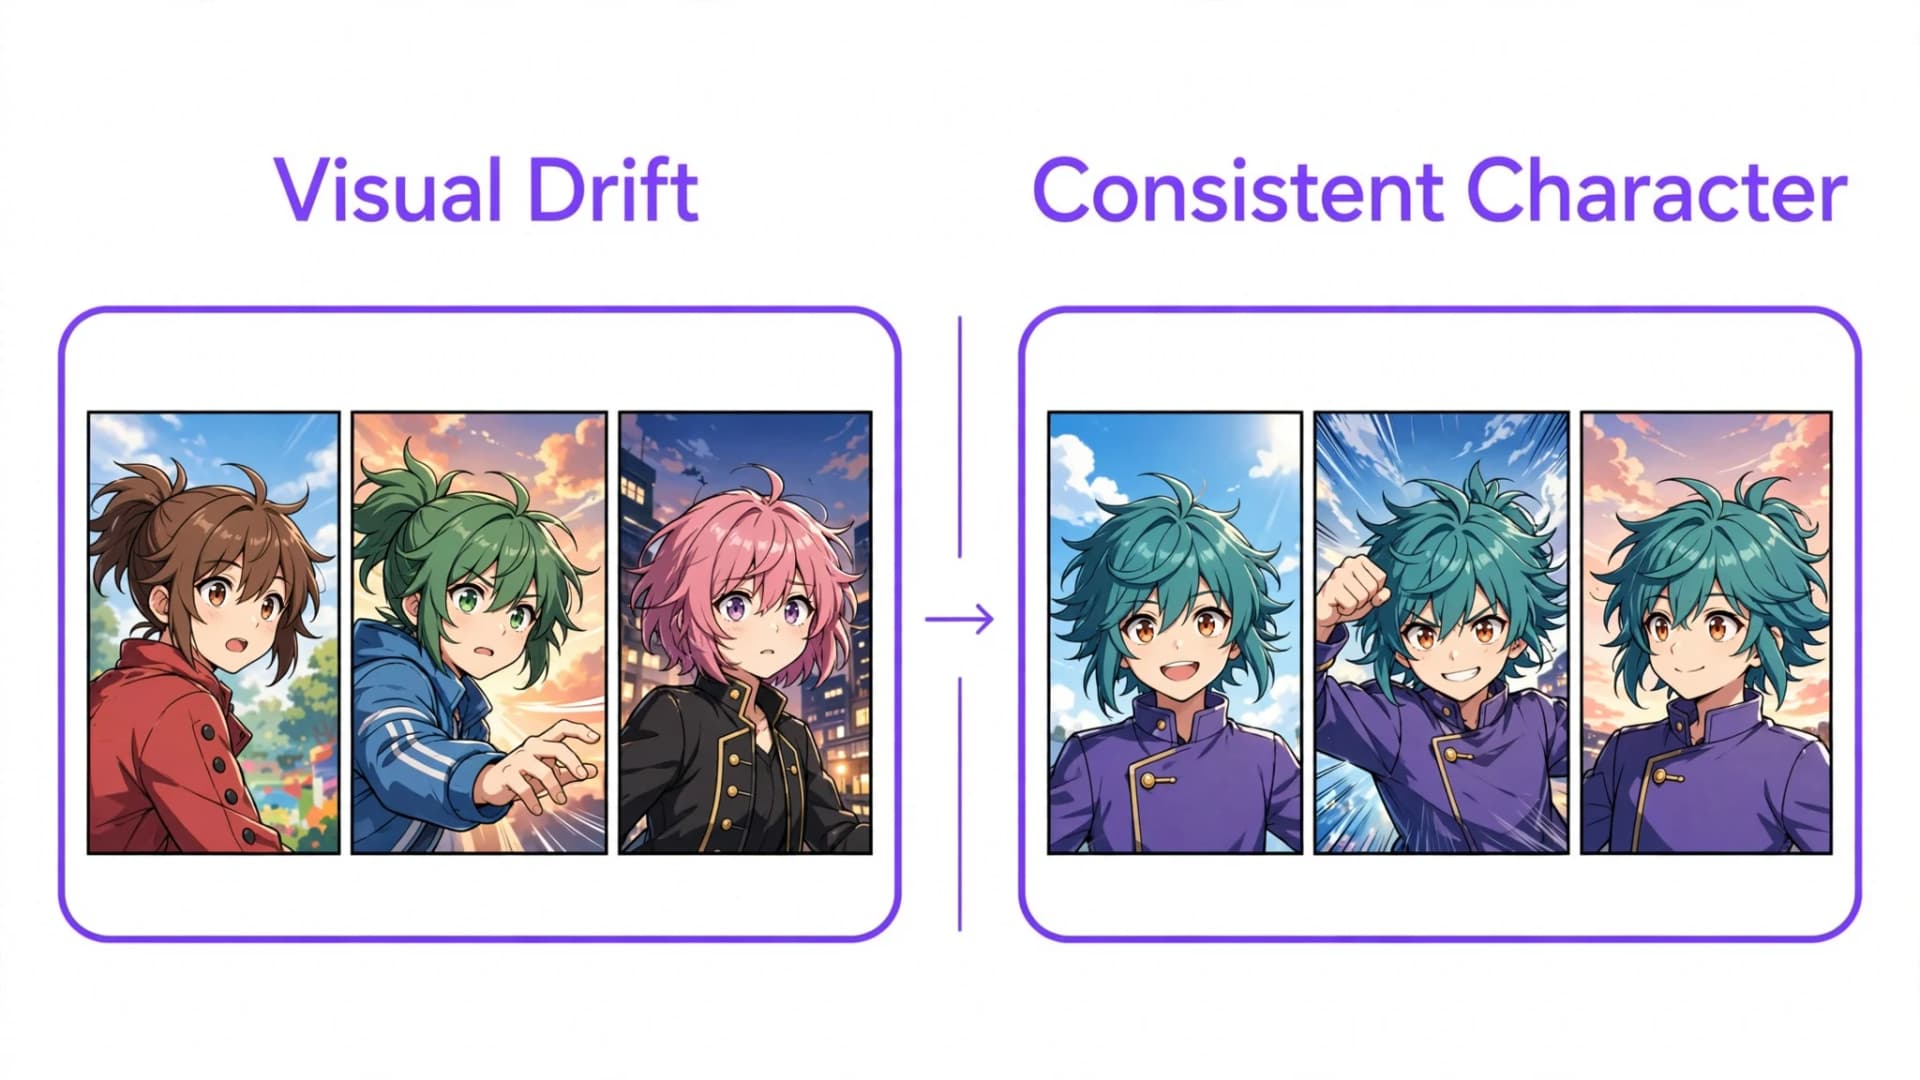
Keep reusable character tags and recurring location descriptions stored at the top of your master template file. Having character visual cues readily available helps maintain continuity across long storylines without redundant typing. An organized template lets you focus entirely on compelling dialogue and imaginative visual moments.
Comic script writing tips for new creators
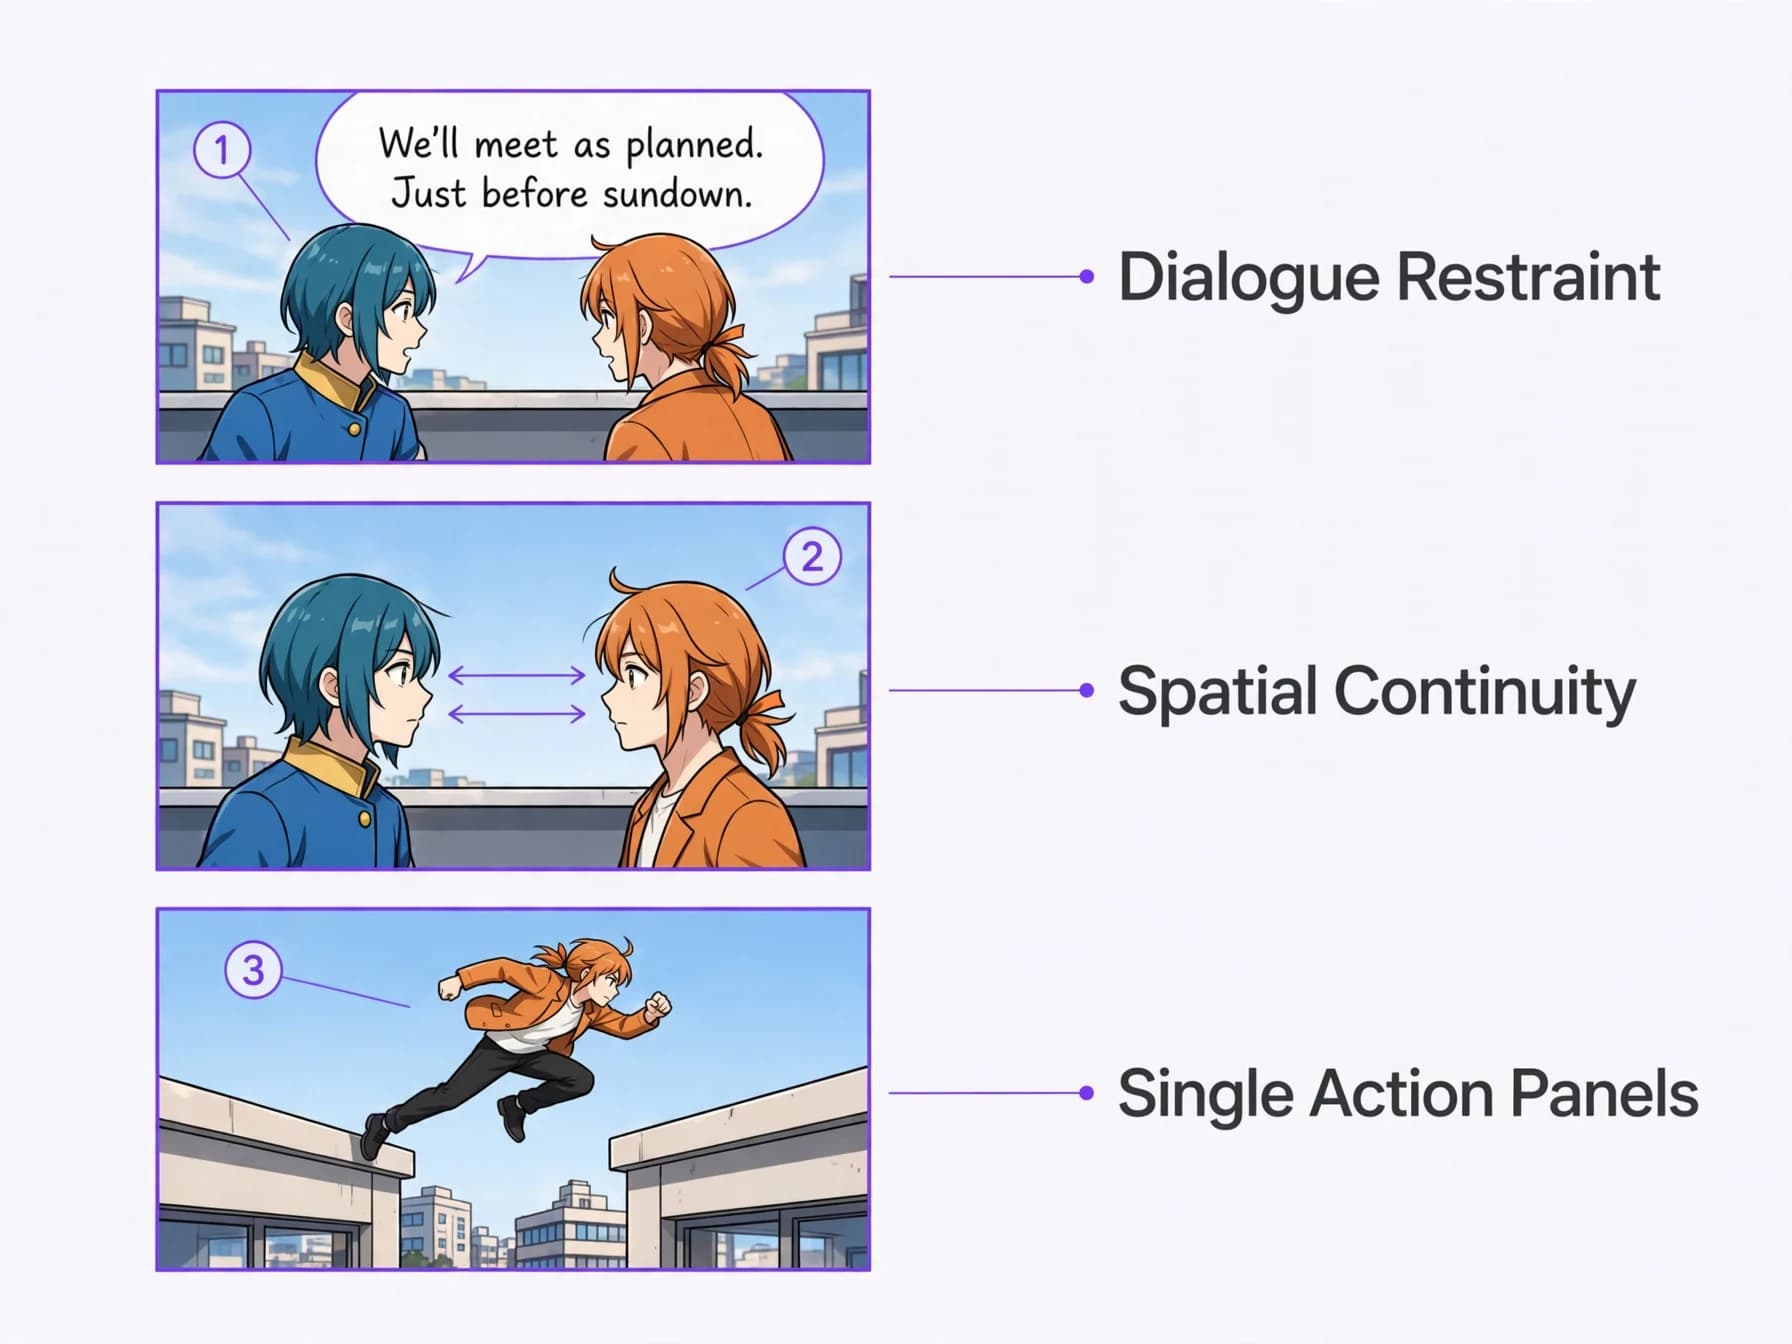
The most valuable dialogue and pacing tips center on restraint and spatial awareness. A standard comic panel comfortably holds about twenty-five to thirty-five words of dialogue in total before speech bubbles begin crowding out the artwork. Trimming exposition and allowing expressive character poses to convey subtext creates a punchier reading experience.
Always adhere to the 180-degree rule of cinematic framing to maintain spatial continuity between consecutive panels. If two characters face each other, keep their screen direction consistent from panel to panel so readers never feel disoriented. Whenever you write scenes with multiple speakers, map out their physical positions in your mind first.
Avoid describing two sequential actions within a single frozen panel description. A character cannot jump through a window and land on the sidewalk in the same static frame. Splitting complex physical sequences across multiple panels preserves realistic motion and gives your visual artist room to breathe.
Testing your story with Yume Comic before full production
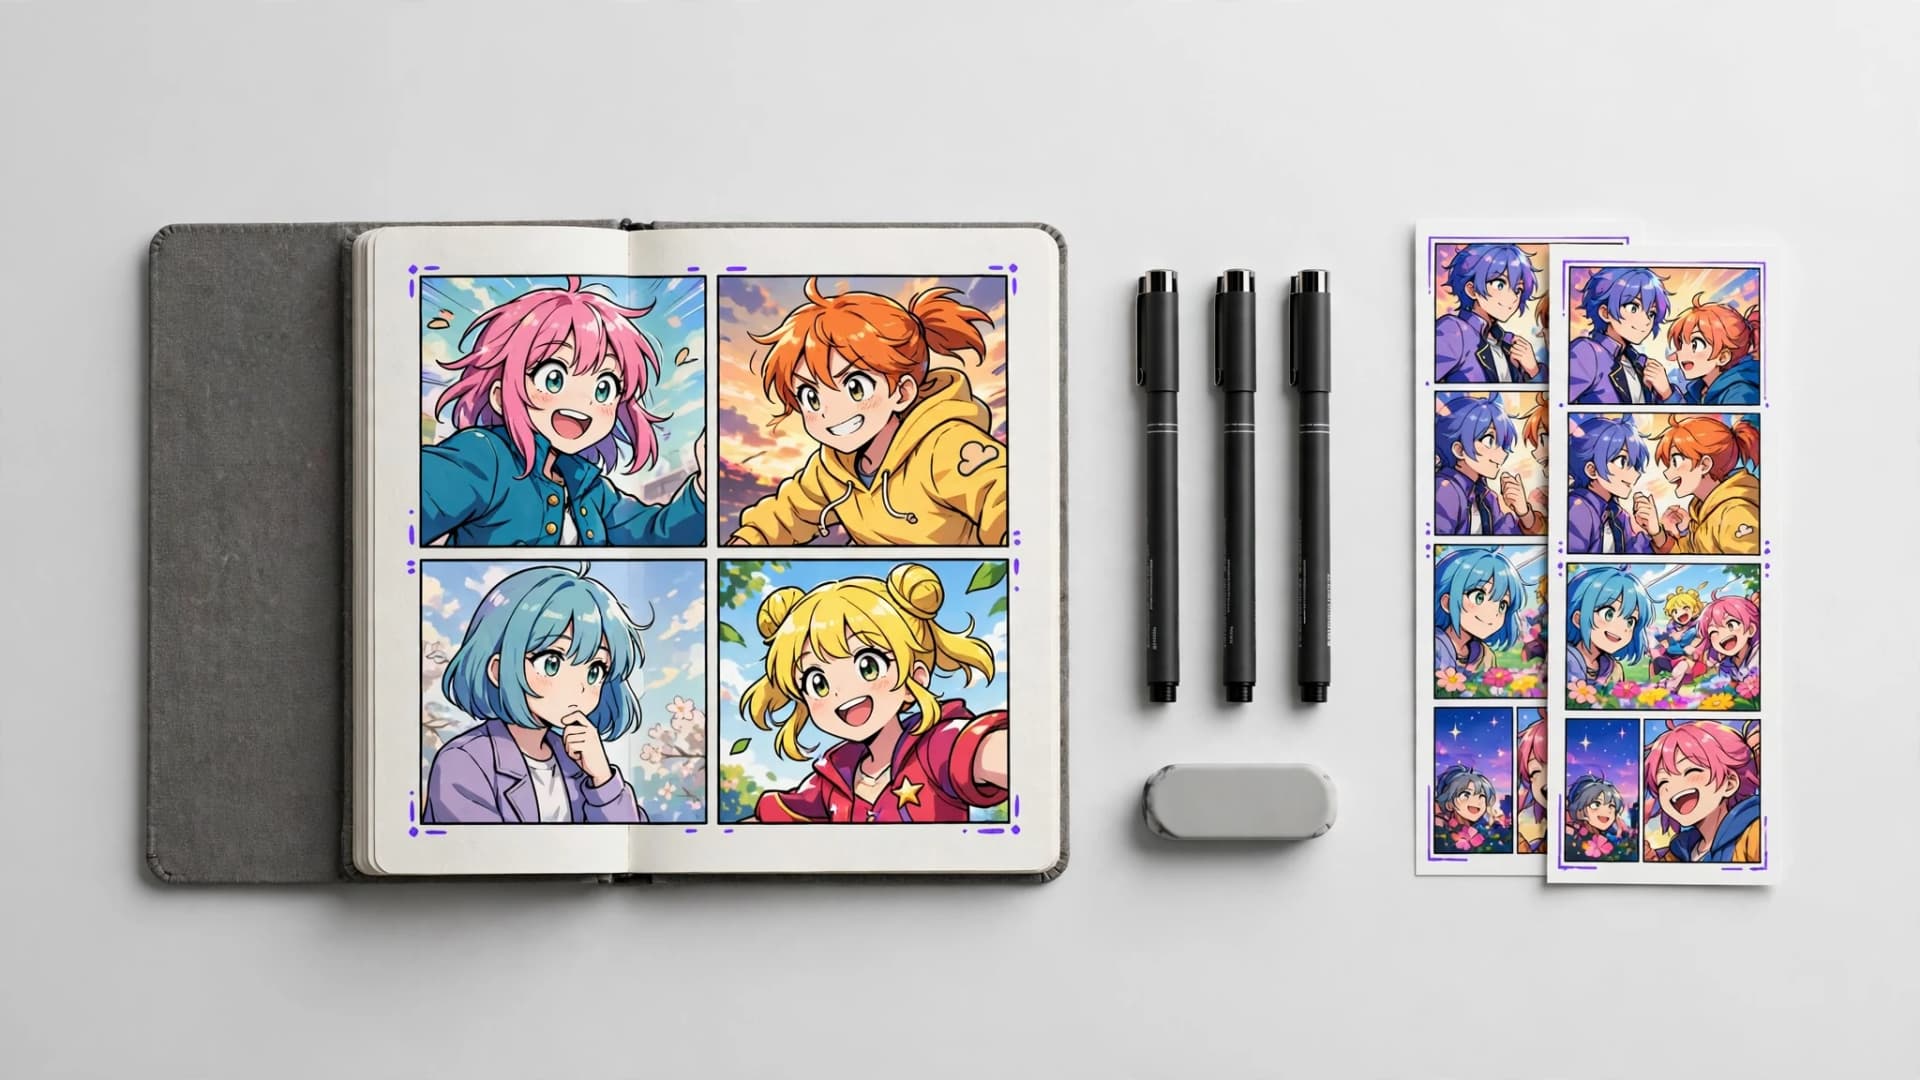
Once your draft is complete, seeing your story in visual panels helps reveal pacing flaws and dialogue awkwardness. While traditional production requires months of penciling and inking, modern creators can test ideas on real pages with an ai comic generator and visual comic maker. Seeing characters speak your dialogue inside structured panel grids proves whether a scene works visually.
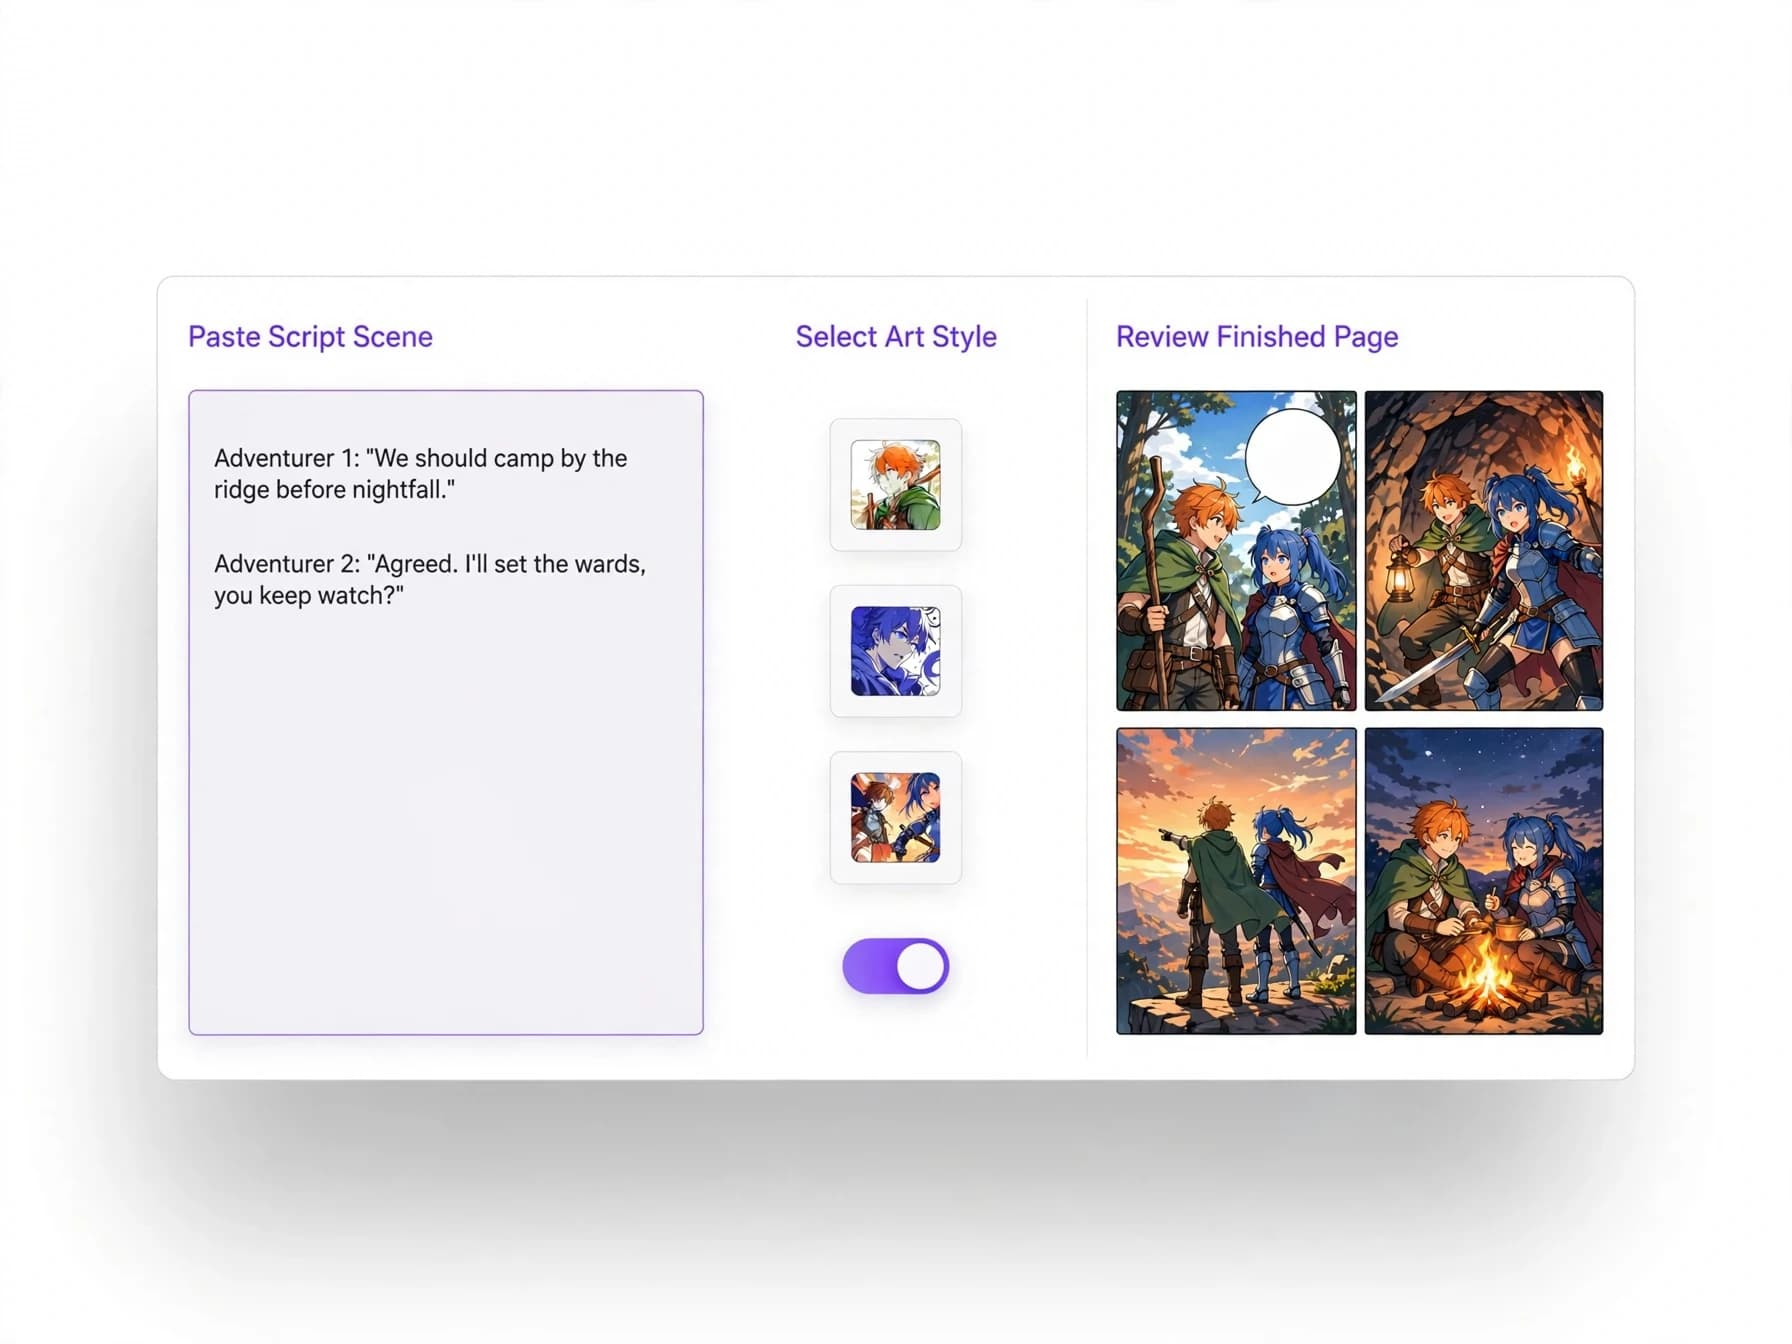
With Yume Comic, you can paste your script scene directly into the web app, select from about thirty manga and webtoon art styles, and generate multi-panel pages. You can save up to four characters per comic using descriptions or reference images, keeping visual continuity stable from page to page (Pro plans allow up to twelve pages per comic). Signing up provides access to an initial trial page with up to four panels in non-Pro styles.
For creators testing concepts before pitching to collaborators or self-publishing, a rough visual pass shows which scenes need rewriting. You can download your generated pages as clean PNG files without watermarks to review your panel rhythm and dialogue balance. Reviewing your written concepts on an actual page gives you the confidence to polish your final draft.