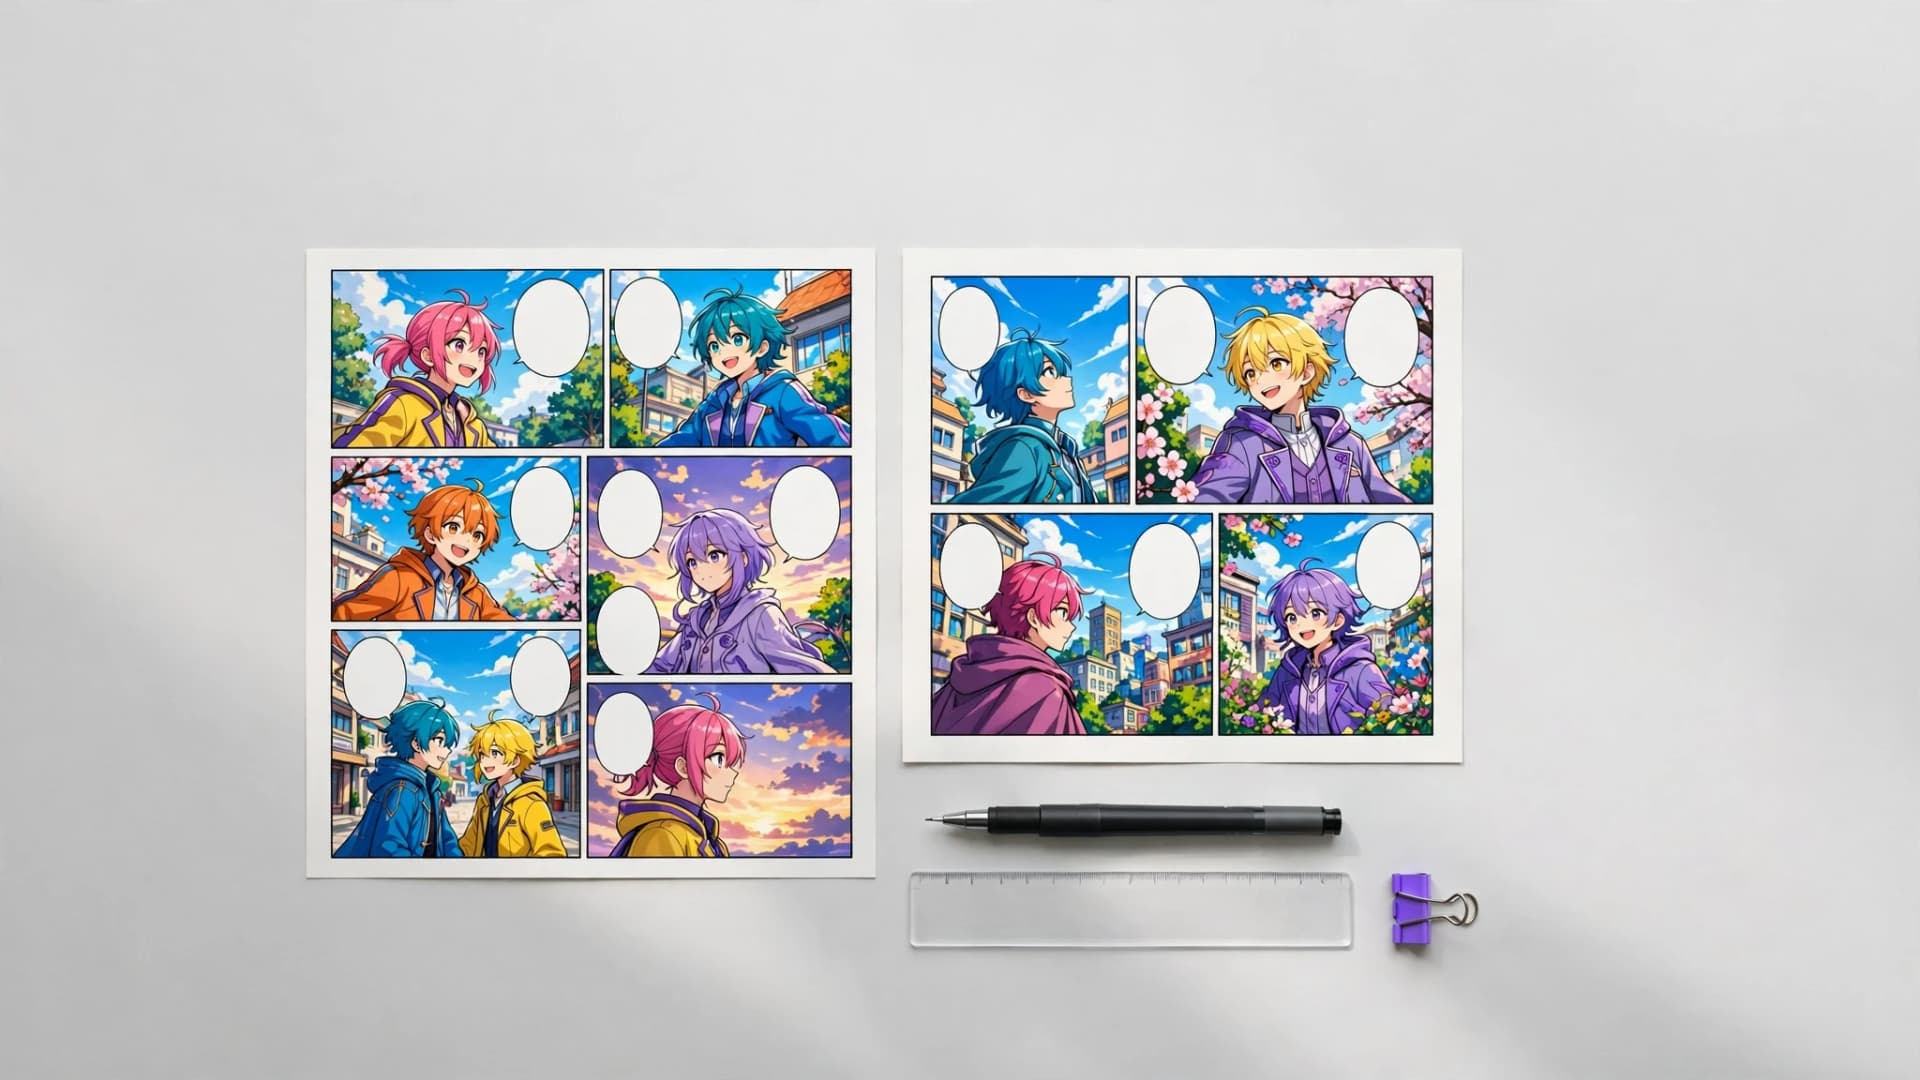

Plotting your story and script structure
Learning how to make a comic book begins with a focused script and defined cast members. You do not need professional screenwriting software to organize your story before drawing. A simple document that outlines what happens in each scene provides the necessary foundation for visual storytelling. If you are searching for inspiration before writing, browsing creative comic ideas can help you discover an engaging premise.
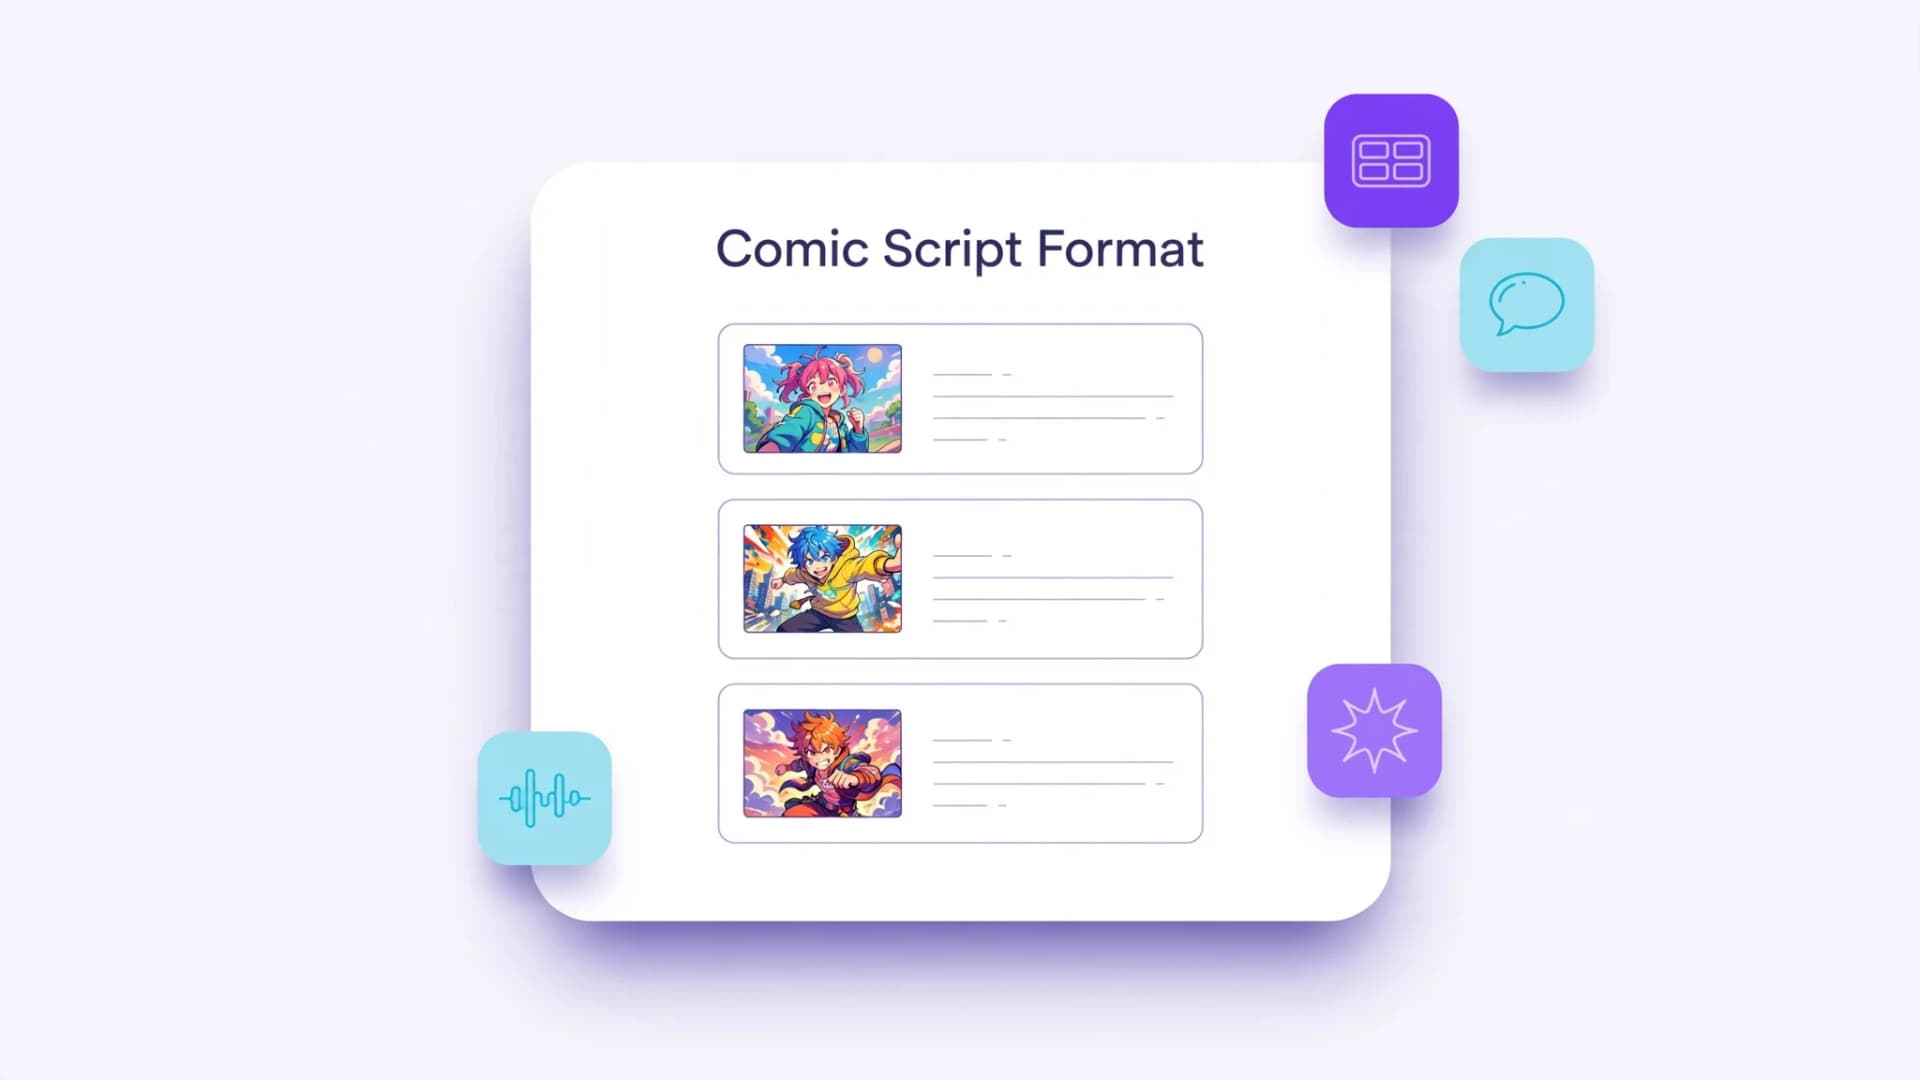
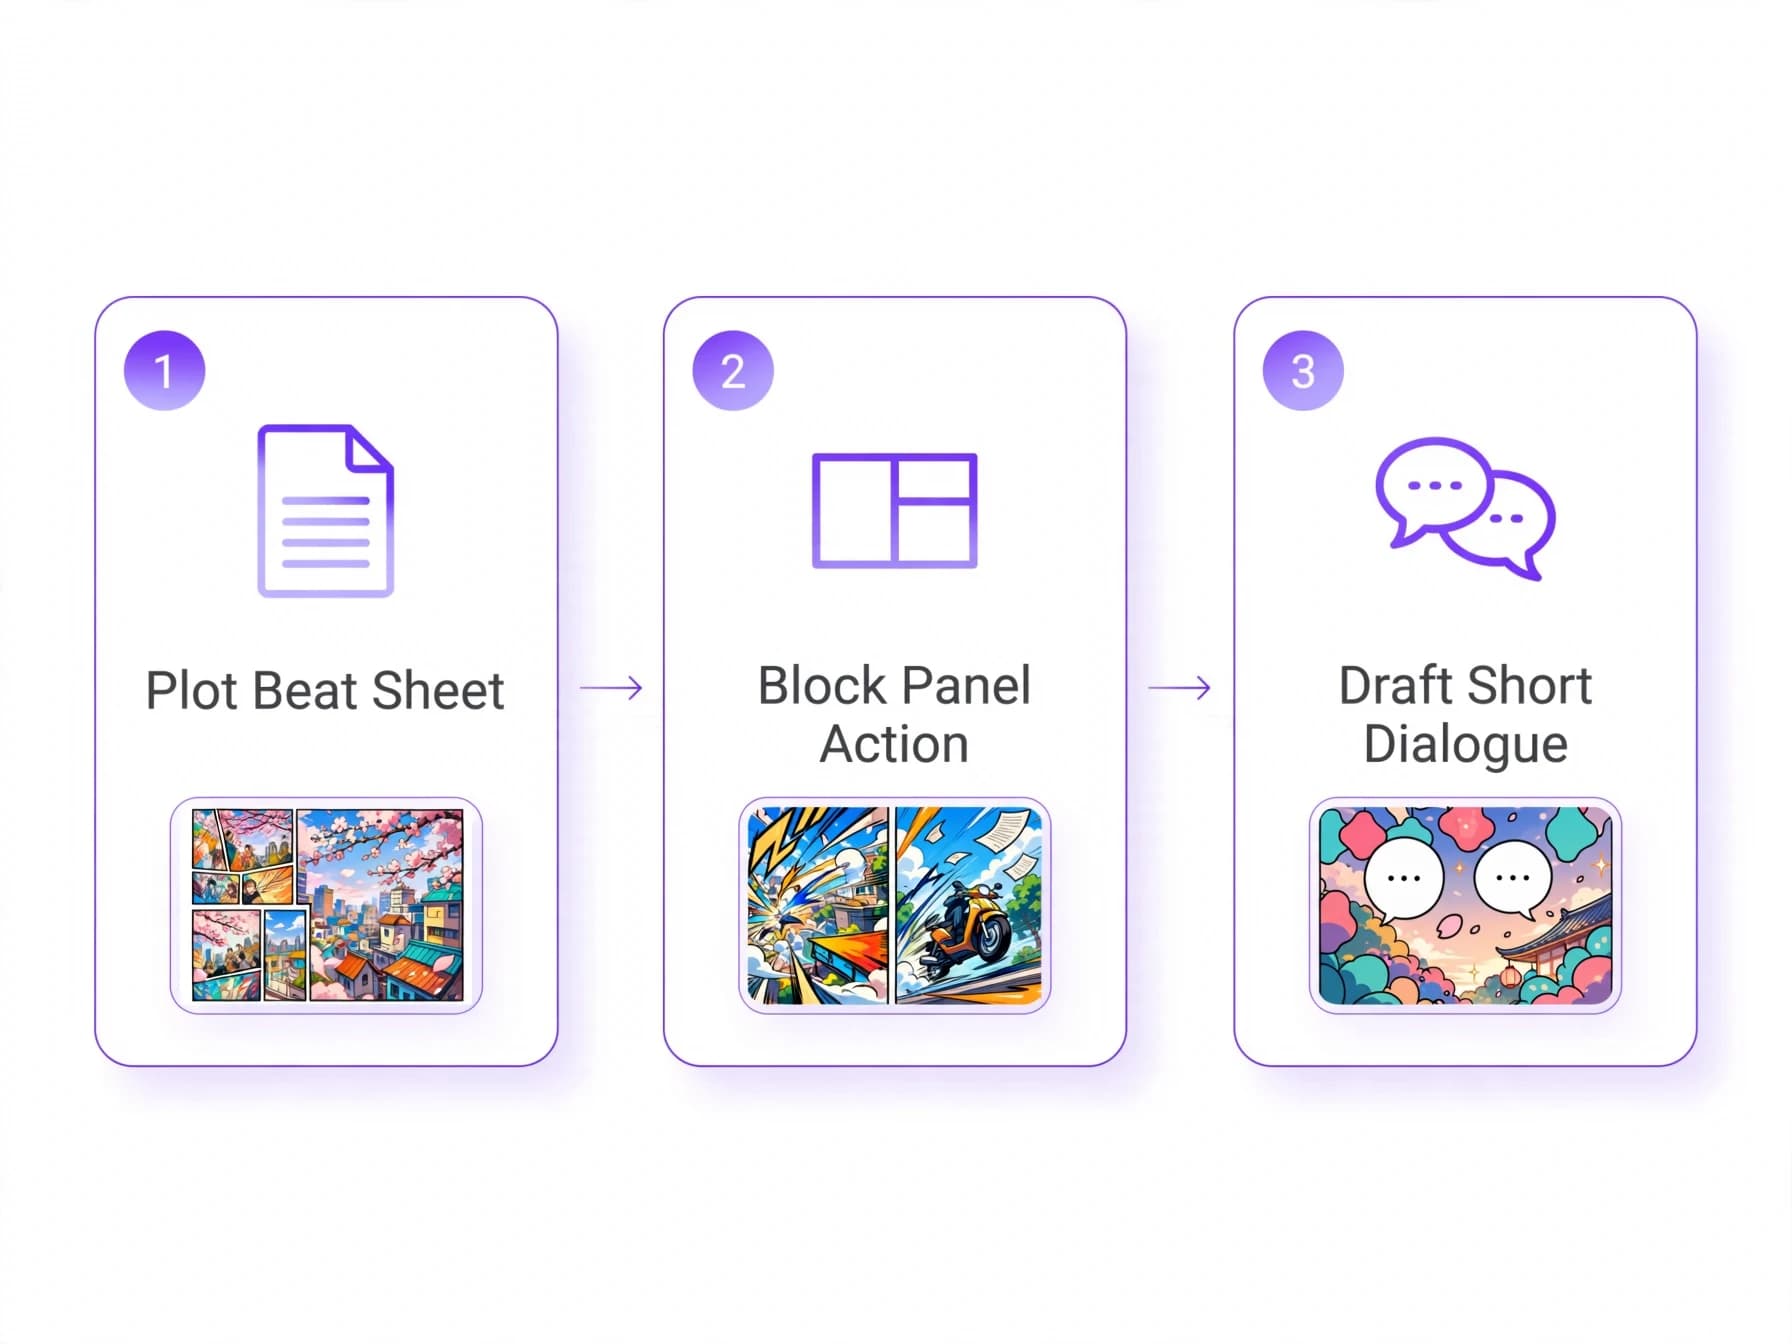
Write a beat sheet. Break your overarching plot into individual moments of action and emotional turns. Each page of a standard story contains roughly three to six narrative beats that advance the plot. When you clearly separate setting descriptions from character dialogue, pacing panels becomes much easier.
Draft panel dialogue. Keep spoken lines brief so word balloons do not overwhelm the artwork. Plan your dialogue so that each speaker has room to breathe on the page without crowding the figures. Once your script details who speaks and what action occurs, you can transition smoothly into thumbnailing your pages.
Designing comic book layouts that guide the reader's eye
Panel composition directs how readers scan actions and absorb emotions across a printed page or digital scroll. Western comics read from top left to bottom right, while traditional manga reads right to left. Establishing a logical reading path prevents confusion and keeps the narrative momentum moving forward.
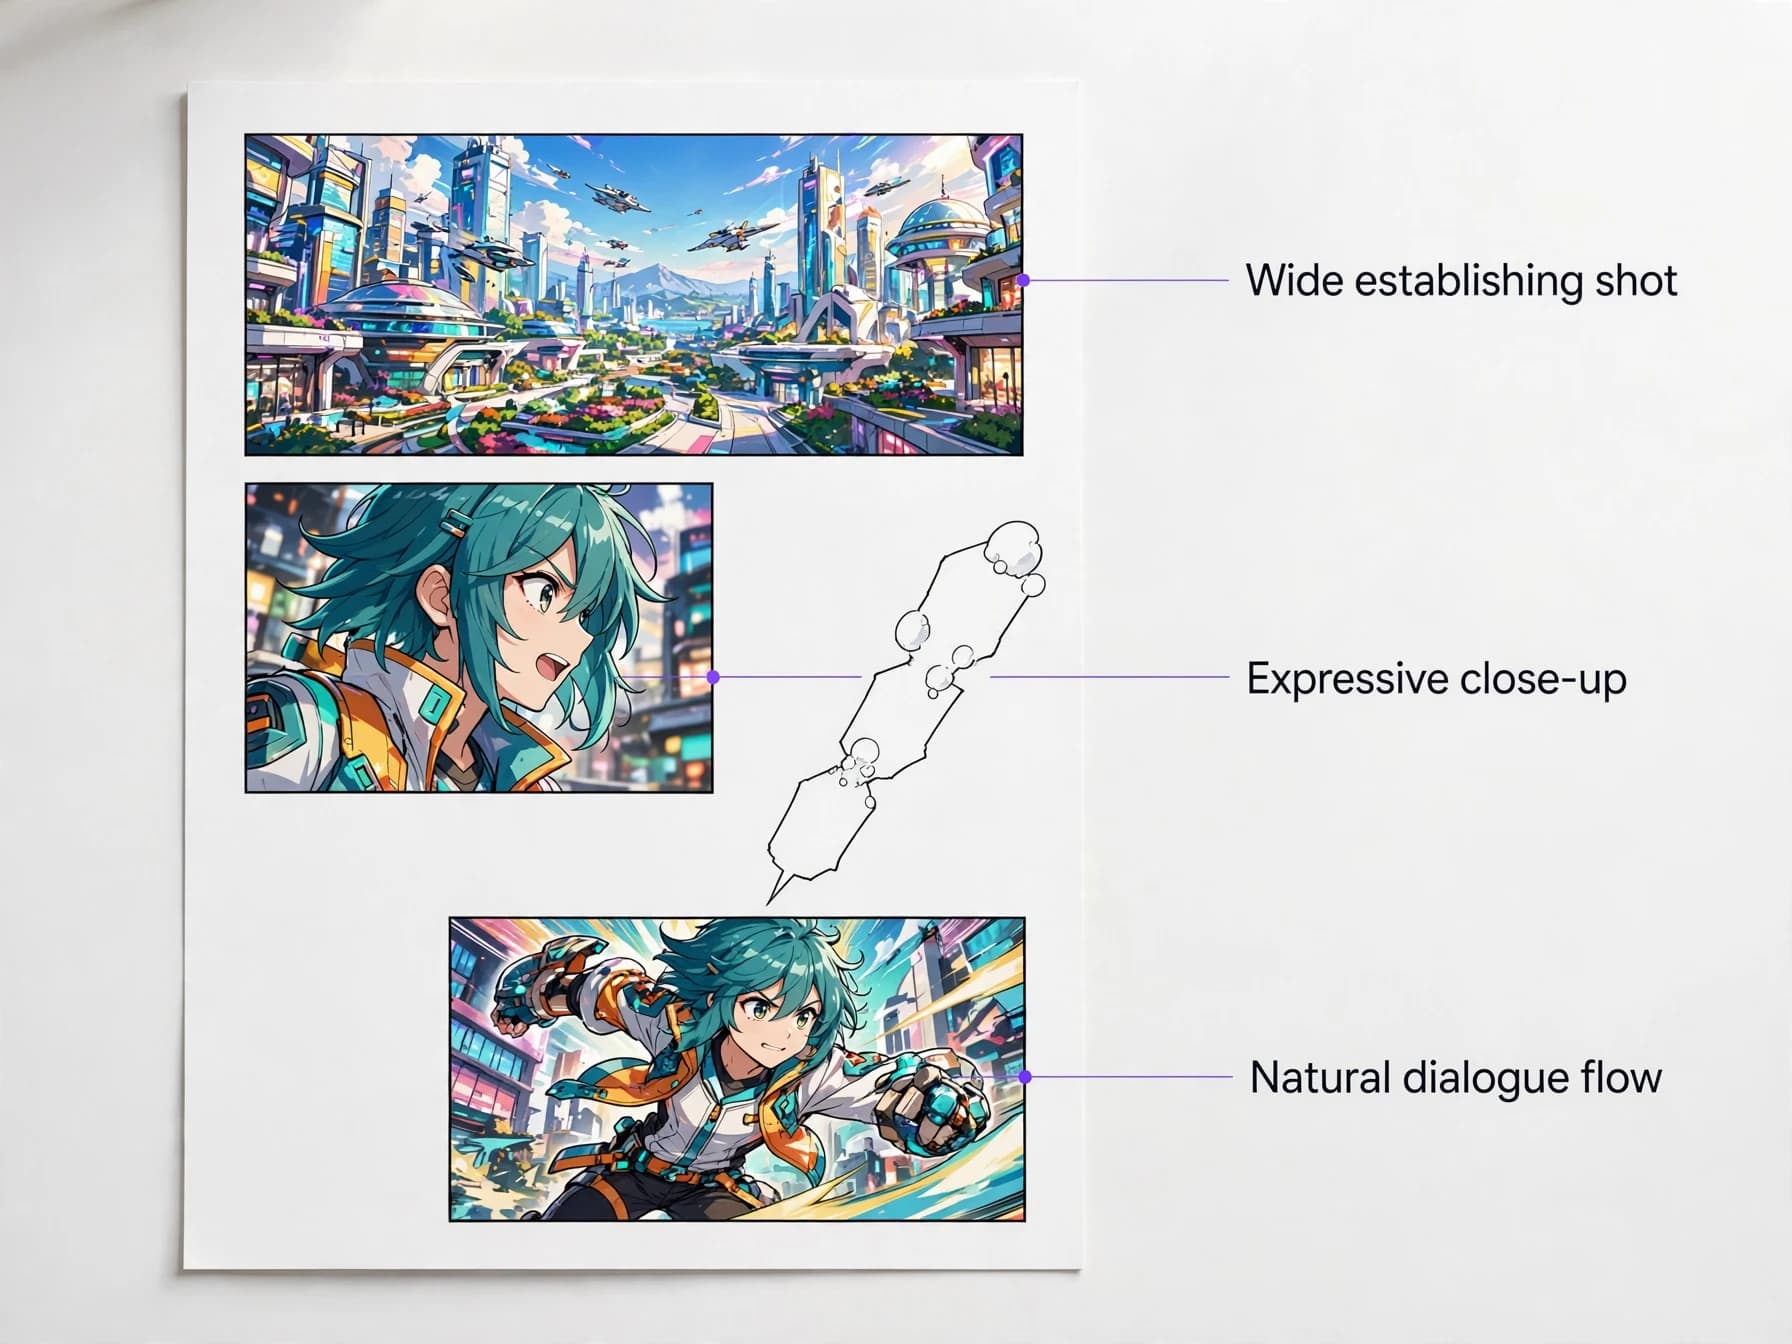
Establish focal points. Place your primary action or main character along natural visual entry points in each panel. Contrast lighting or bold silhouettes can instantly tell the reader where to look first. Varying camera distances from wide establishing shots to intense closeups keeps the sequence visually engaging.
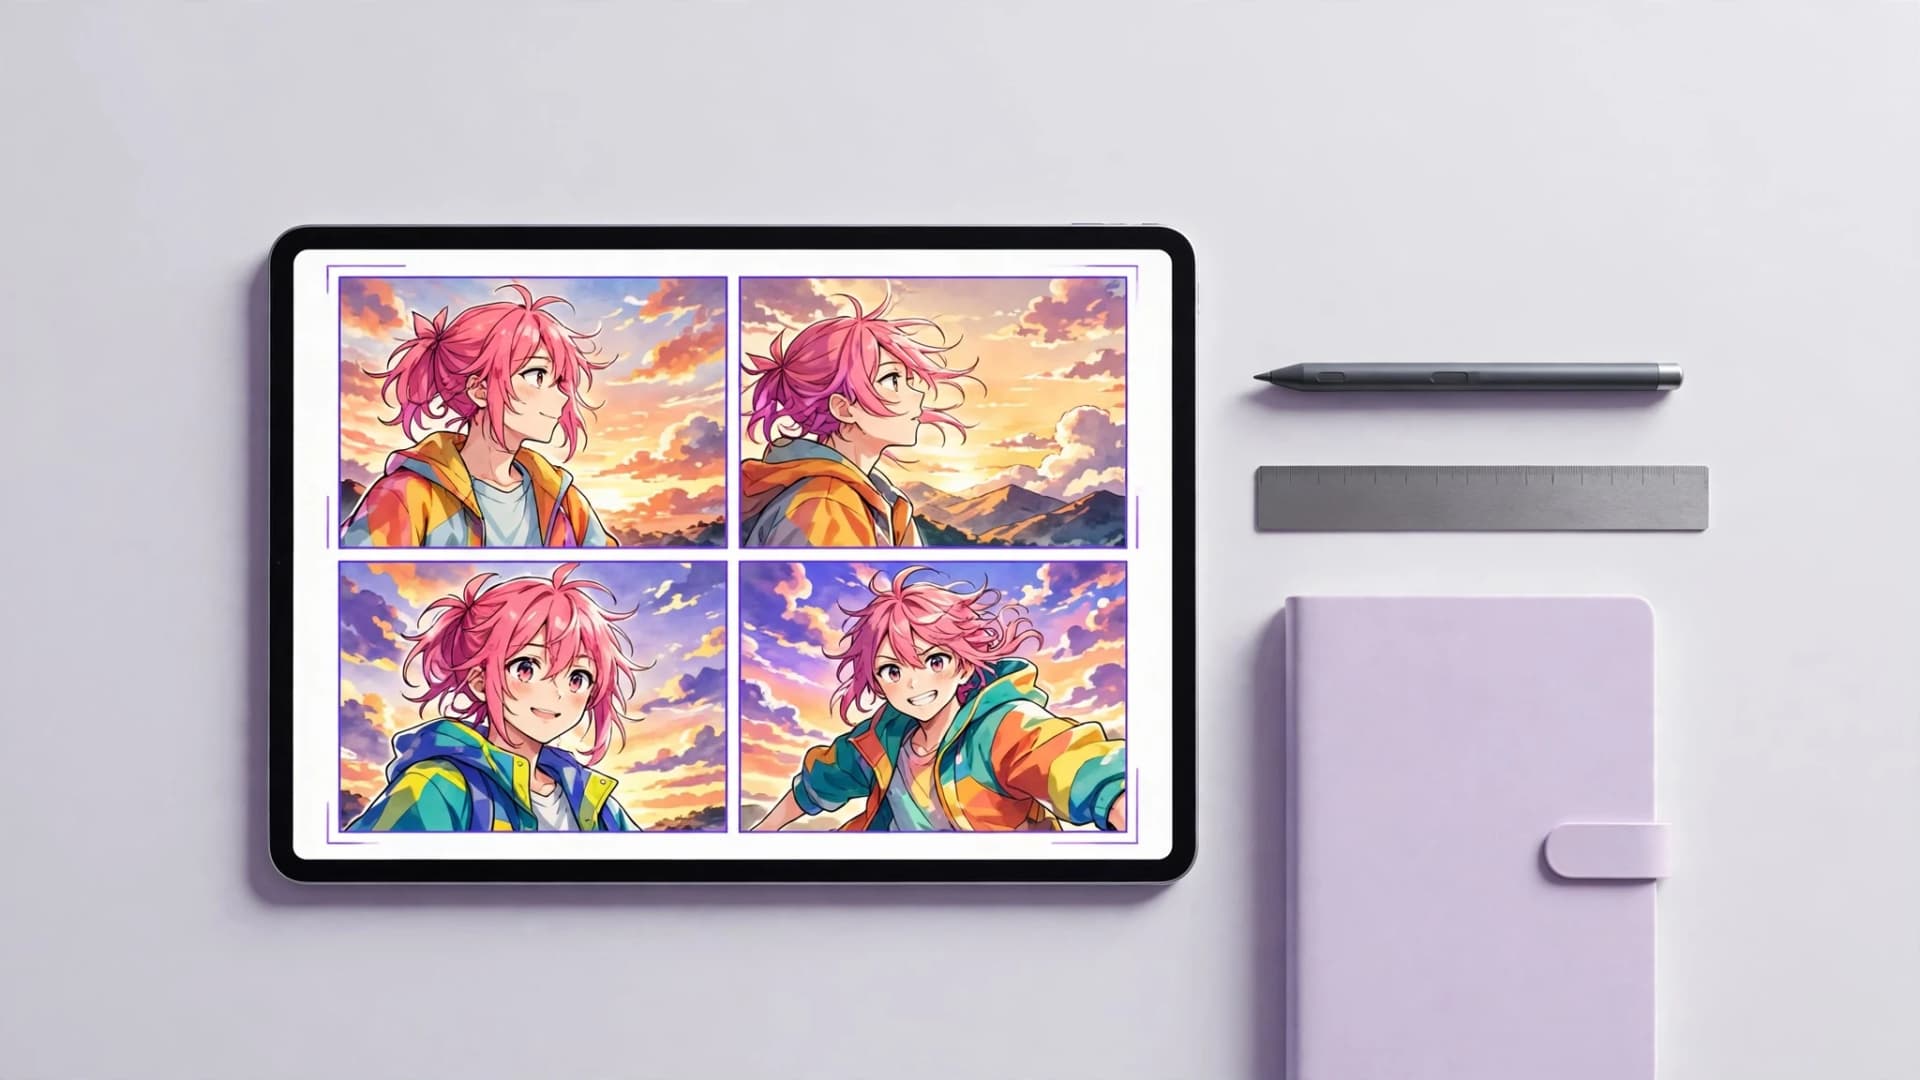
Control visual pacing. Use larger panels for dramatic reveals or sprawling landscapes, and smaller stacked panels for rapid conversational exchanges. Leaving intentional gutters between frames gives the audience time to process temporal transitions between beats. Good page architecture ensures that even complex action sequences remain effortless to follow.
Comic creation step by step from outline to final art
Following a structured sequence turns an abstract creative idea into finished visual storytelling without unnecessary revisions. Working through defined production stages helps creators manage their energy across multi-page projects.
- Write your scene outline and format panel descriptions with character dialogue.
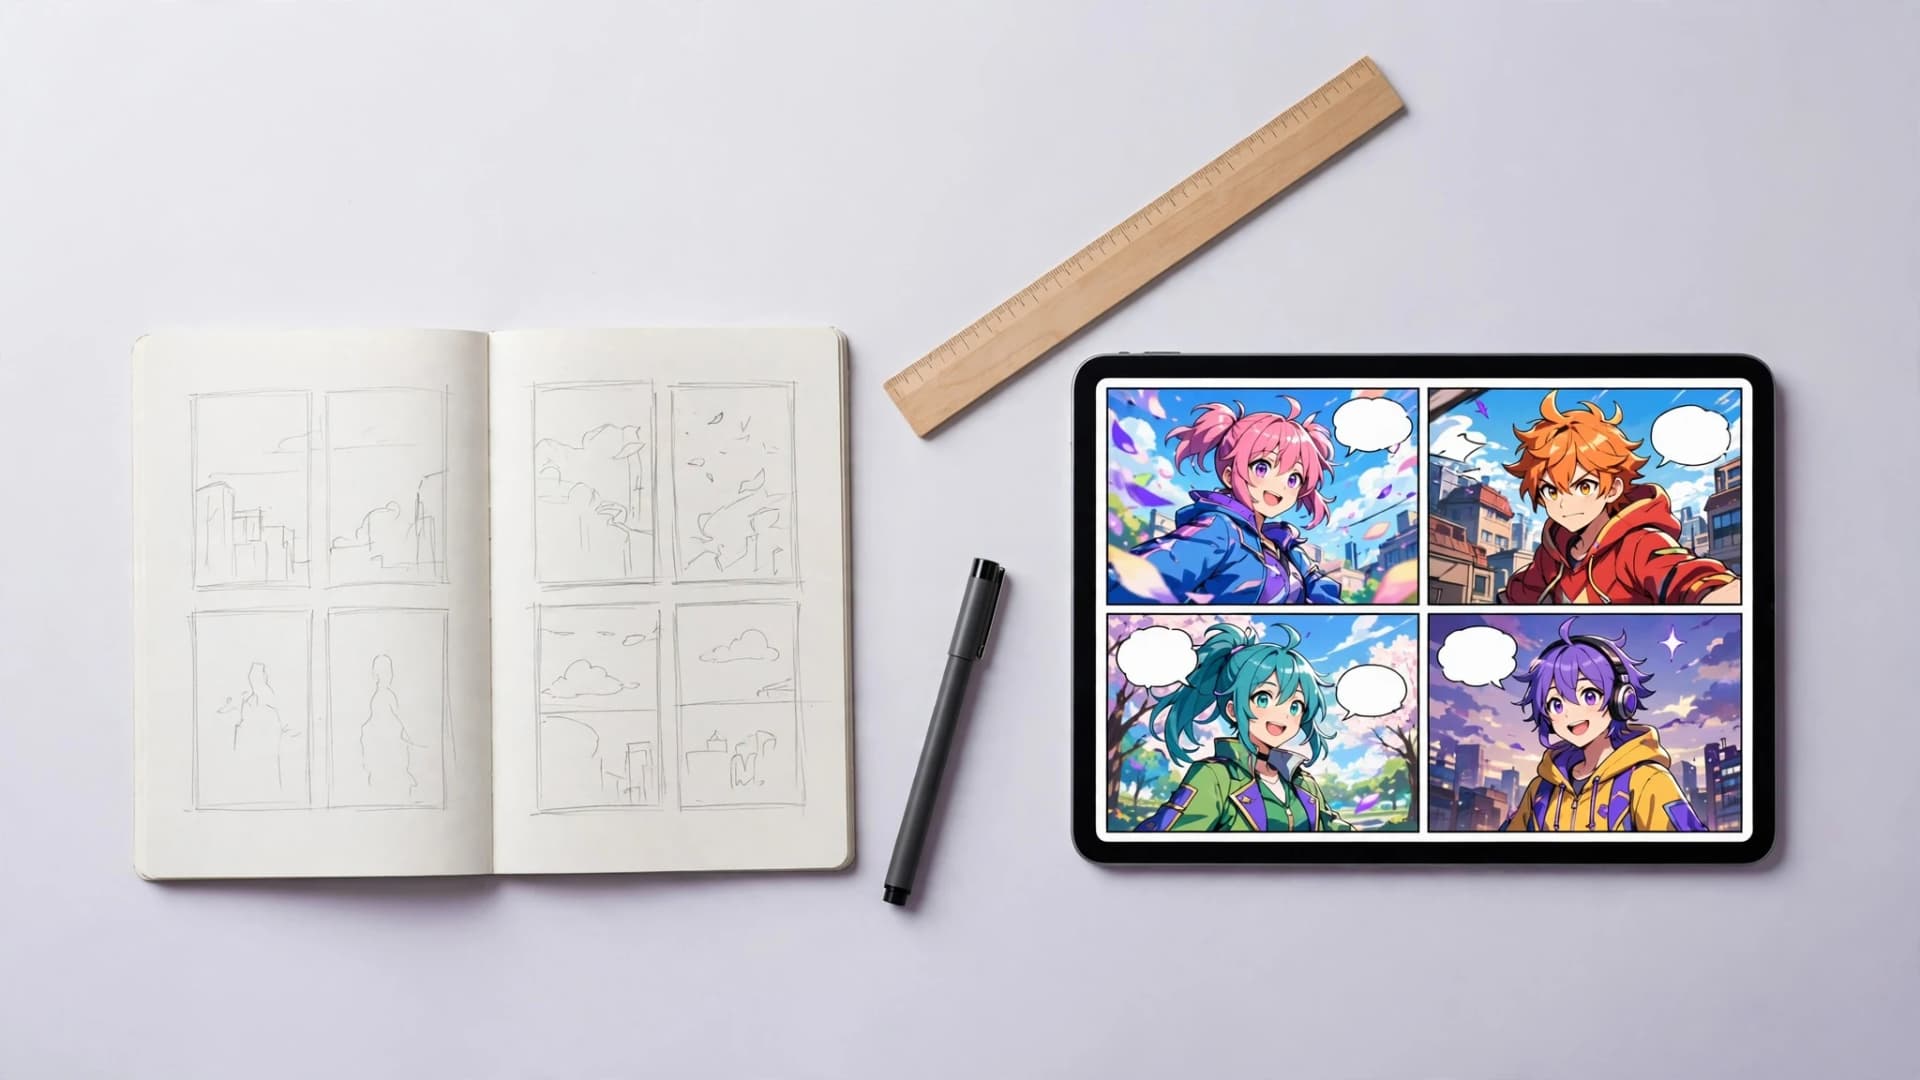
- Sketch loose thumbnail layouts to determine camera angles and panel counts per page.
- Produce rough pencils or prompt layouts to establish anatomy, perspective, and background depth.
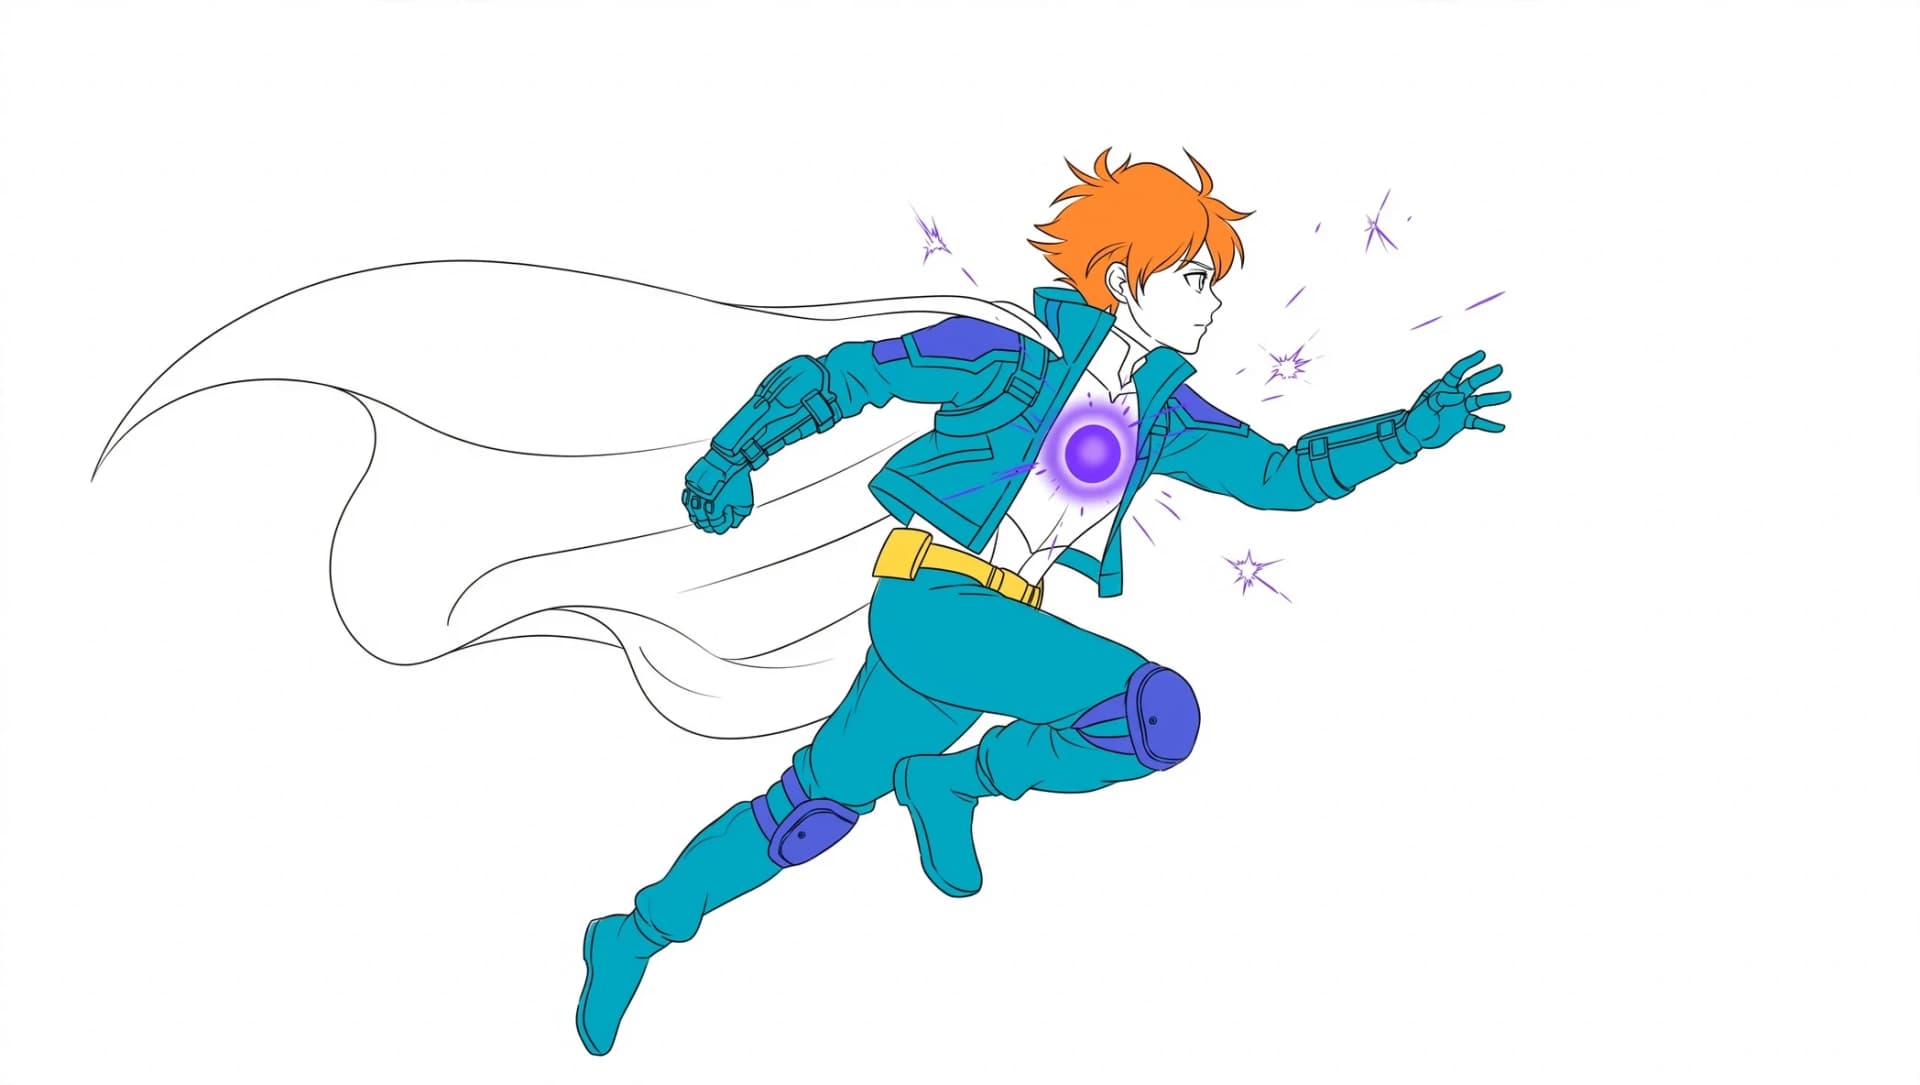
- Finalize clean linework, render color palettes, and place legible lettering inside balanced speech bubbles.
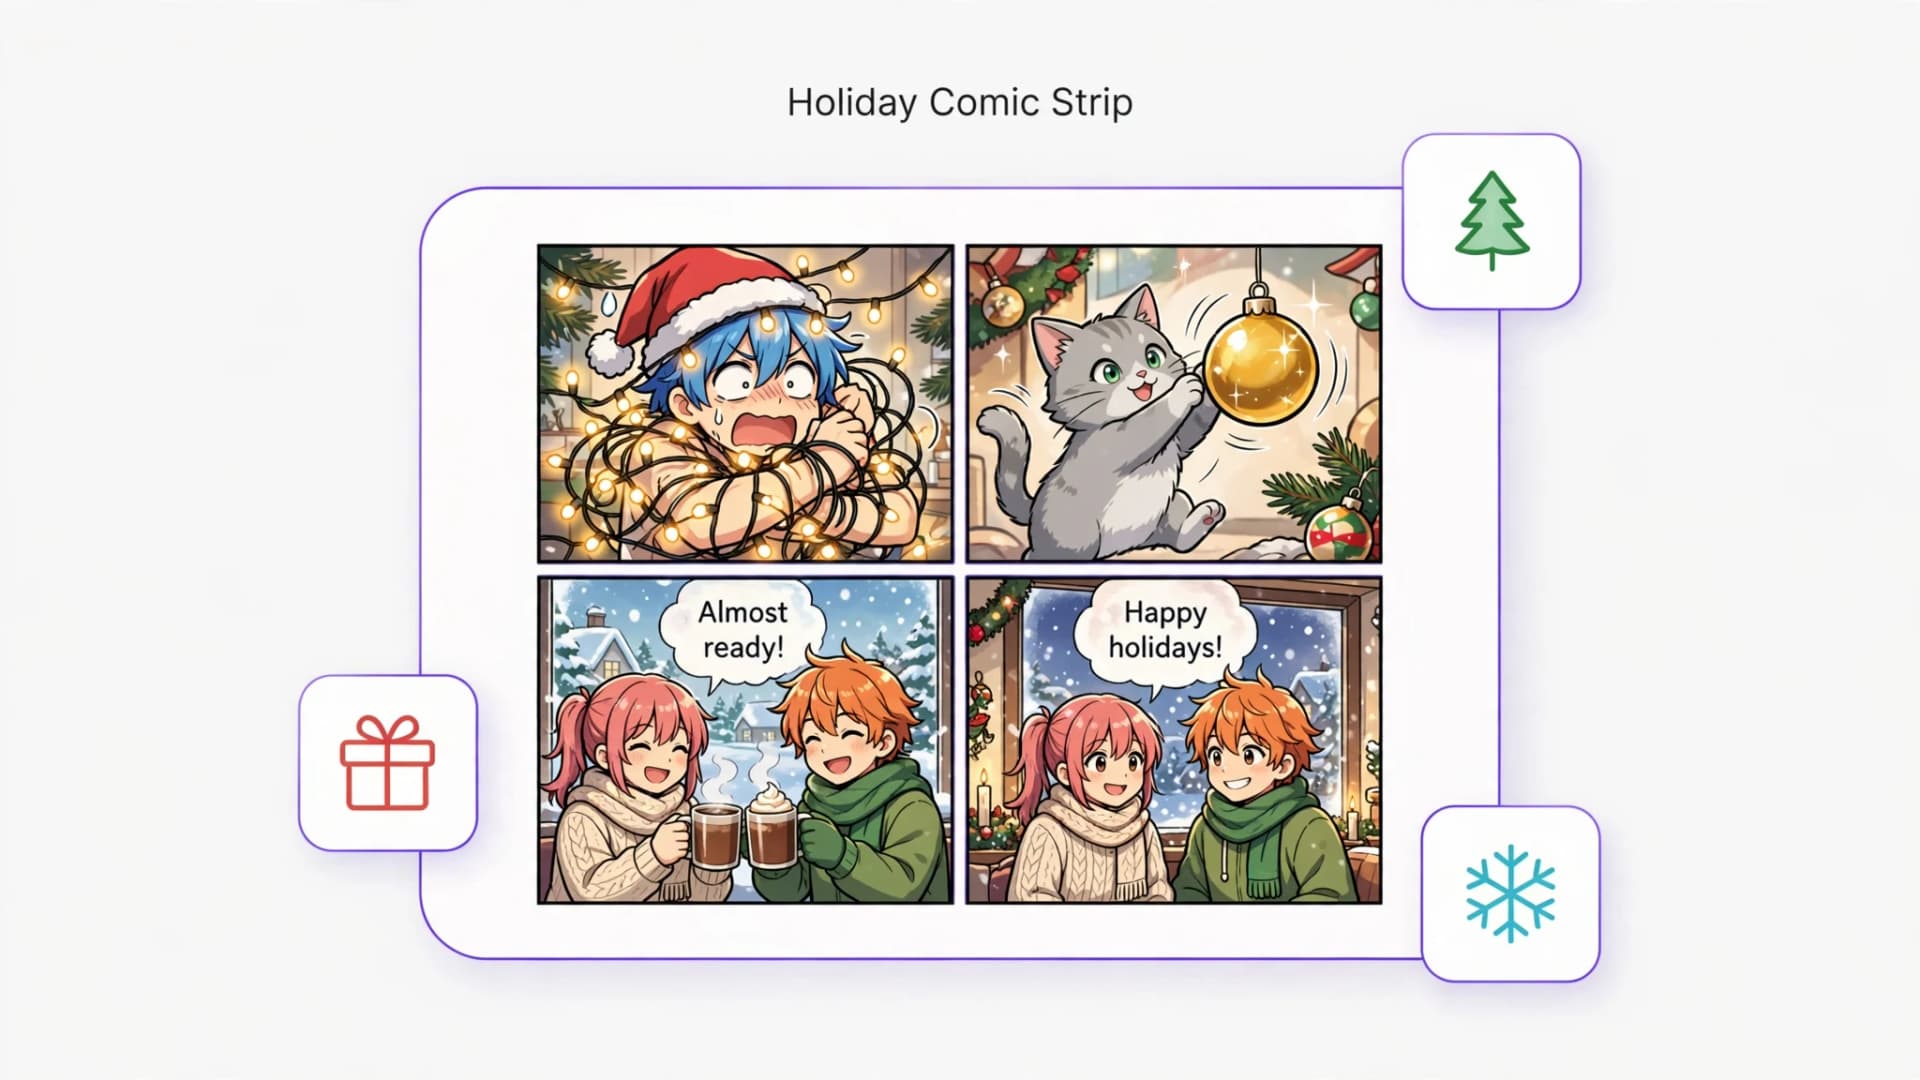
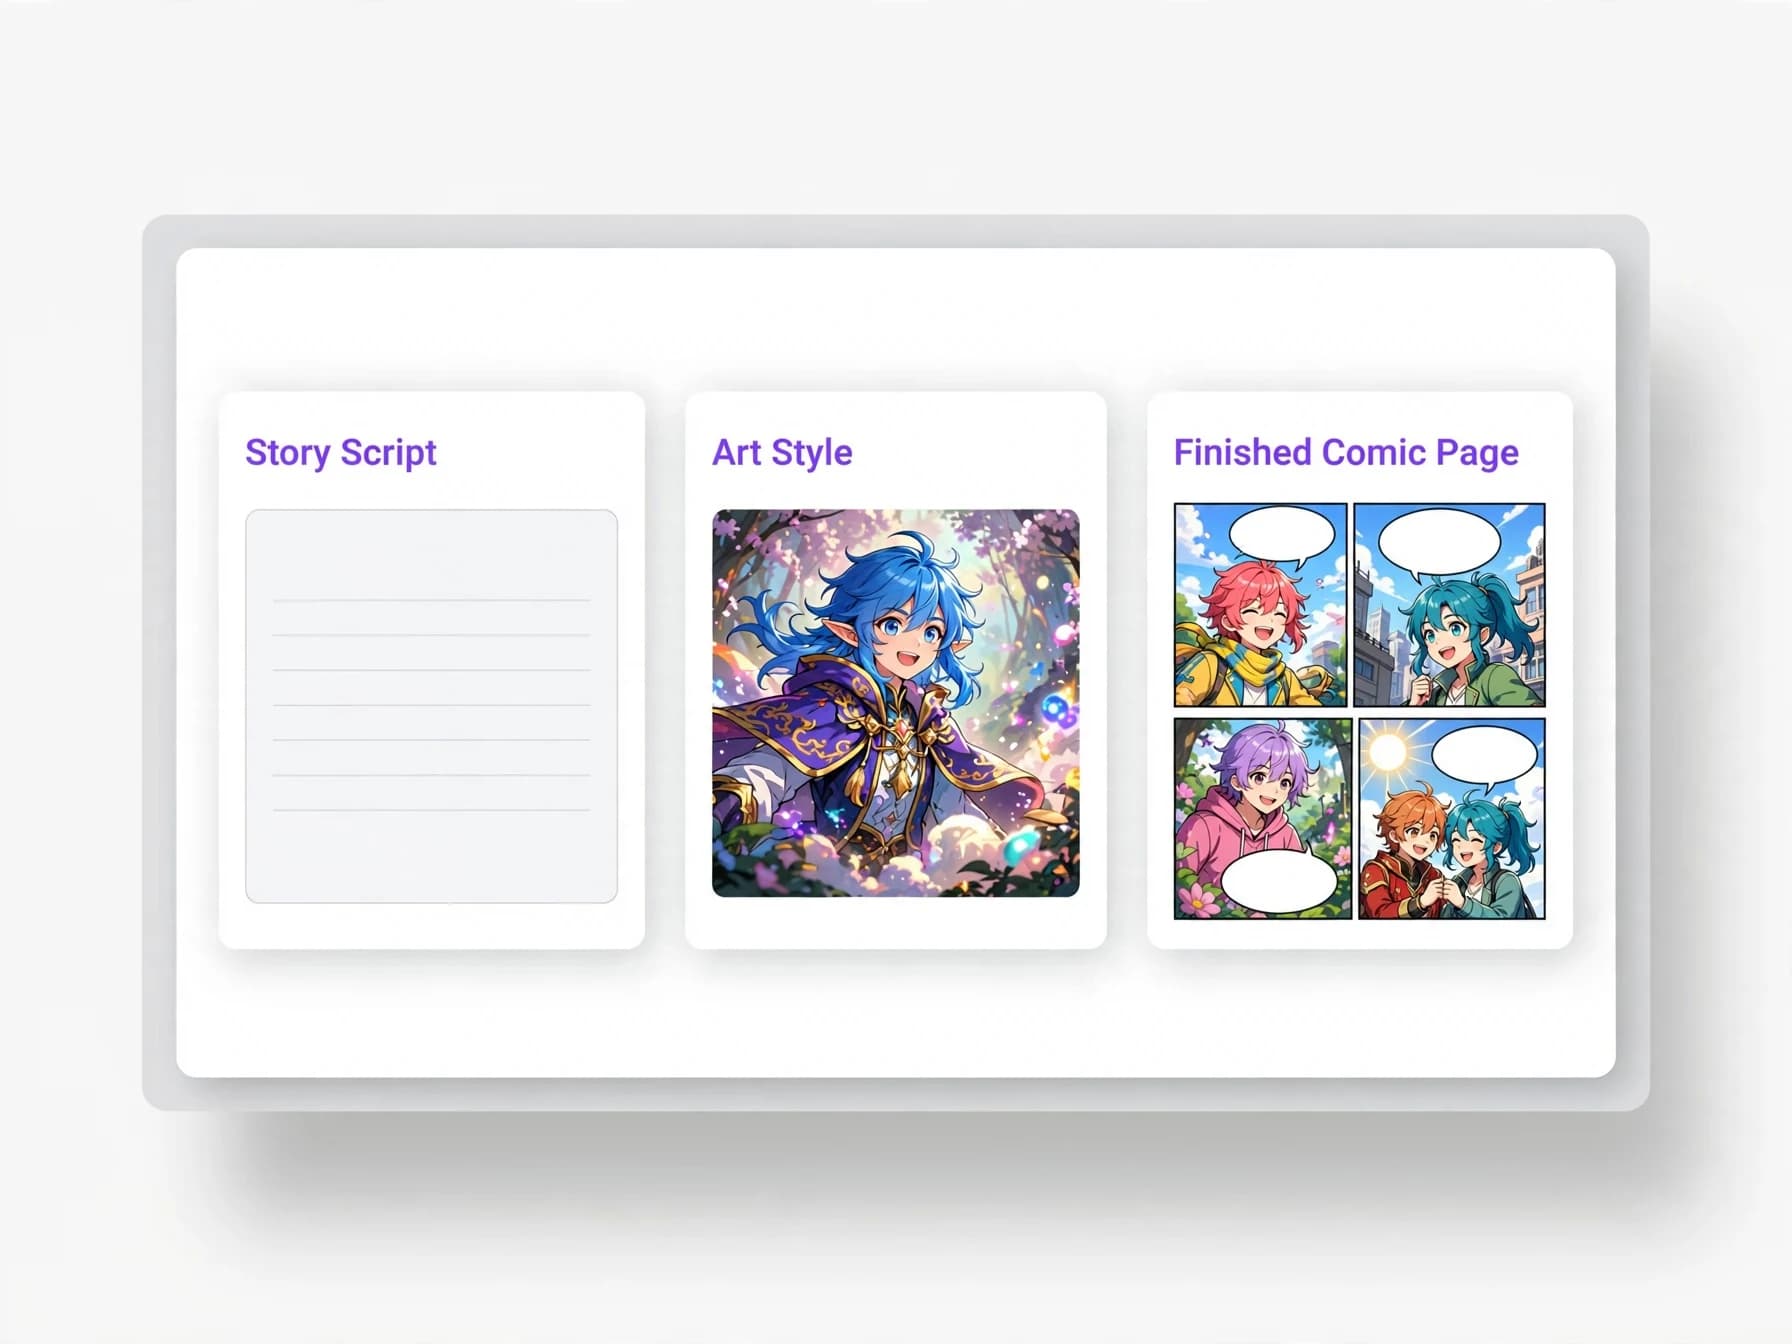
If you want to make your own comic without drawing every frame by hand, an ai comic generator like Yume Comic lets you paste your script and generate multi-panel pages with speech bubbles. Following these structured steps in a comic book maker ensures your storytelling remains coherent across every page.
How to make a comic with consistent characters across panels
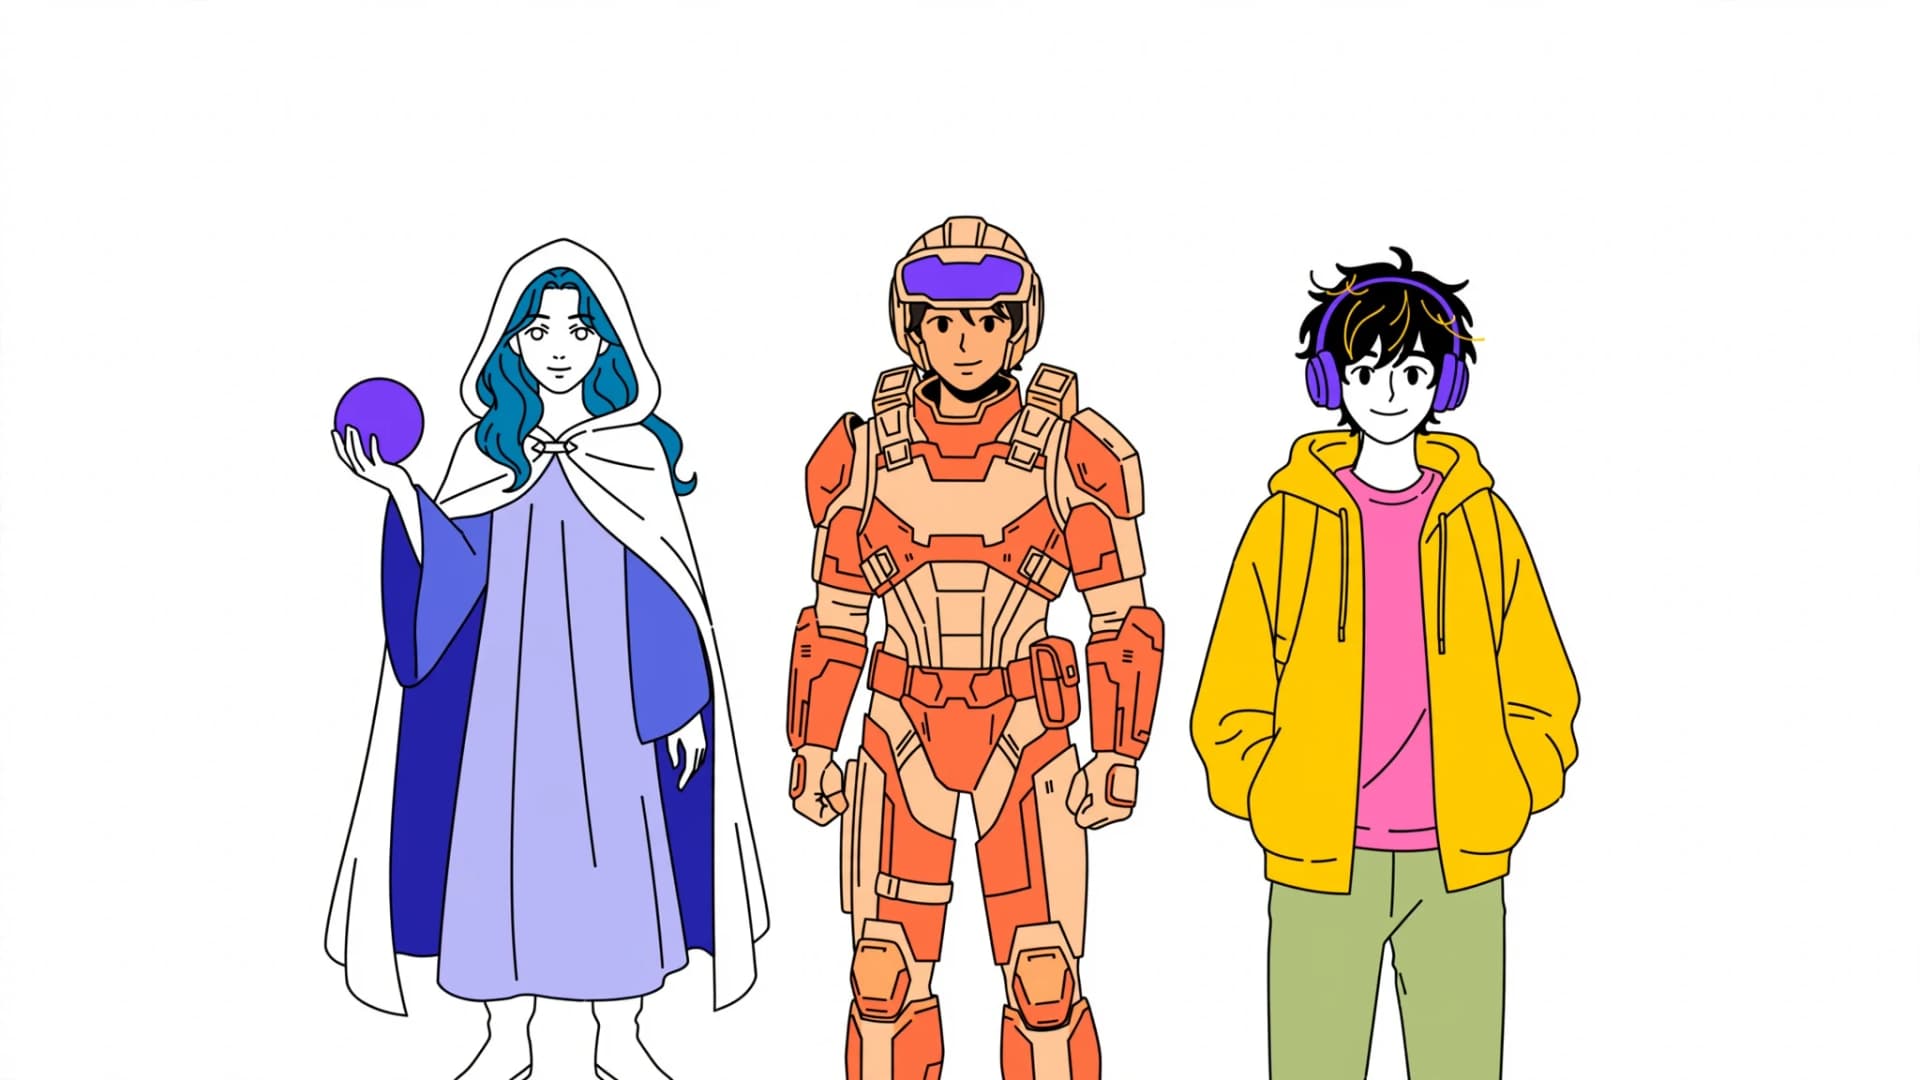
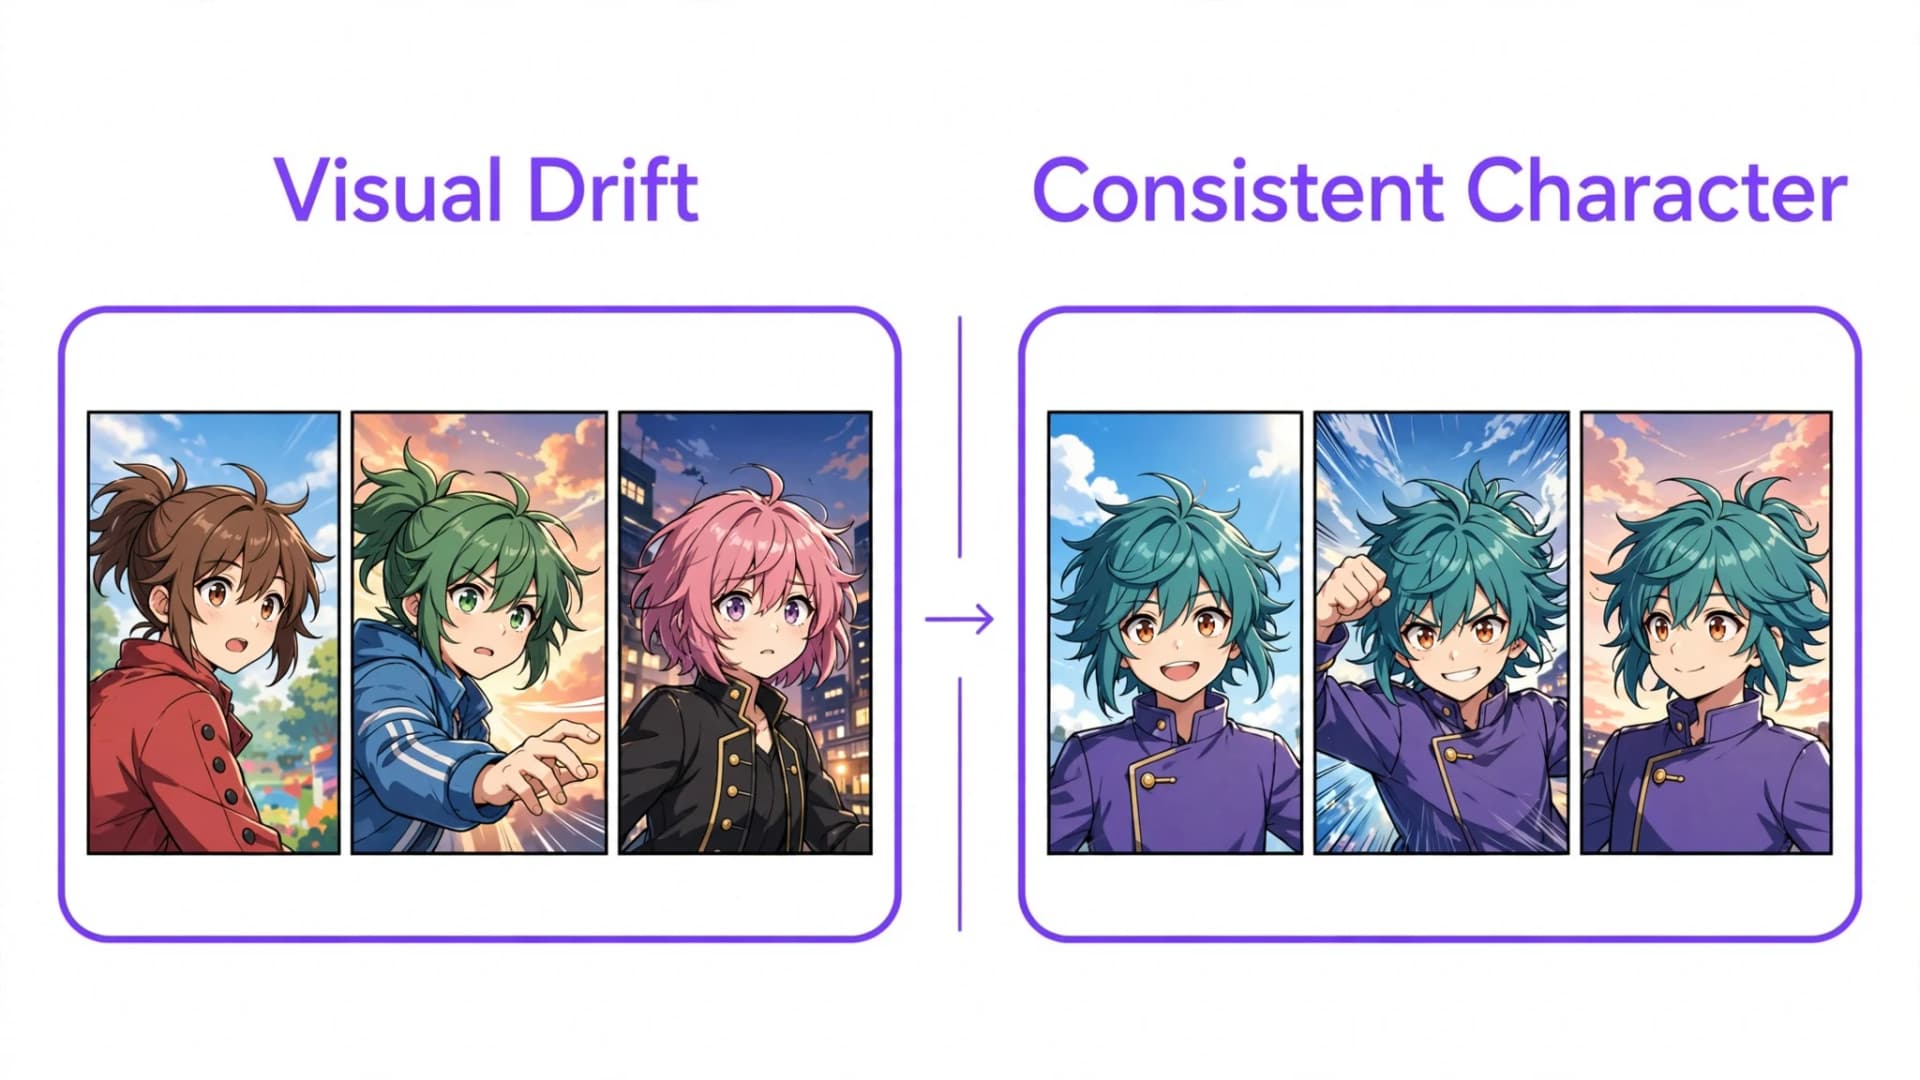
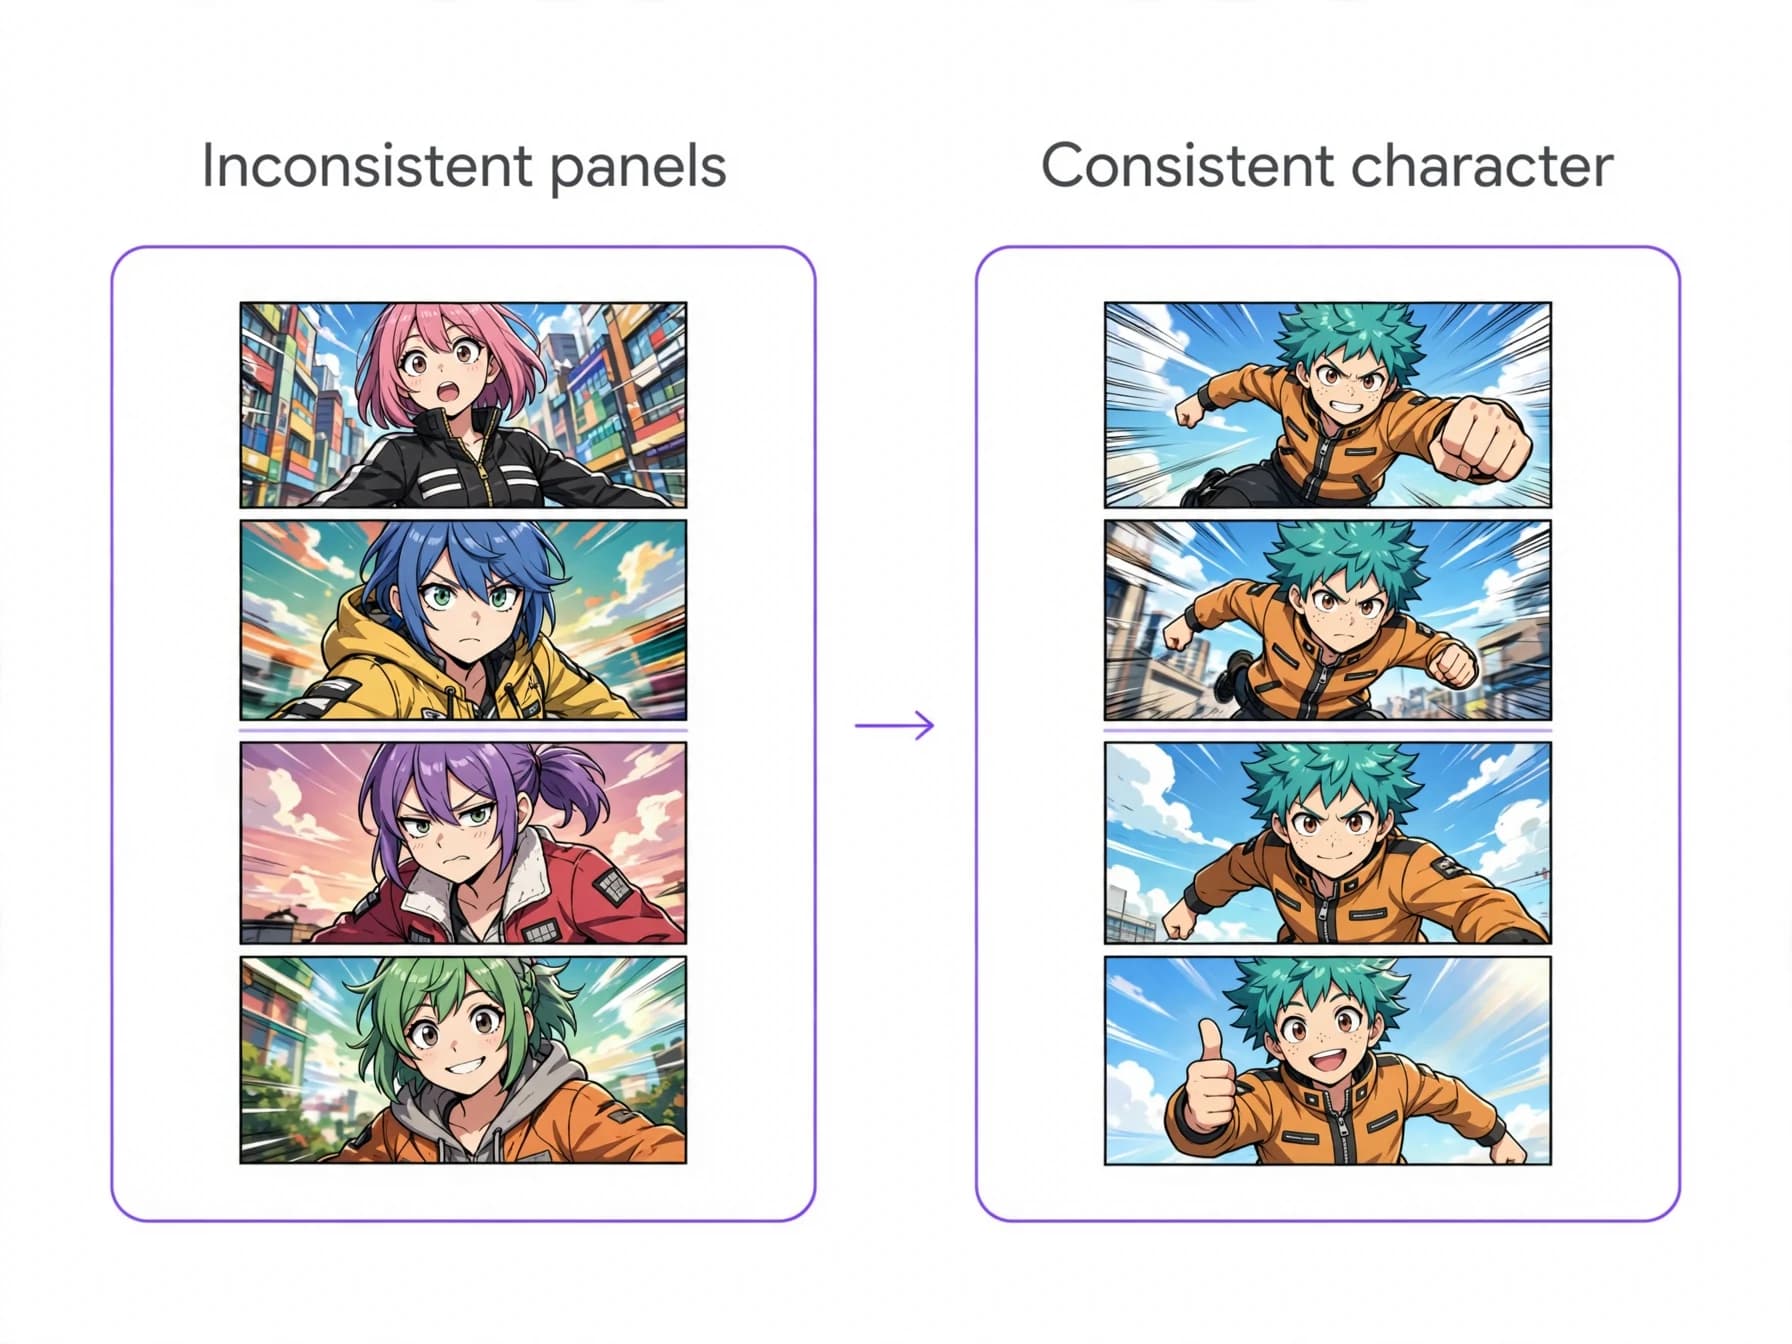
Character continuity is one of the biggest challenges when producing sequential art. Readers rely on distinct visual cues like hairstyles, signature outfits, and expressive facial shapes to recognize protagonists from frame to frame. Keeping these details uniform anchors reader immersion across long story arcs.
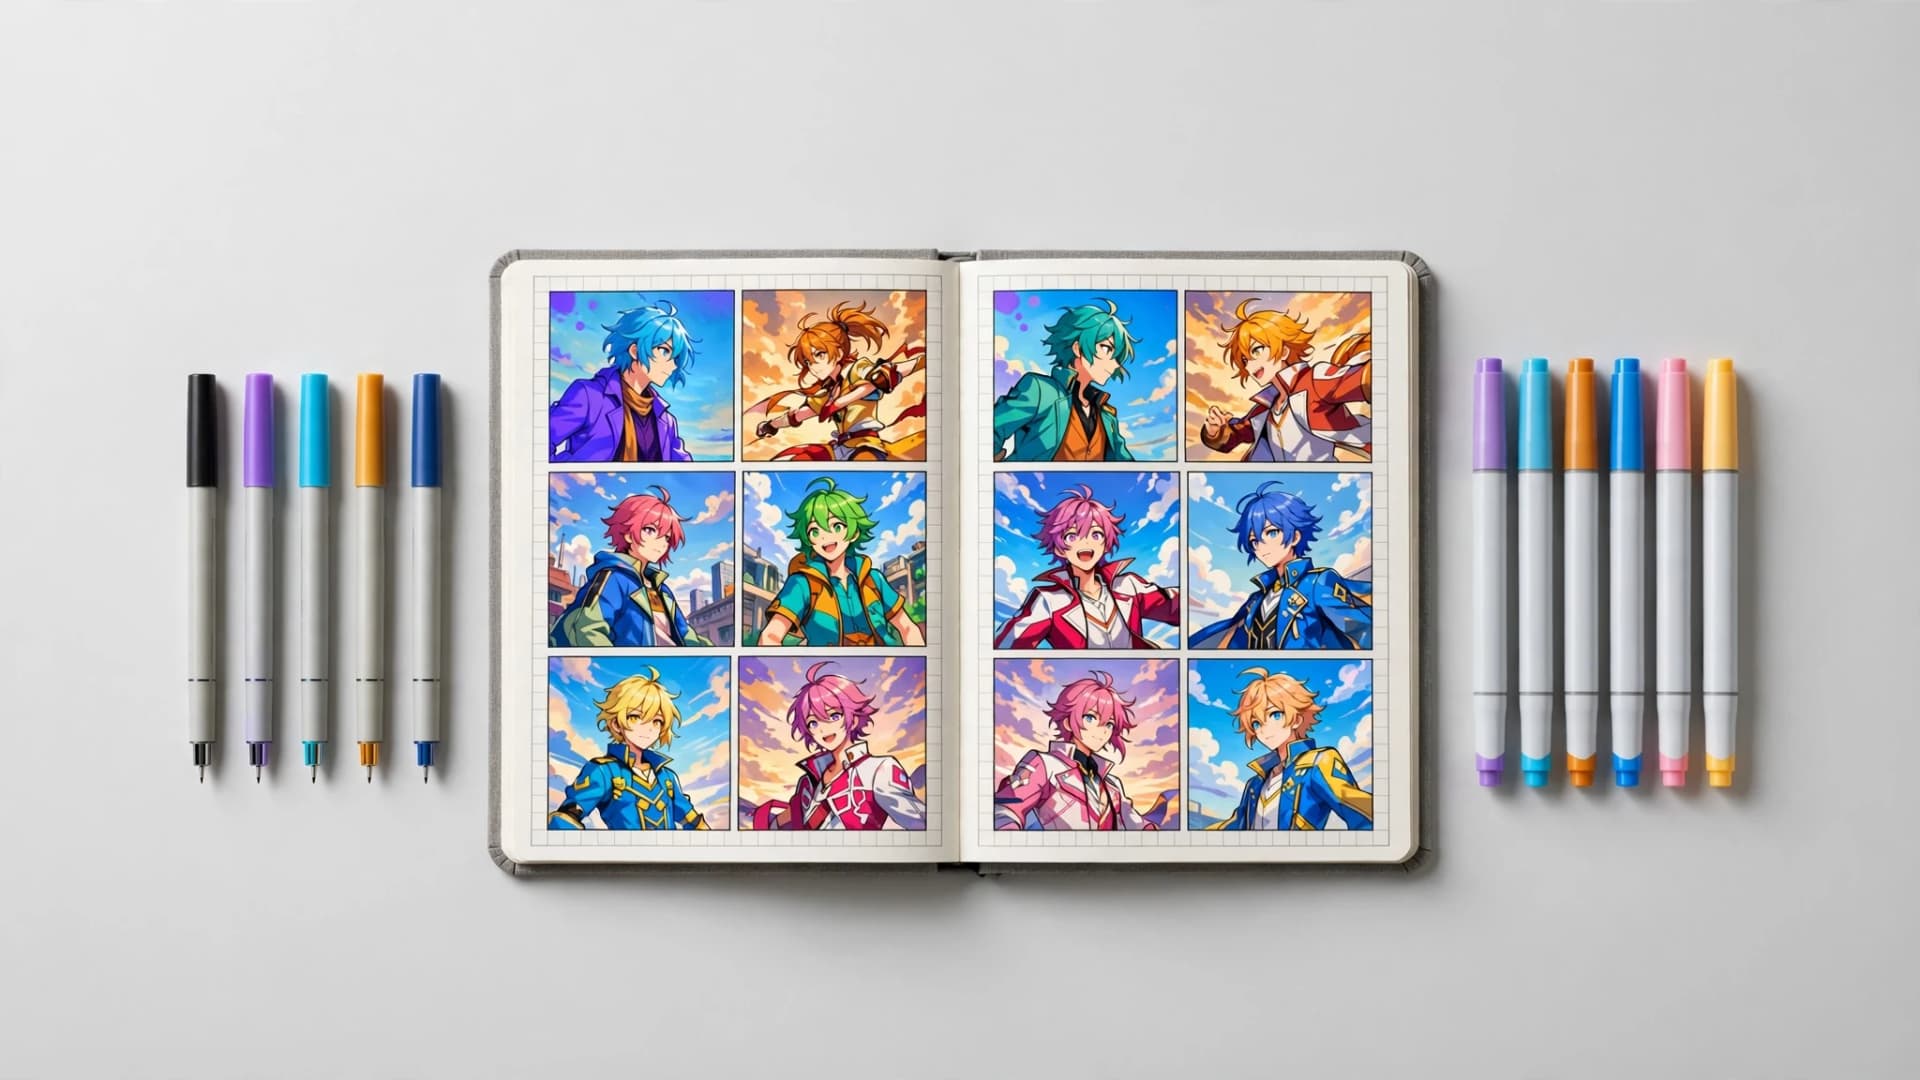
Building a visual reference archive ensures you maintain proportion and costume details throughout production. If you are developing original characters from scratch, exploring fun OC ideas can help you design memorable traits before you start generating pages. If you use traditional methods, reference sketches help you check facial features against changing camera angles. When you create a comic using modern platforms, preserving visual identity requires dedicated character tools.
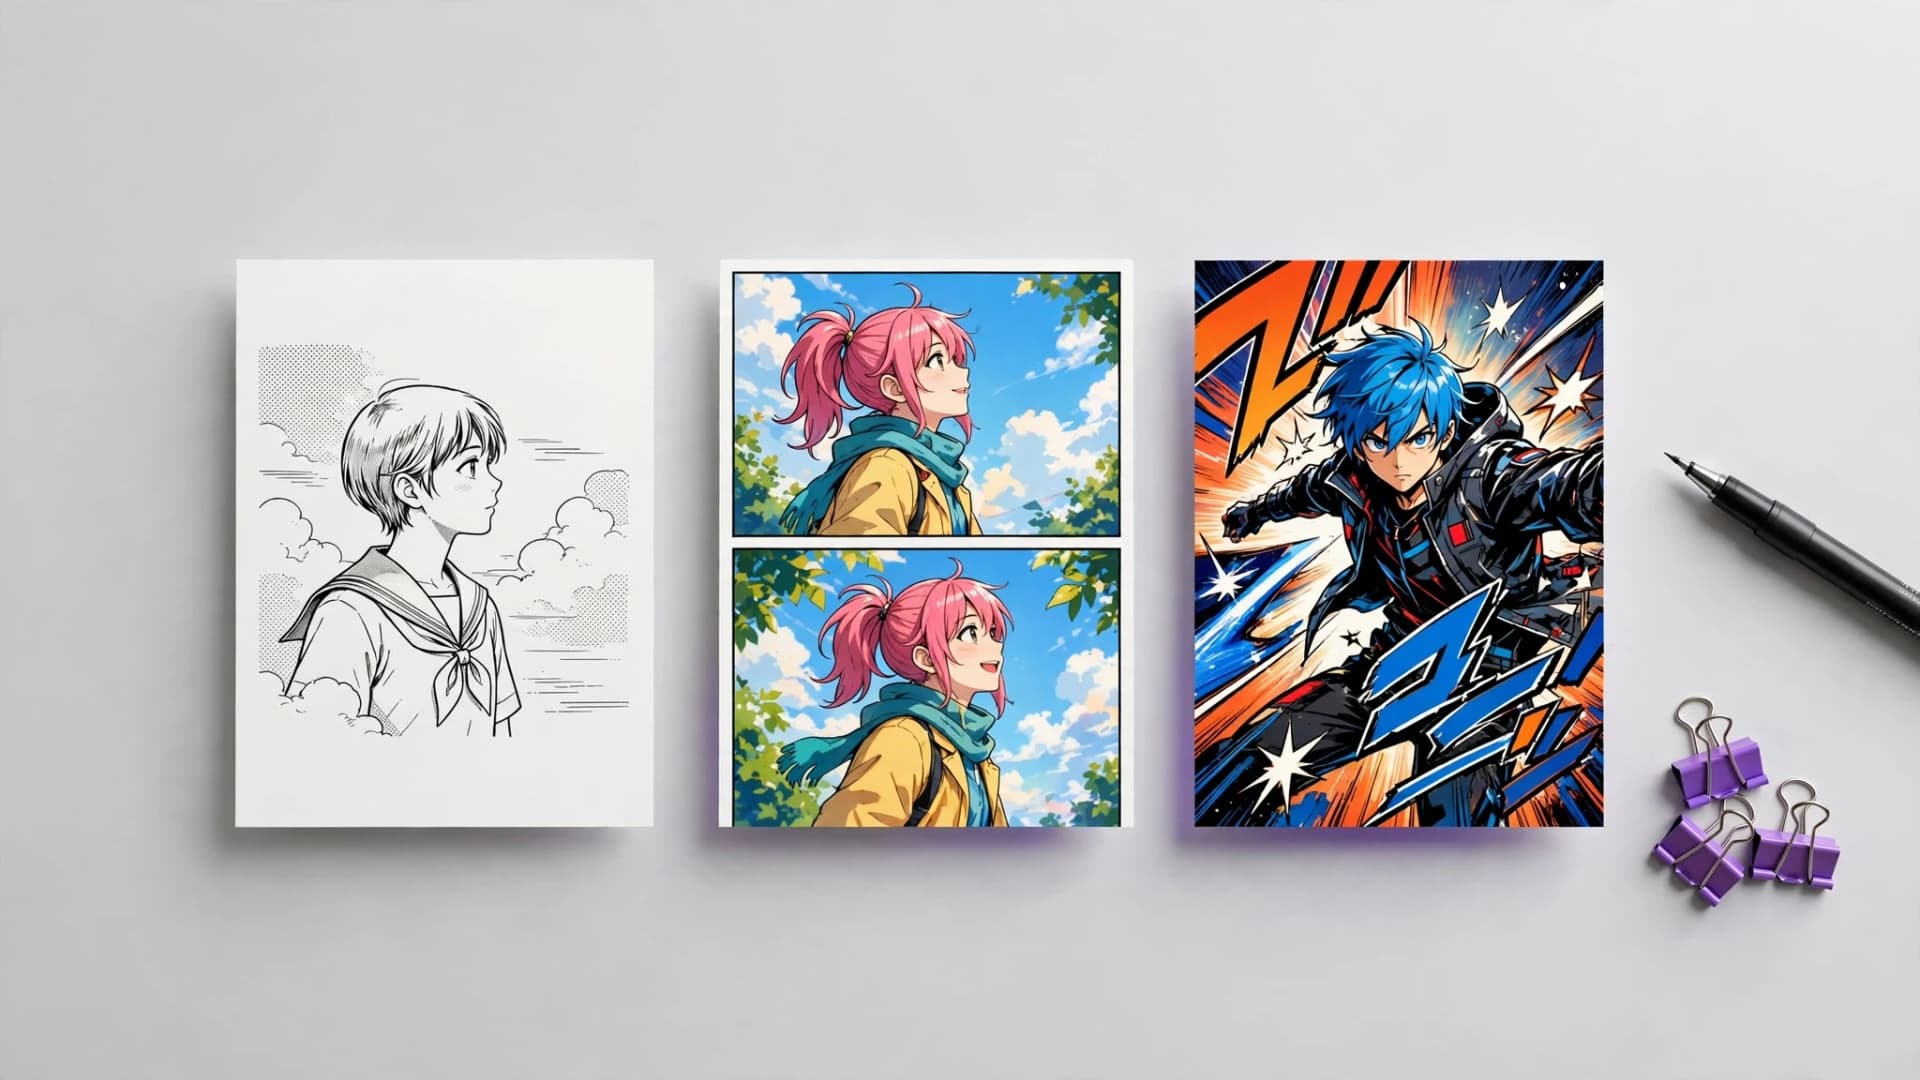
Yume Comic allows you to save up to 4 characters per comic using text descriptions or uploaded reference images. The generator maintains costume colors and face details across multiple pages, letting you produce cohesive shonen manga or webtoon stories in a manga maker without redrawing complex assets from scratch.
What tools do you need to start making comics today?
Learning how to start making comics no longer requires expensive studio hardware or specialized art school training. Modern creators pick between tactile analog materials and accessible software depending on their personal workflow preferences and project scope.
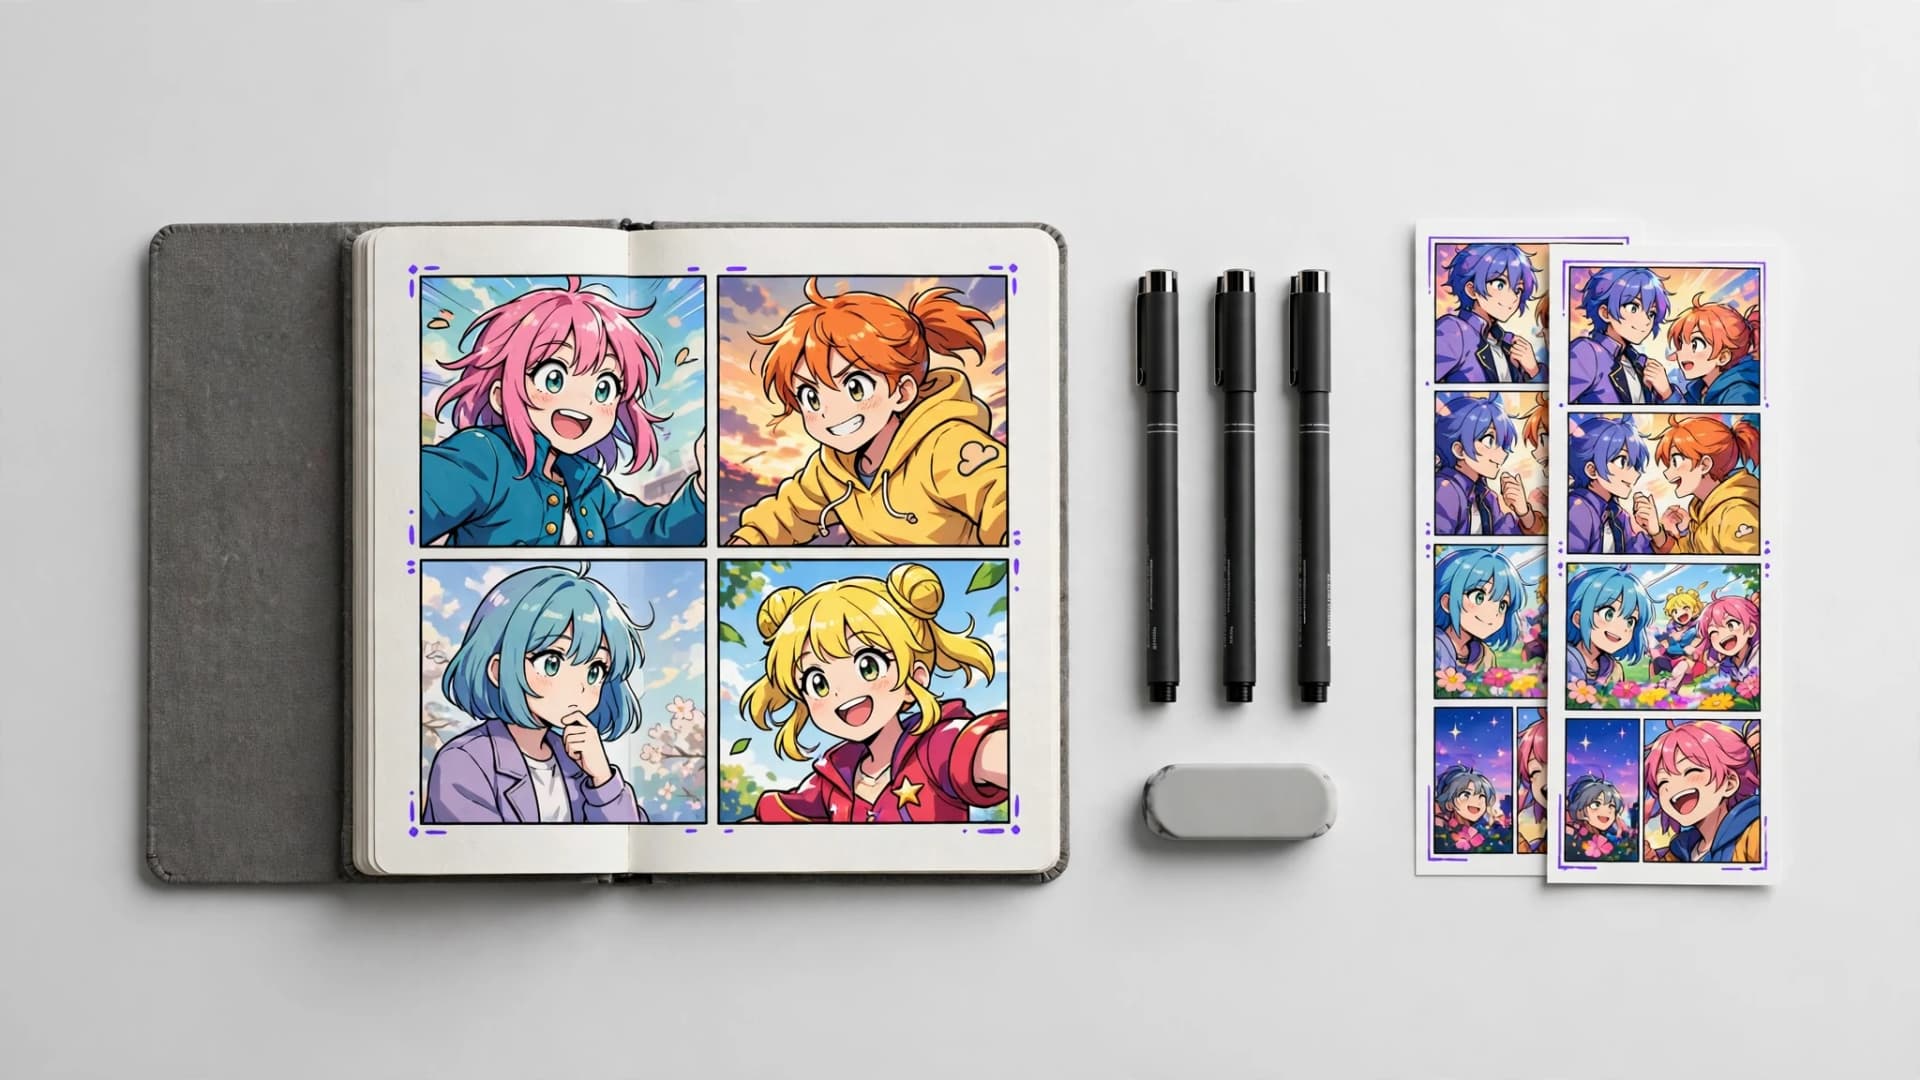
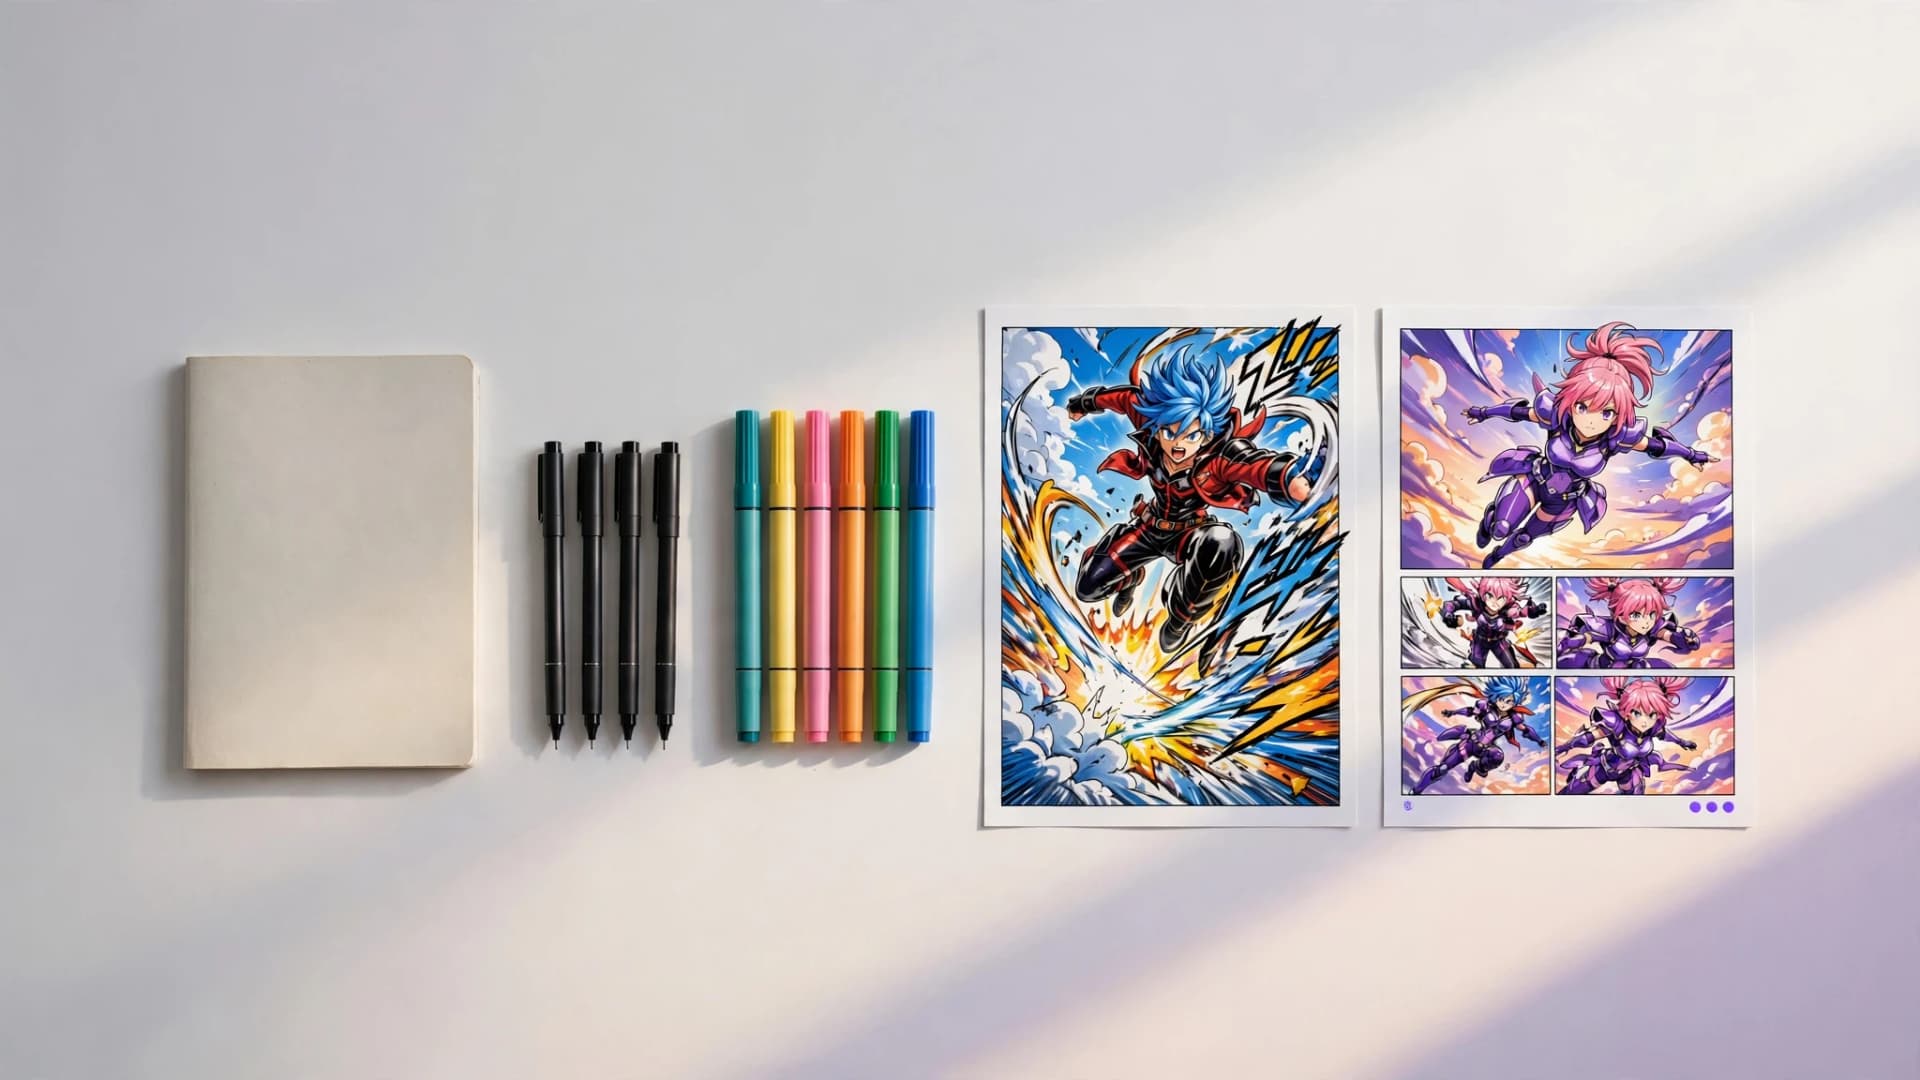
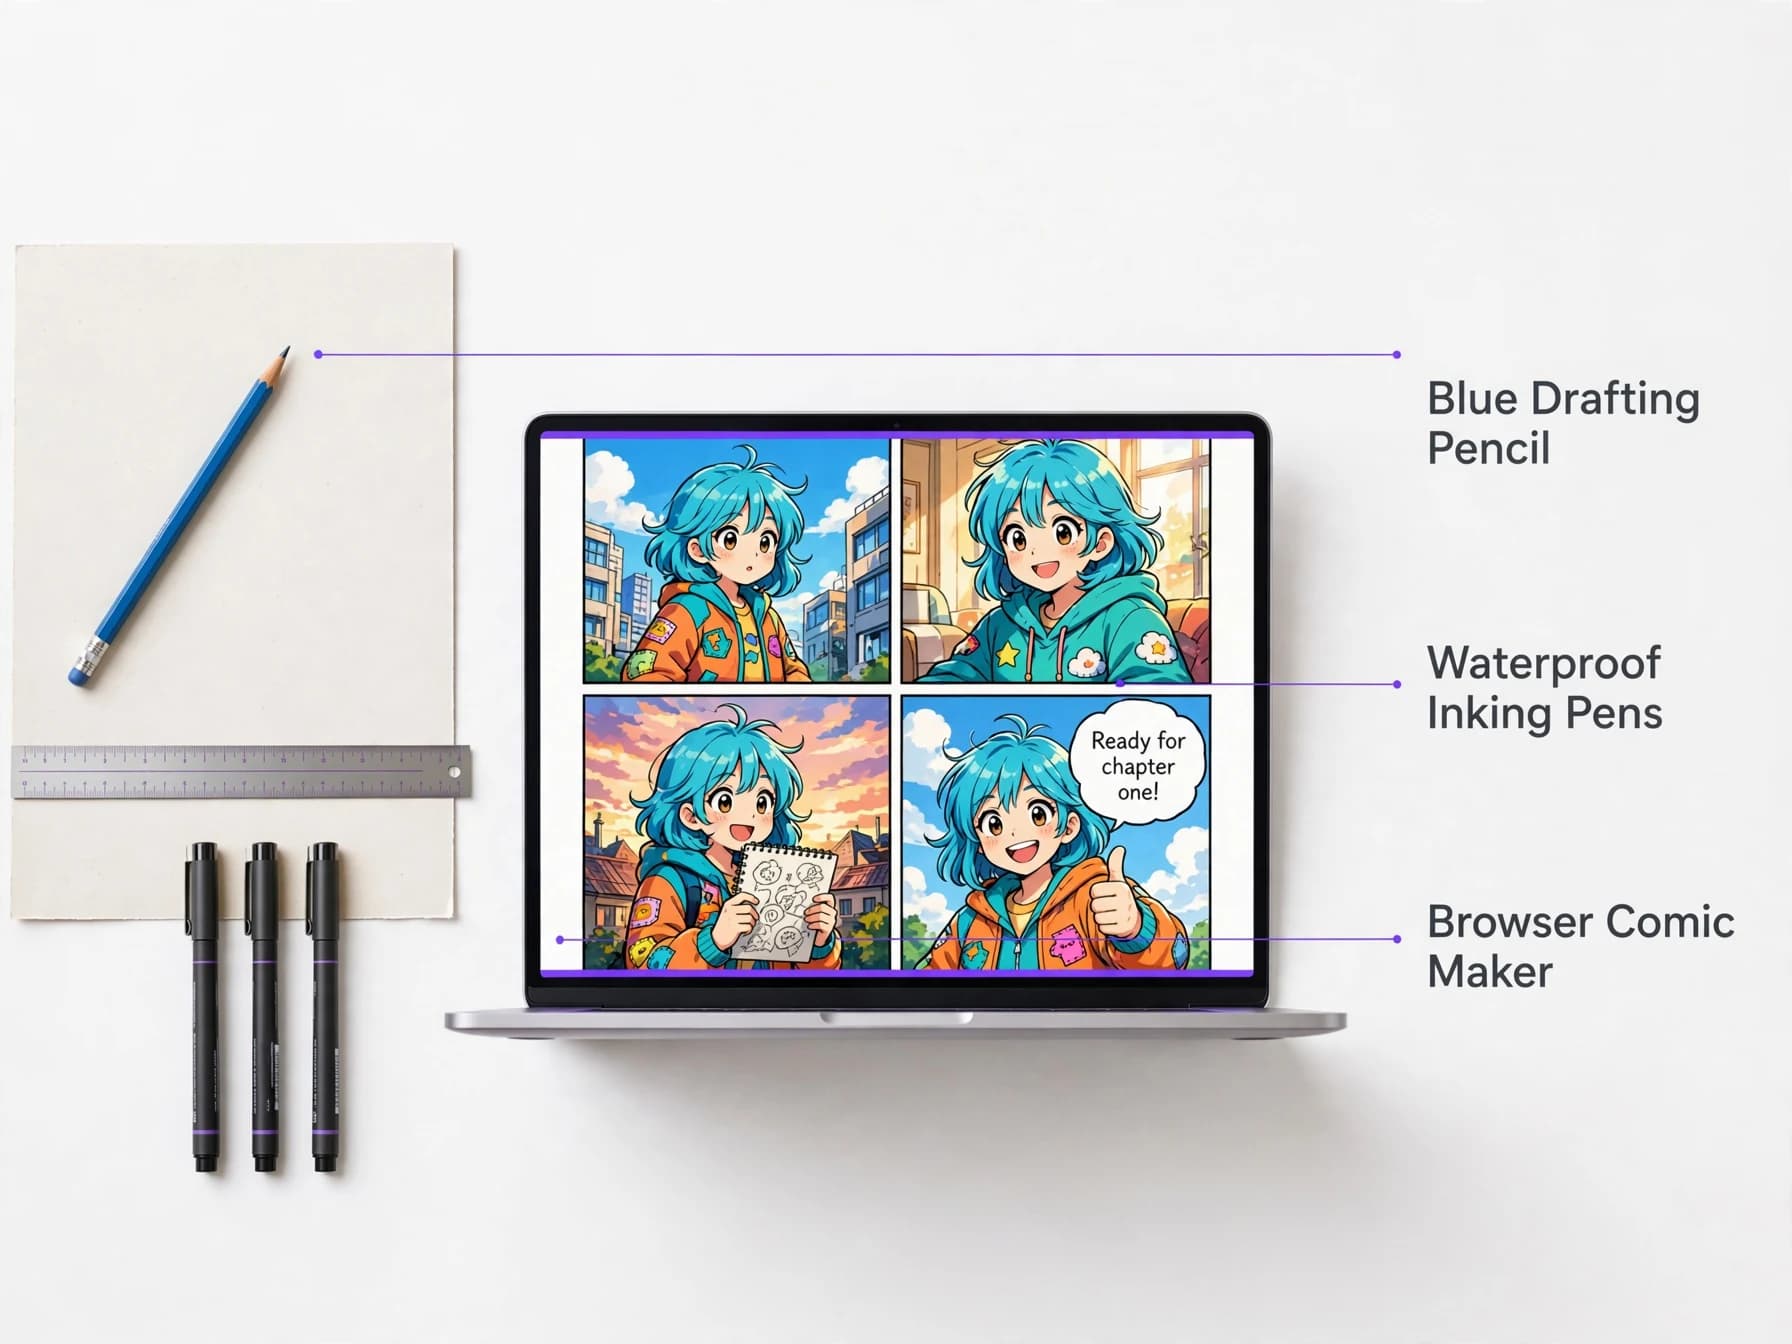
Traditional drawing supplies. Pencil artists typically rely on non-photo blue pencils for rough drafting, smooth bristol board paper, and waterproof pigment pens for inking. A sturdy metal ruler and circle templates help keep panel borders and speech bubbles neat and orderly. These analog materials offer direct tactile control but require manual scanning for digital distribution.
Modern browser tools. Digital artists often work inside vector drawing apps or web utilities that automate panel slicing and bubble placement. A browser-based comic maker provides an accessible starting point if you want to turn written prompts into finished manga pages without buying costly hardware. If you want to turn reference snapshots into illustrated frames, trying a photo to comic converter provides another visual pathway. Whether you need a quick comic strip maker for short scenes or an expanded layout suite, choosing the right creative environment depends on whether you prefer physical sketching or script-led generation.
Lettering dialogue and exporting clean pages
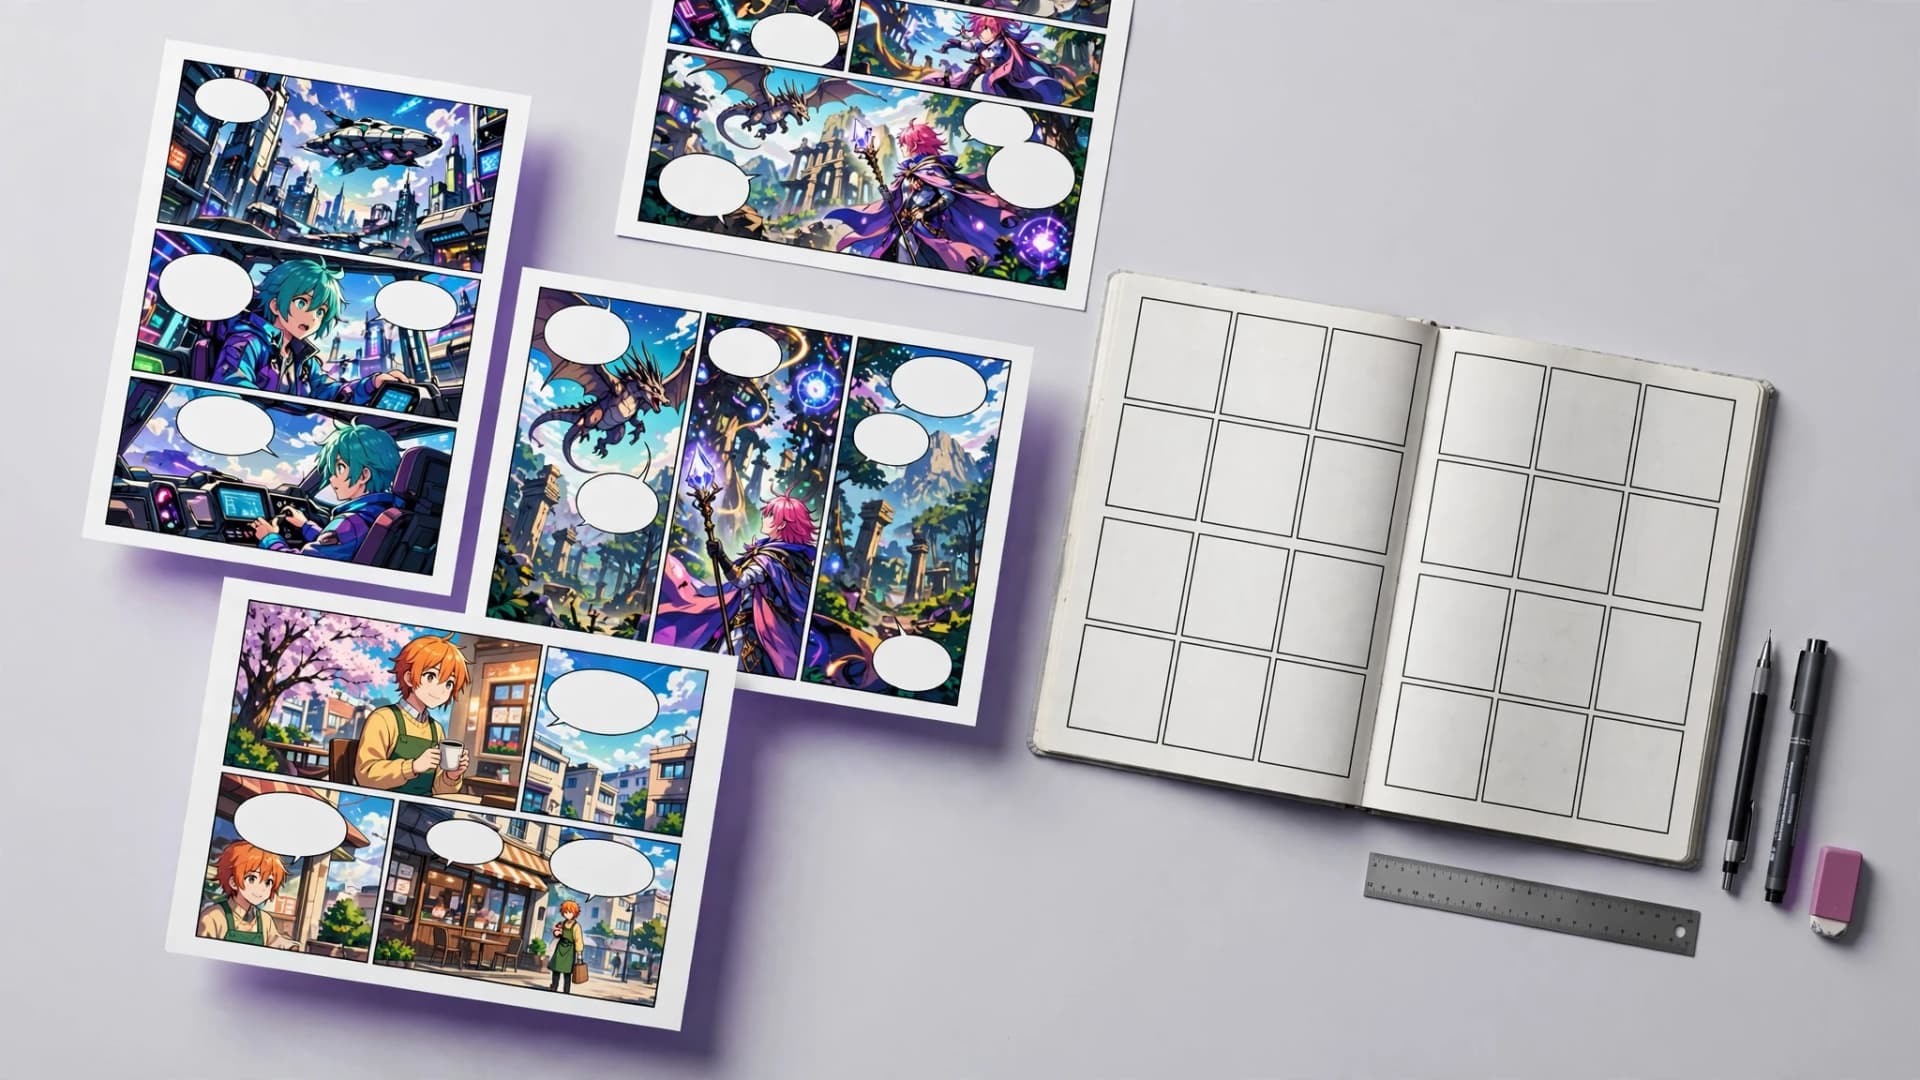
Lettering provides the final bridge between story scripts and visual artwork. High quality lettering directs reading order, preserves background details, and ensures readers never struggle to decipher character conversations. Poor font sizing or awkward bubble placement can ruin otherwise stunning artwork.
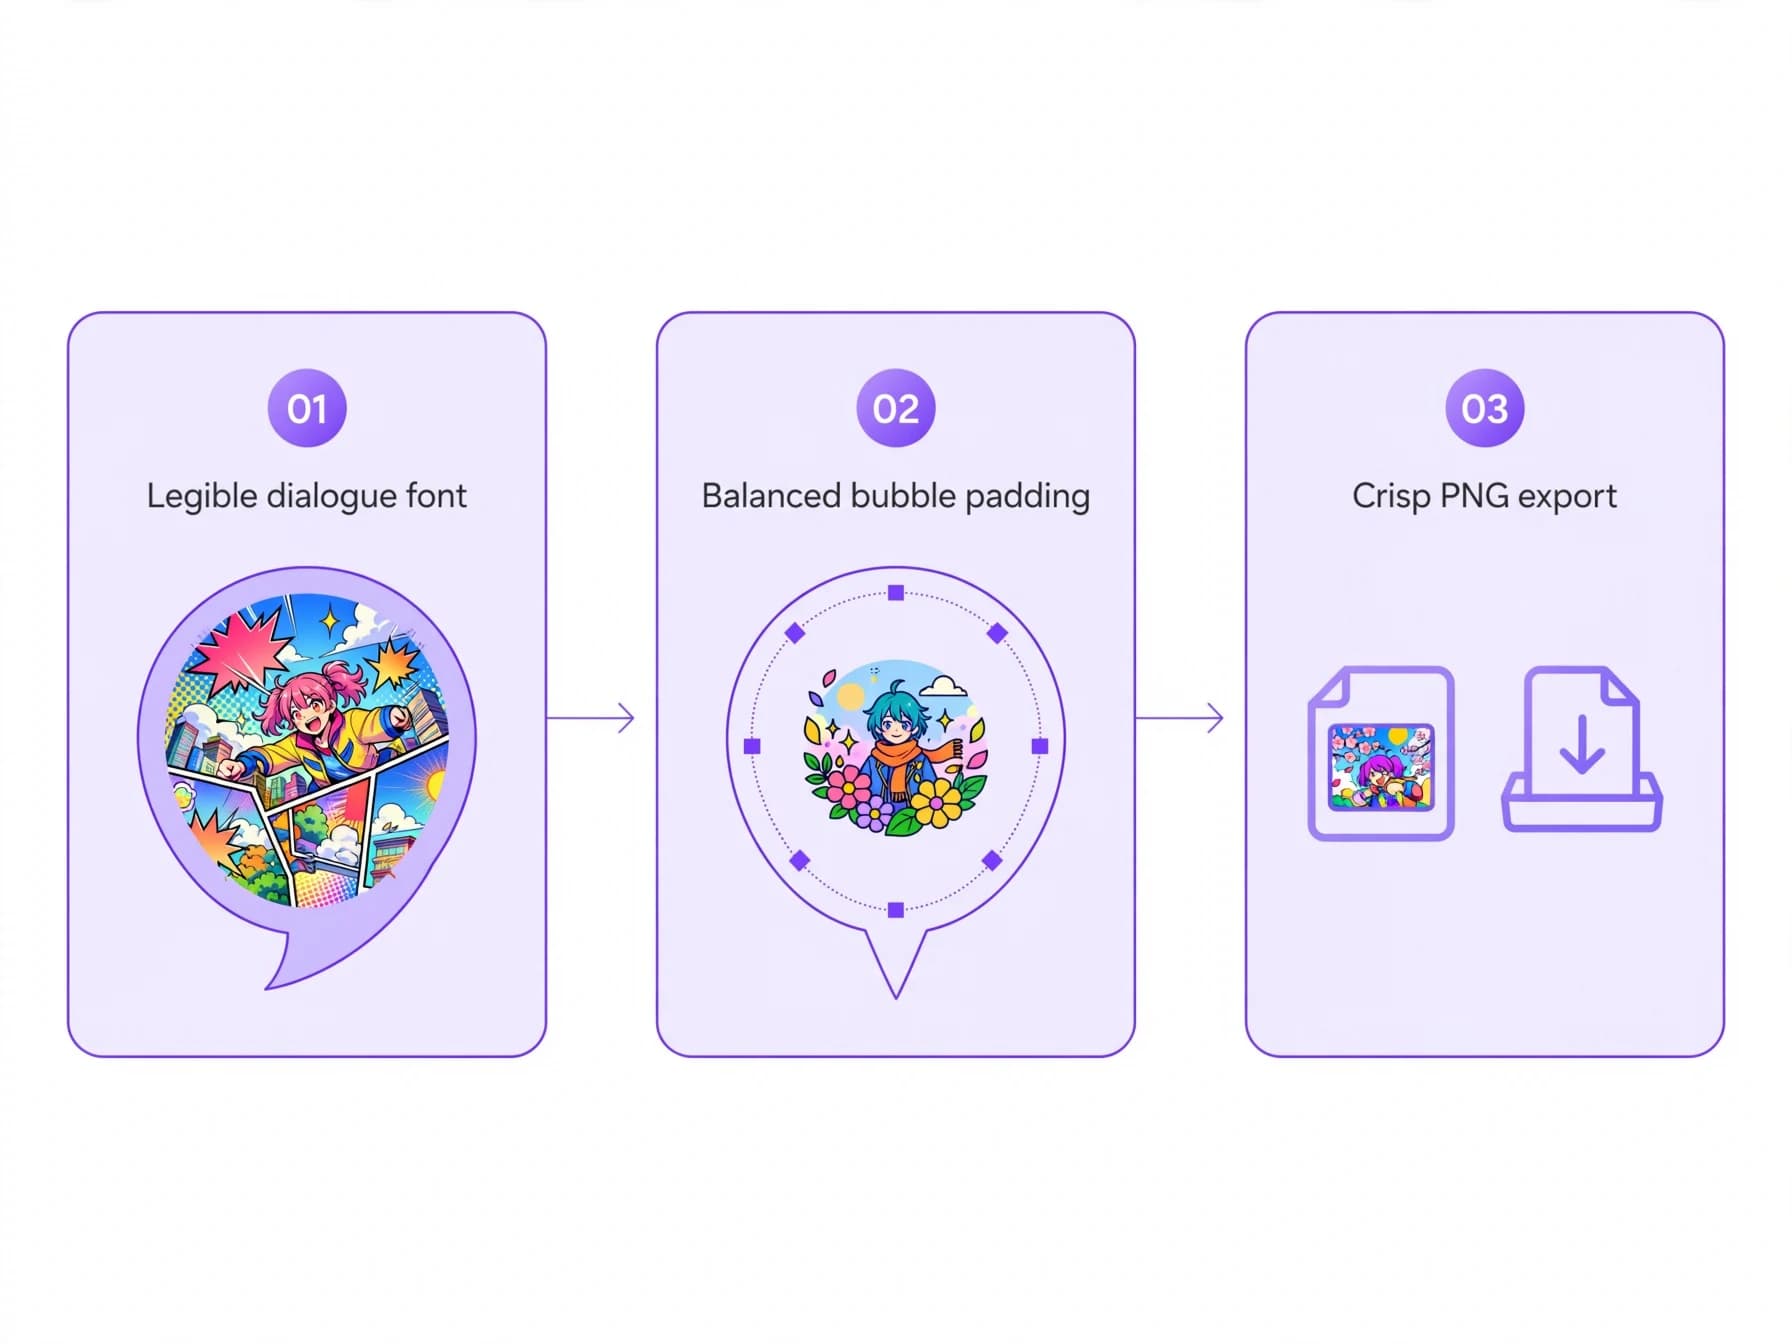
Choose clean, legible typefaces designed specifically for comic dialogue, avoiding overly decorative fonts for standard conversational text. Leave generous internal padding between the text boundaries and bubble borders to give spoken lines comfortable breathing room. Connect tail pointers directly toward the speaker without crossing panel borders or obscuring crucial facial reactions.
When preparing finished work for online distribution or community sharing, export your files at high resolution to prevent compression blur. Whole PNG pages preserve crisp linework and readable dialogue across mobile phones, tablets, and desktop displays.