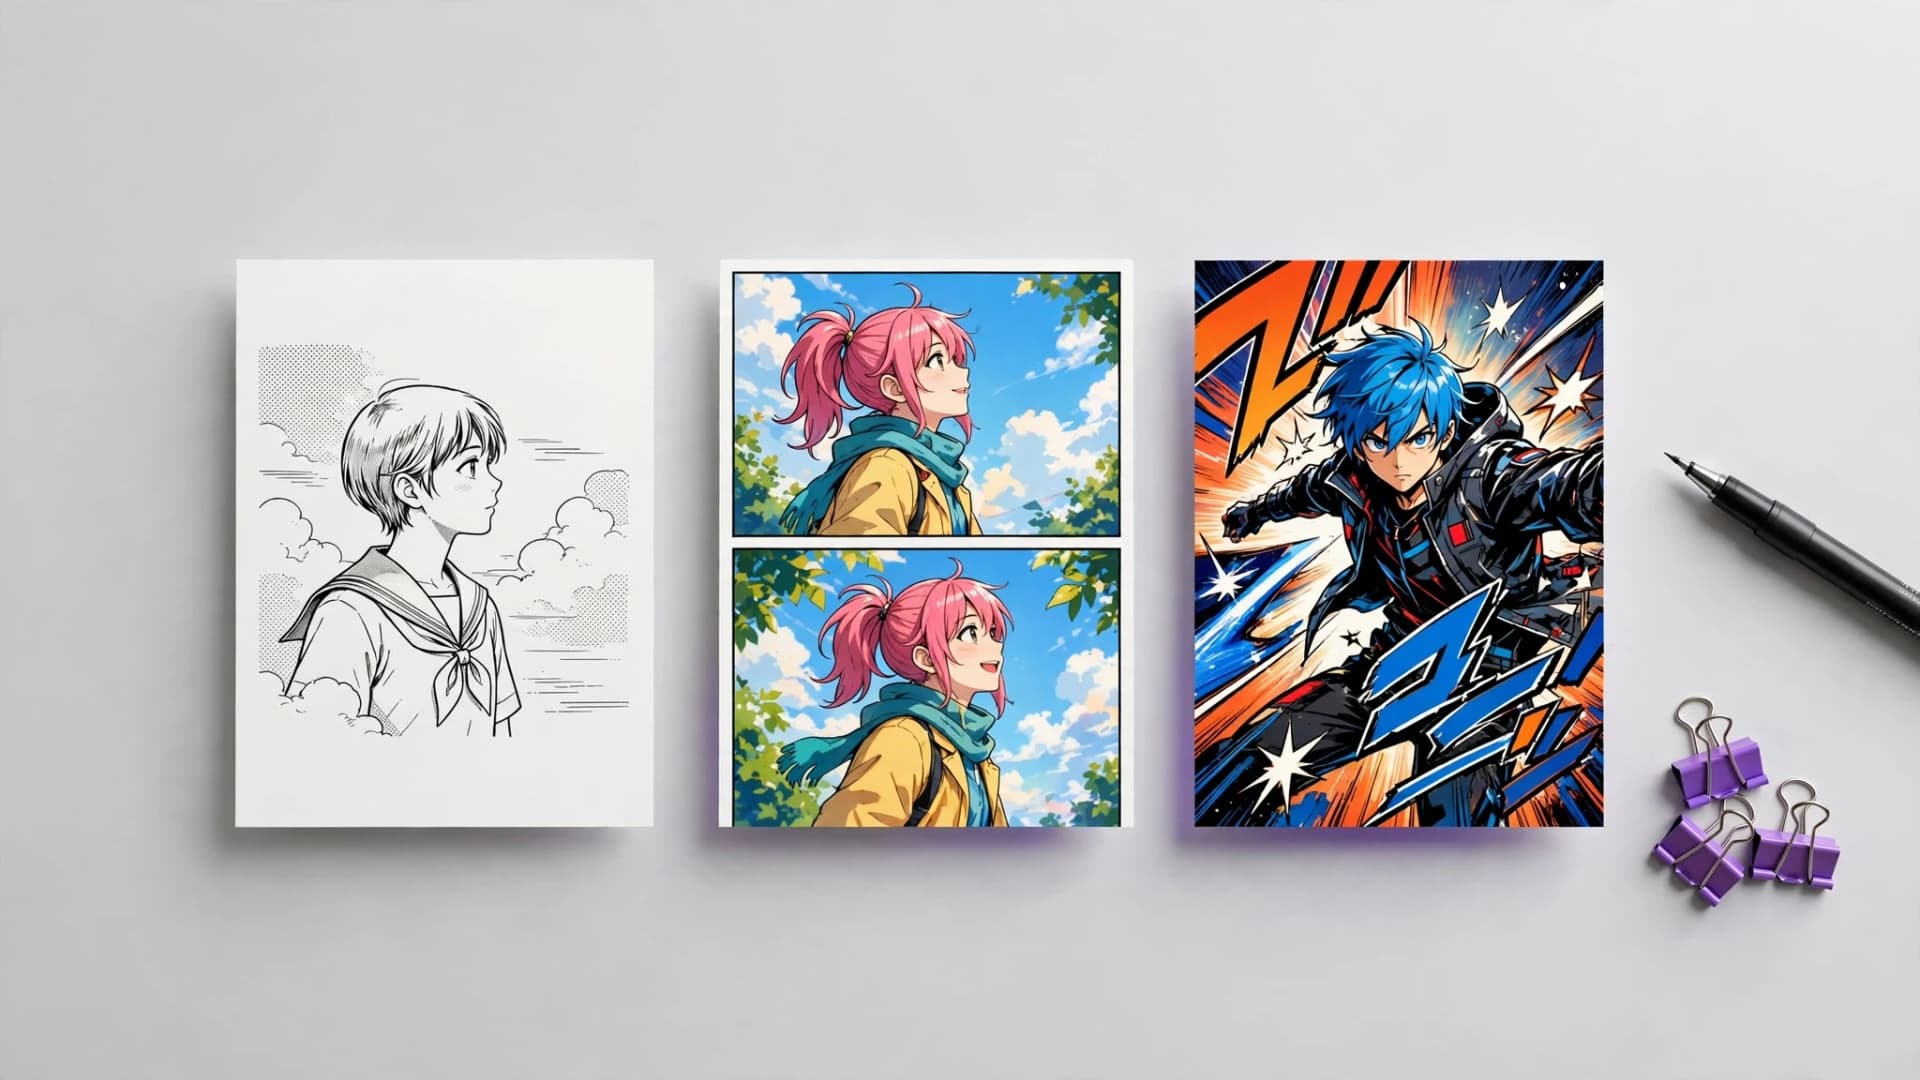

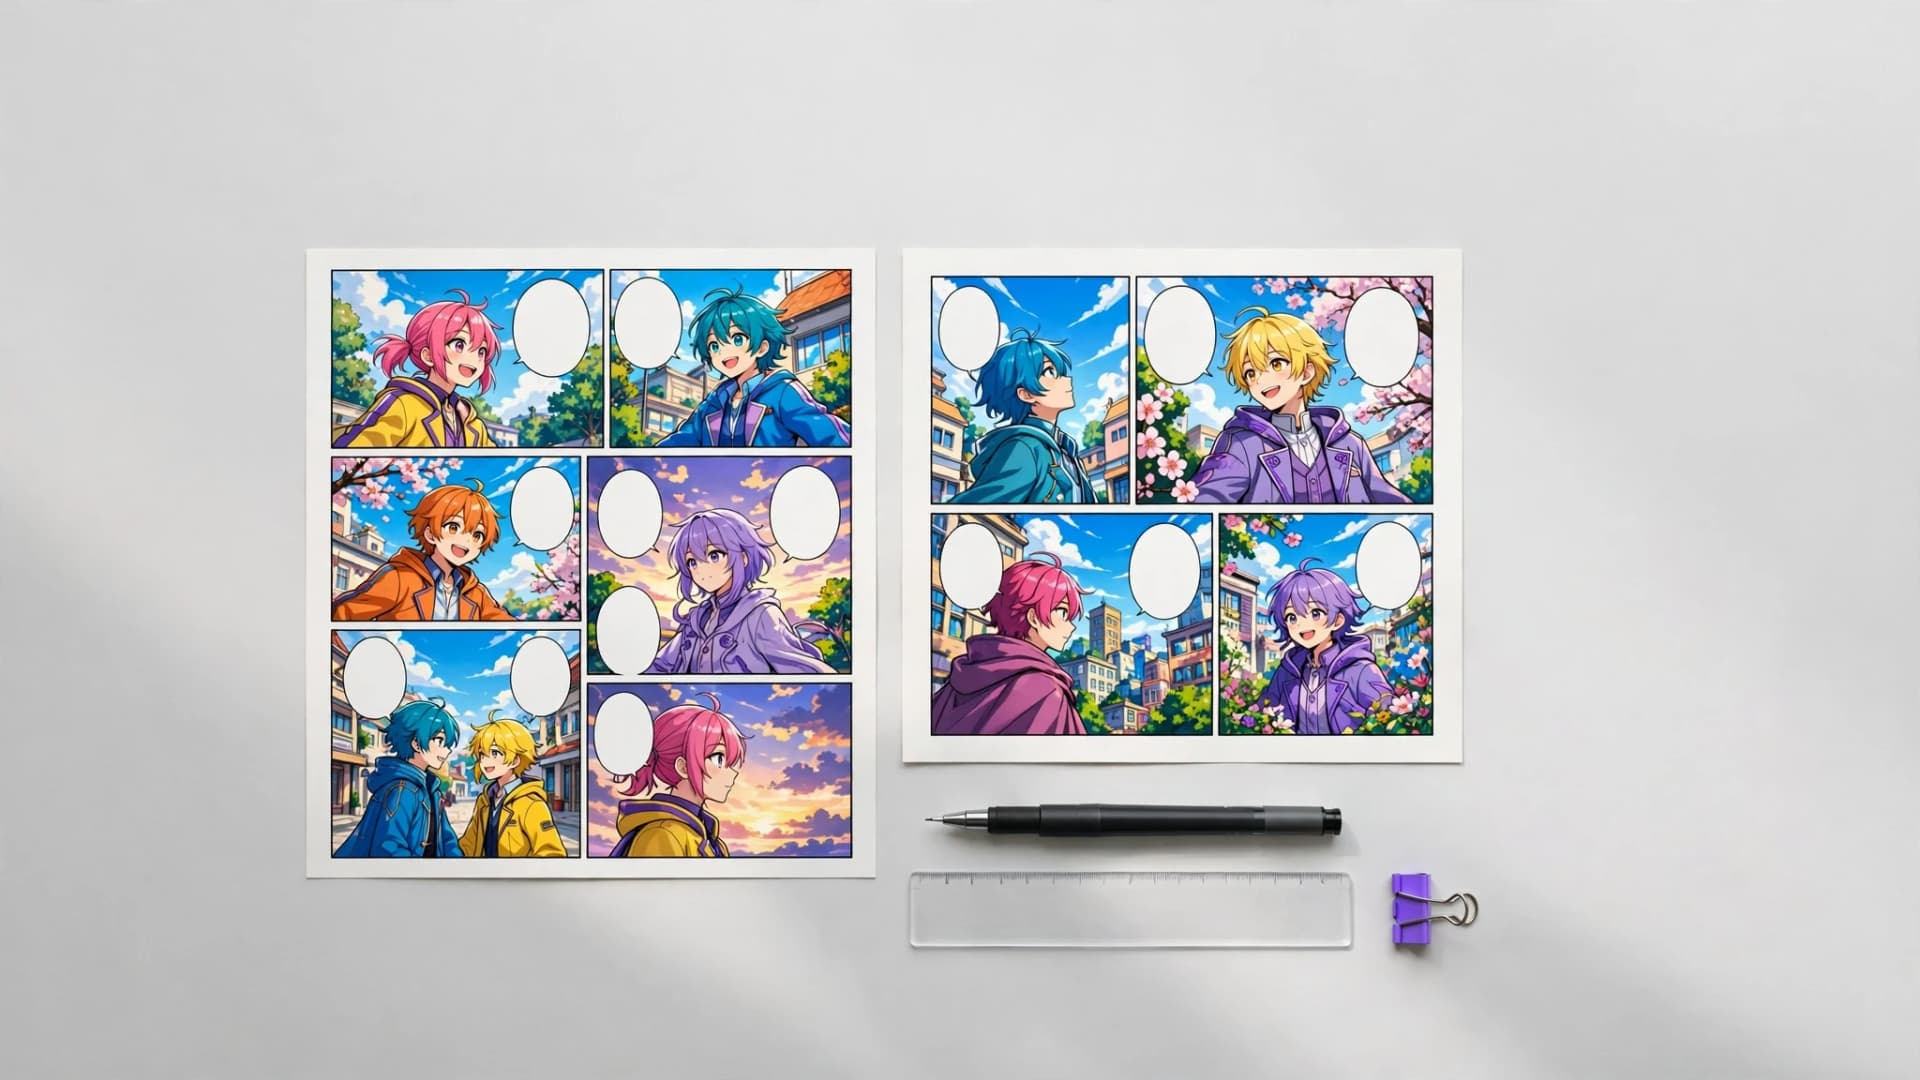
How does a page layout direct the reader's eye?
A successful comic panel layout guides reader attention along a natural reading path so every beat lands clearly. When learning how to make a graphic novel, you will see that western formats rely on a left-to-right Z-pattern, whereas right-to-left manga directs eyes in the opposite direction. Controlling panel width and diagonal borders keeps the eye moving without confusion.
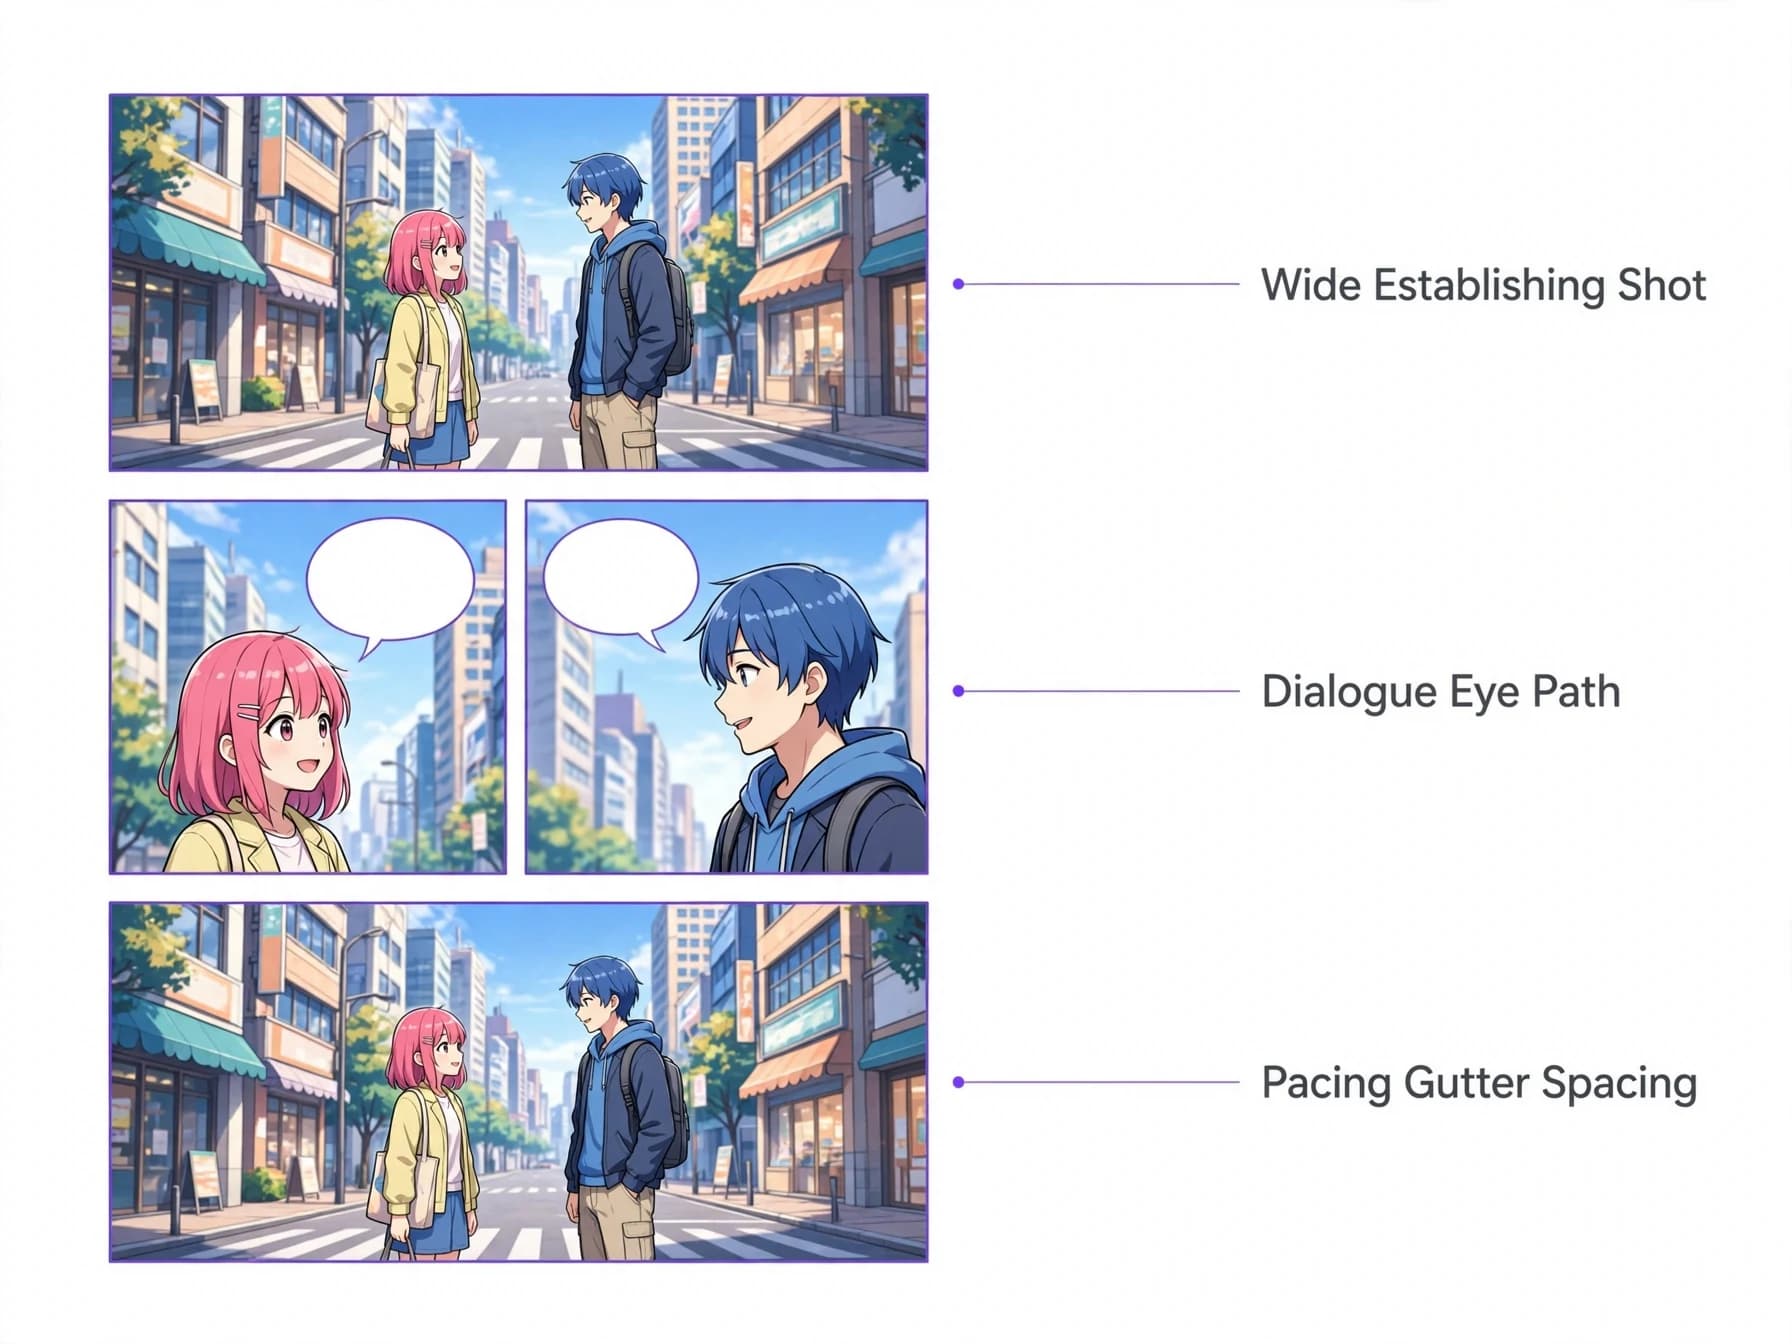
Visual weight determines which panel the audience examines first. Placing a large establishing shot at the top anchors the scene, while narrower horizontal panels speed up back-and-forth dialogue. Careful comic page layout prevents readers from accidentally jumping ahead to dialogue bubbles before viewing the accompanying character action.
Gutters provide the silent pauses between story moments. Wider white space gives emotional scenes room to breathe, while tight borders heighten tension during action sequences. Balancing panel density across each page preserves narrative momentum from the opening scene to the closing hook.
Working with a structured comic layout template
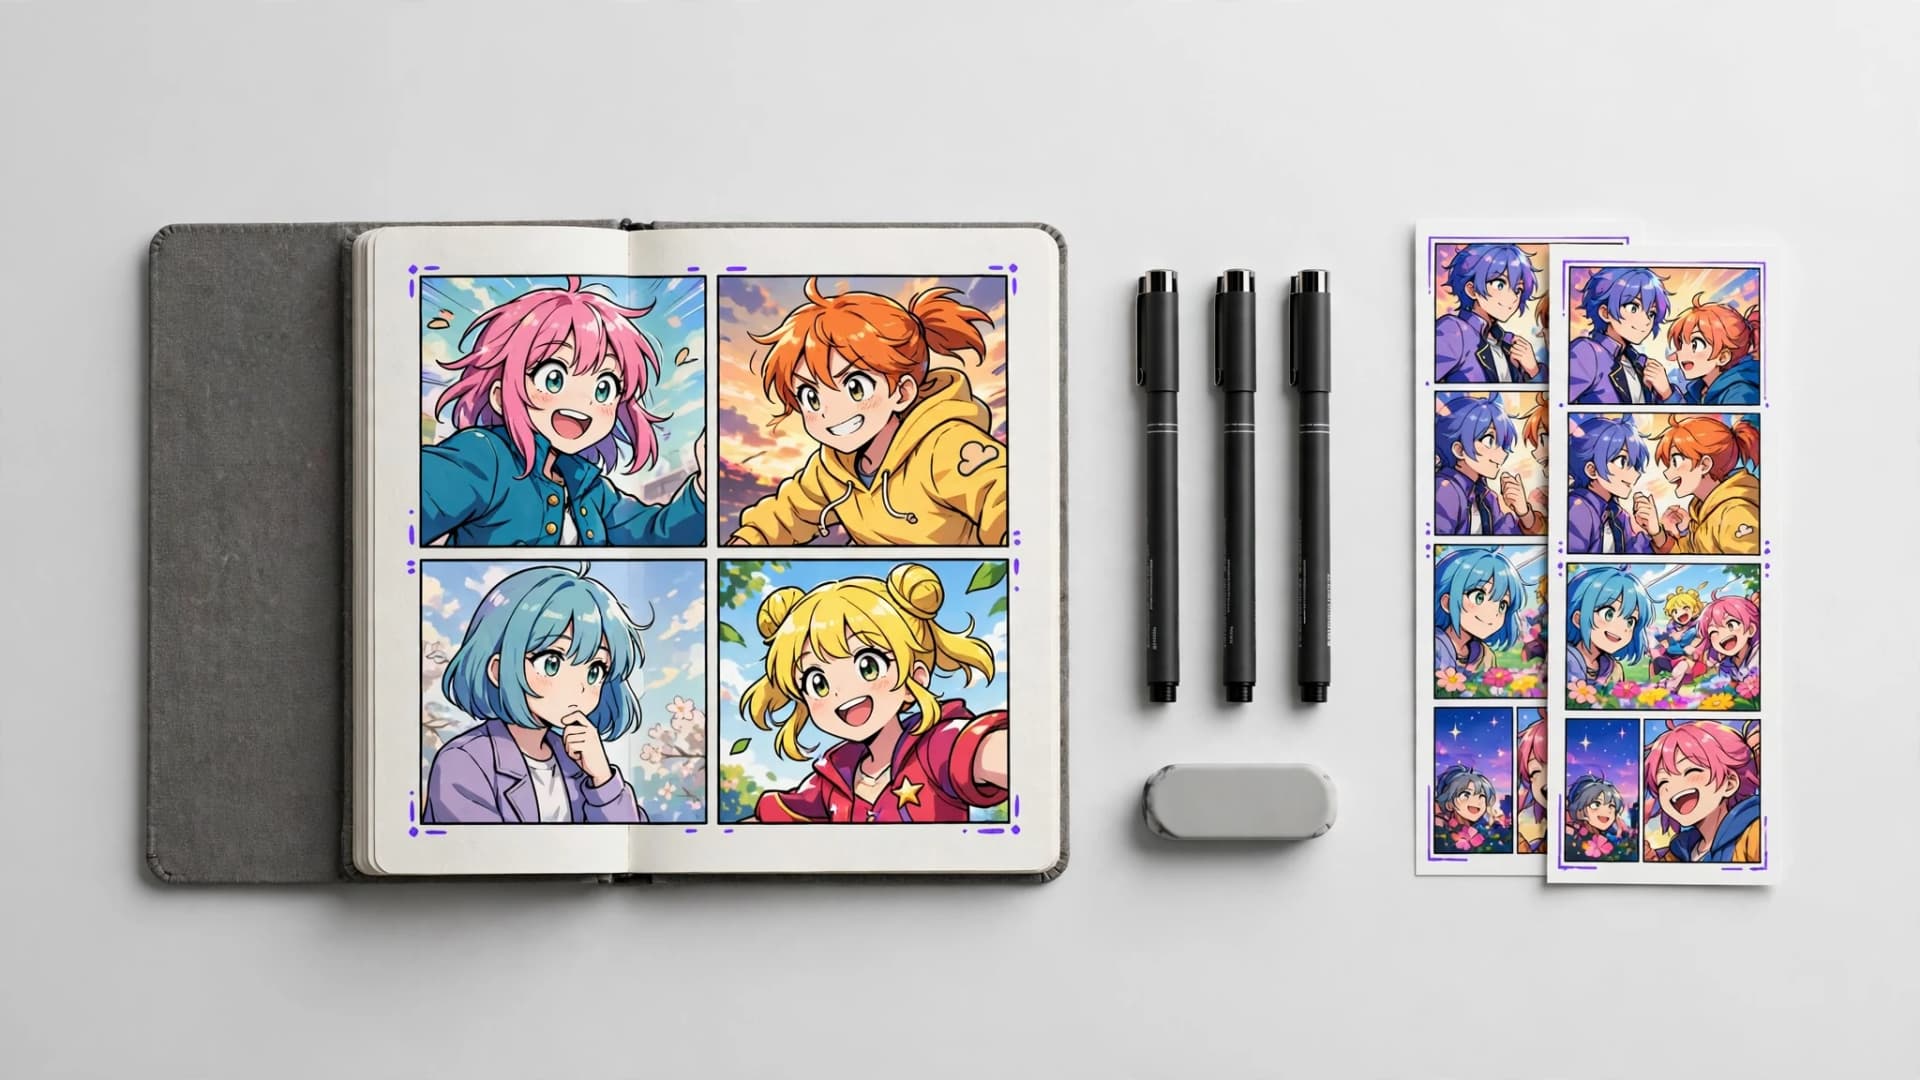
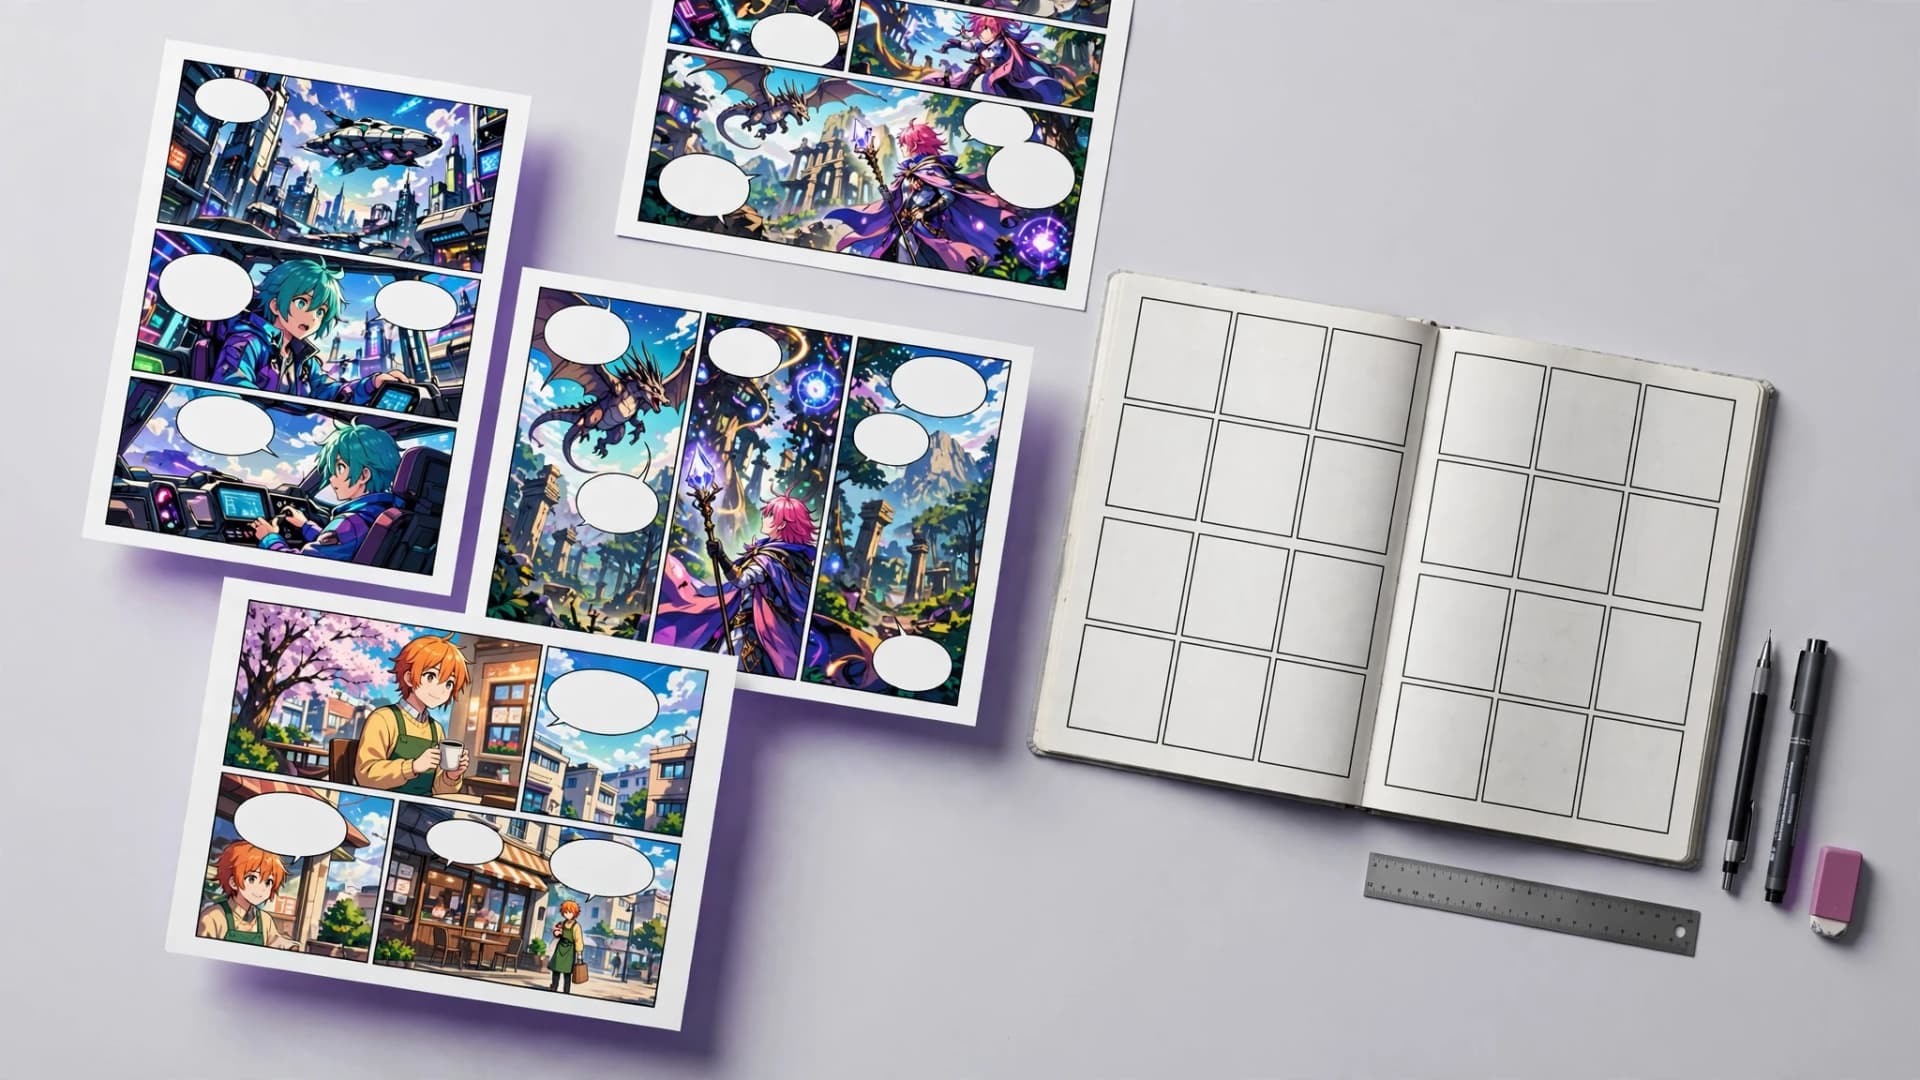
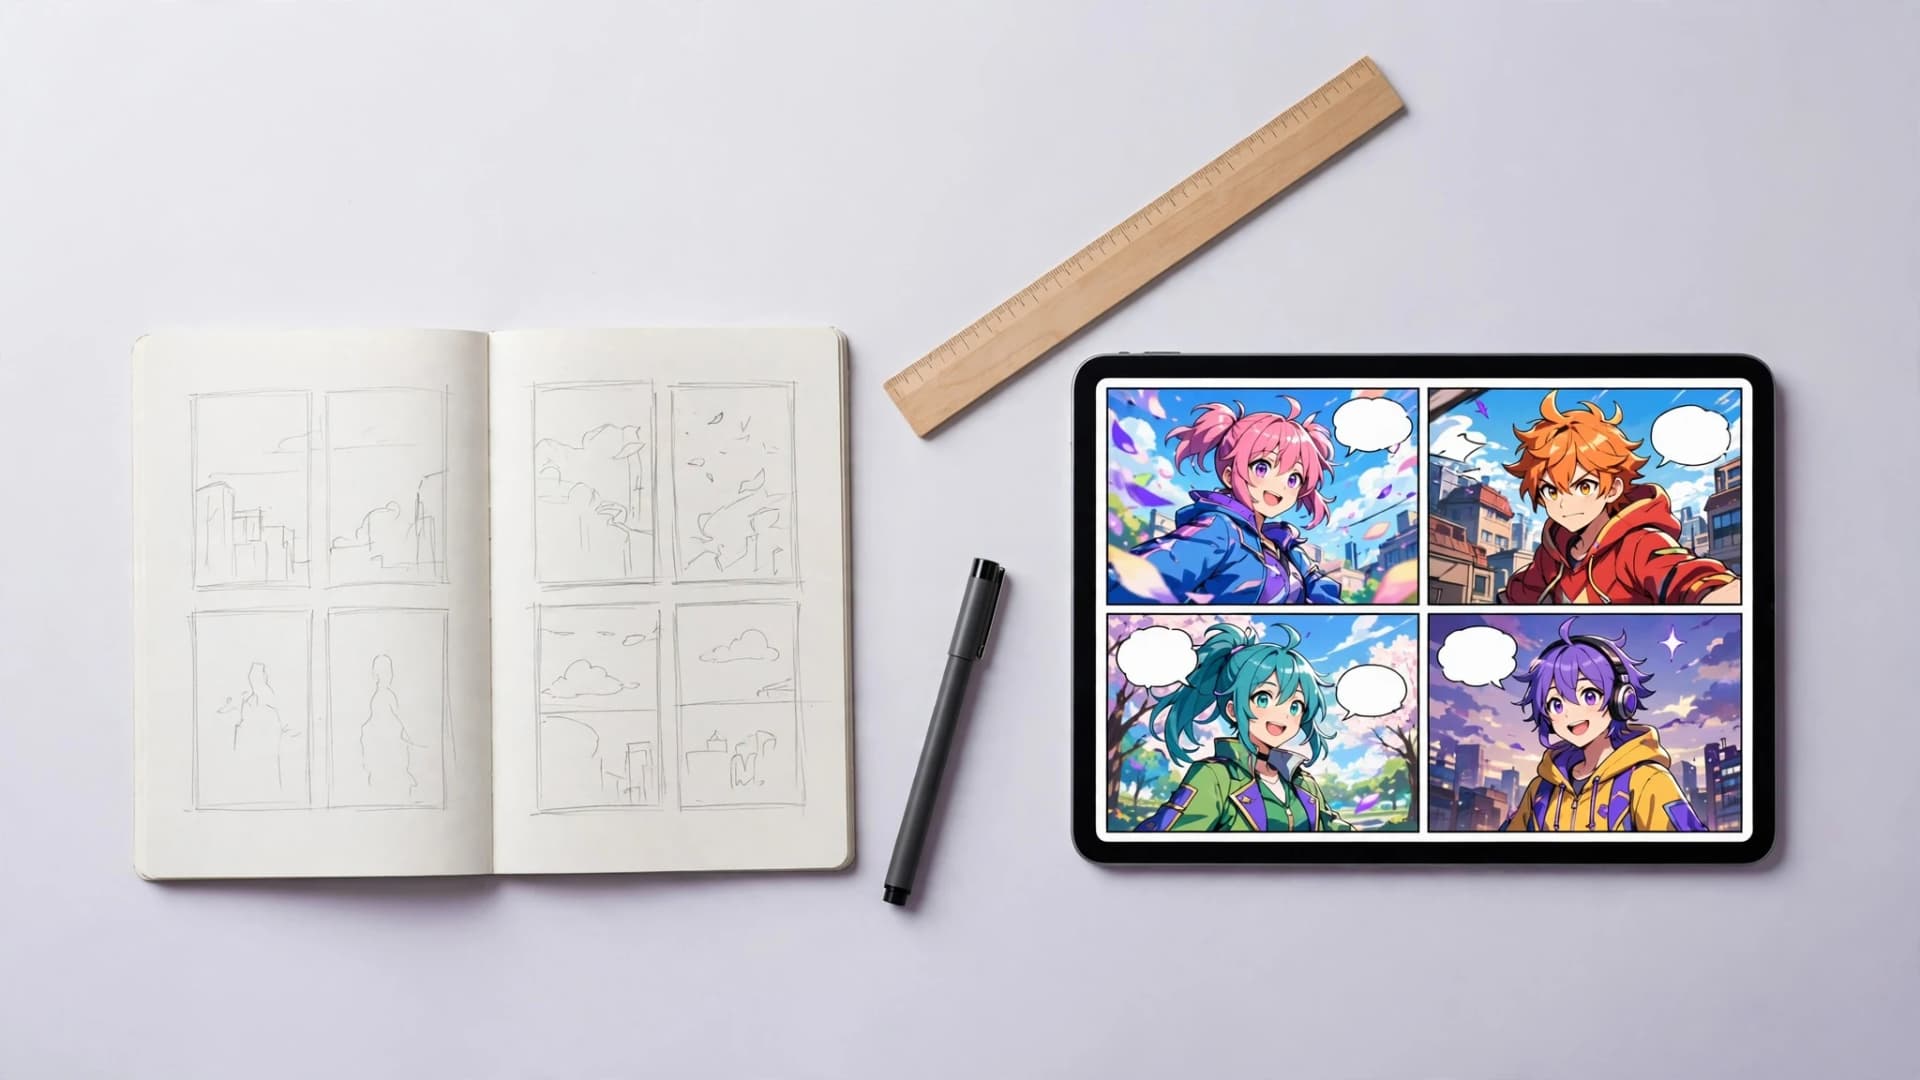
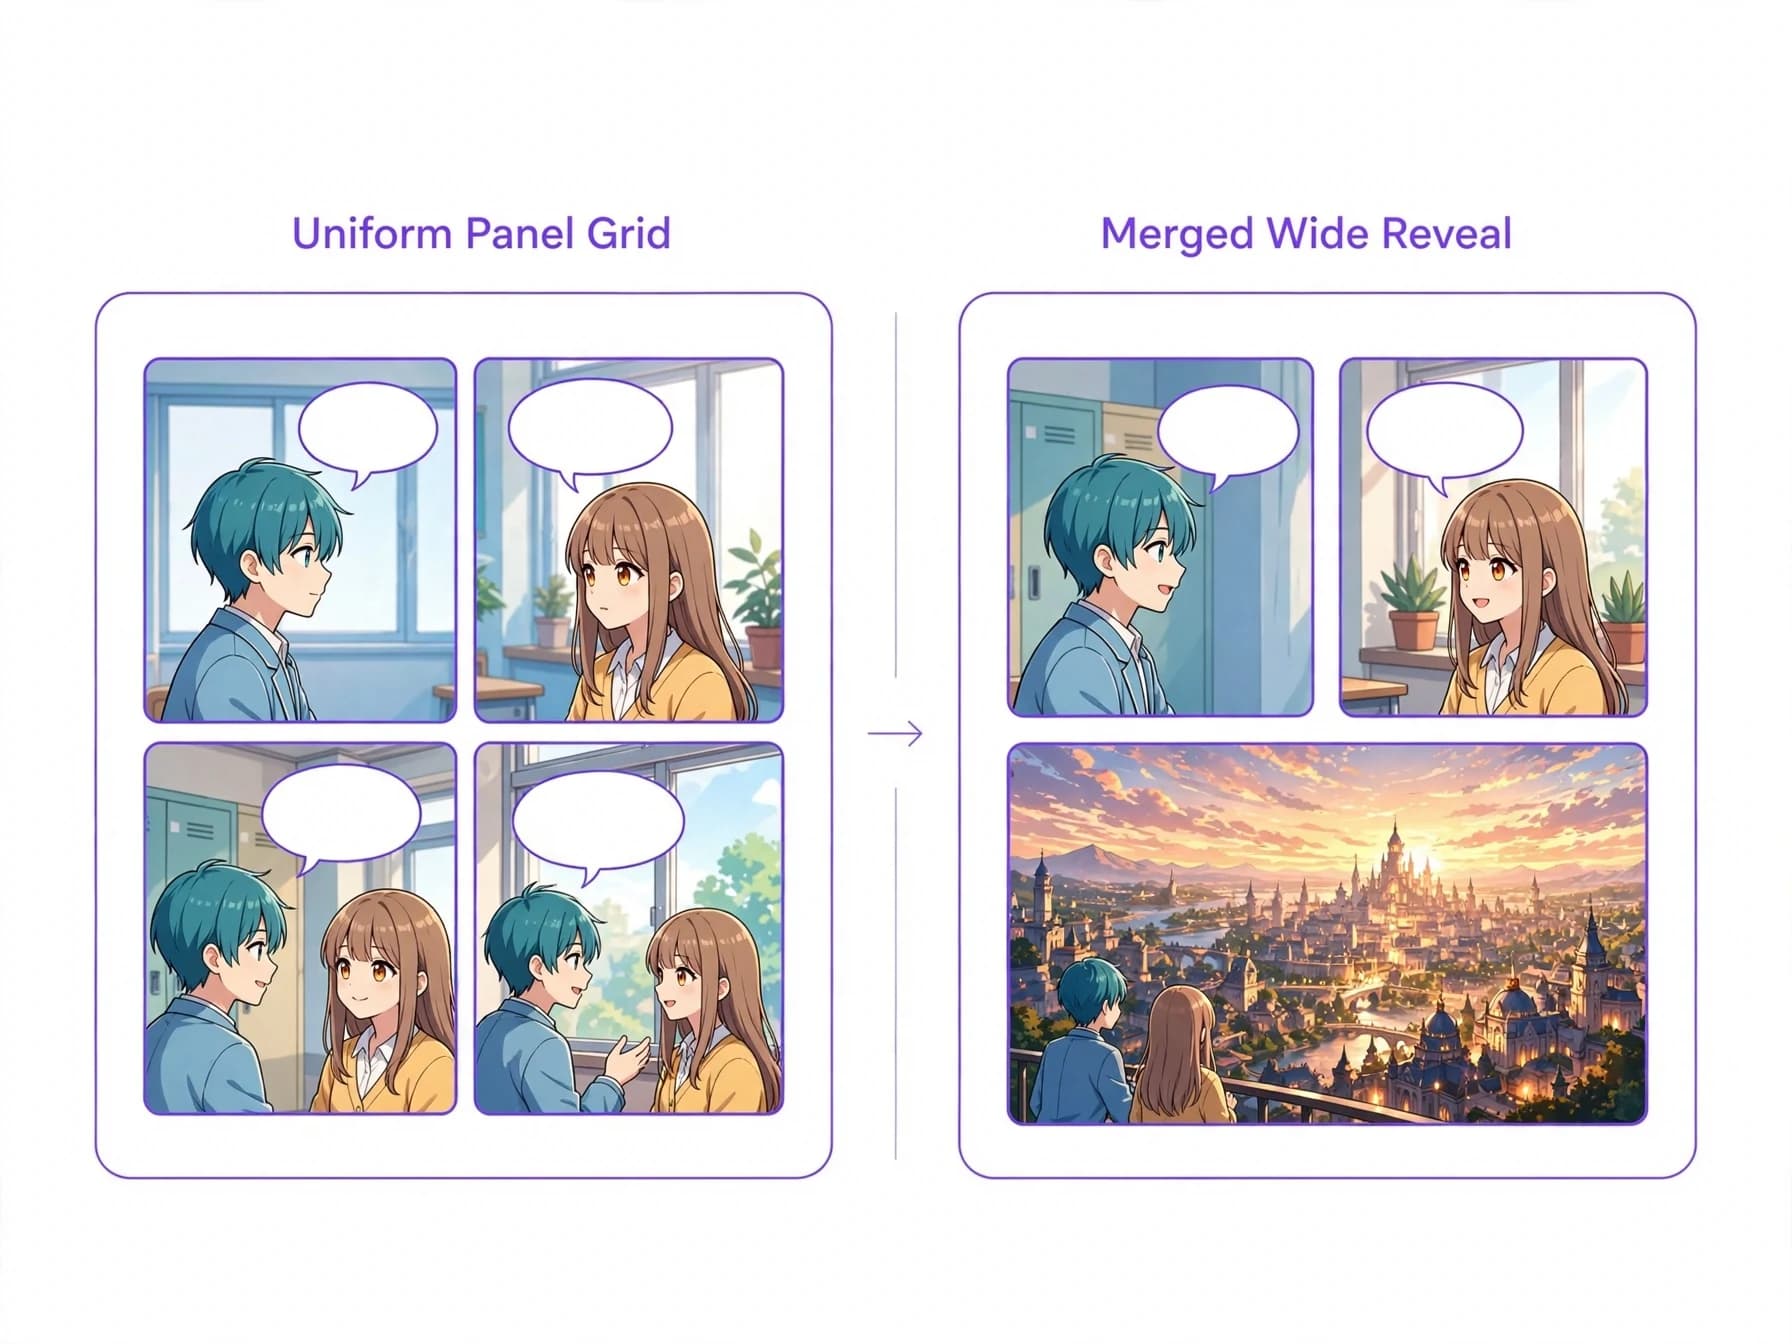
A balanced comic layout template establishes an immediate rhythm that readers can follow intuitively. Classic six-panel and nine-panel arrangements remain popular because uniform rectangles create predictable beats for dramatic dialogue. Standardized grids also simplify production by giving creators reliable framing boundaries for every scene.
Varying an established comic grid layout prevents visual fatigue throughout longer chapters. You can merge two adjacent blocks into a single wide landscape panel to reveal a startling environment. Breaking the rigid structure at pivotal moments makes unexpected reveals feel earned and visually impactful.
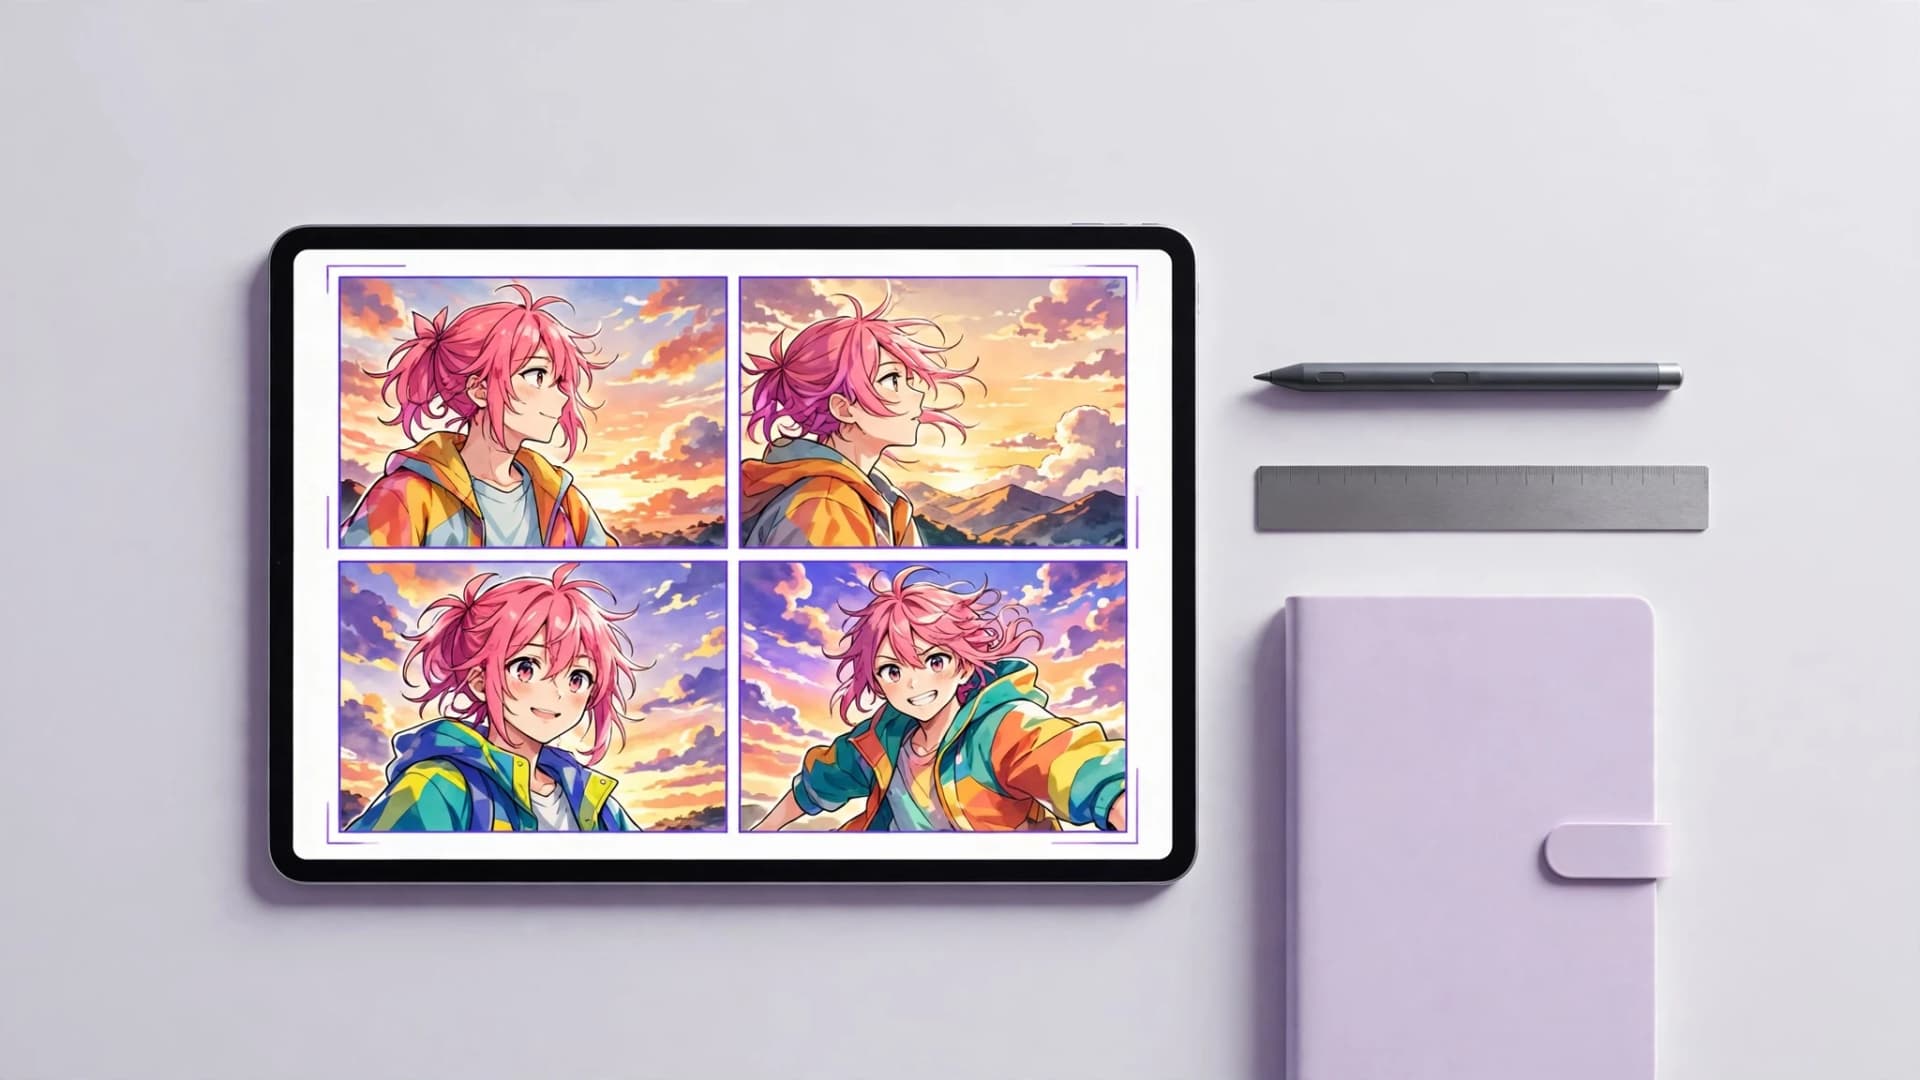
When you build a comic strip maker project or explore digital formats with an ai webtoon generator, a simple three or four-panel arrangement often works best. Fixed panel boundaries force scripts to remain concise, delivering setups, escalations, and punchlines with minimal wasted space.
Dynamic storytelling inside a manga panel layout
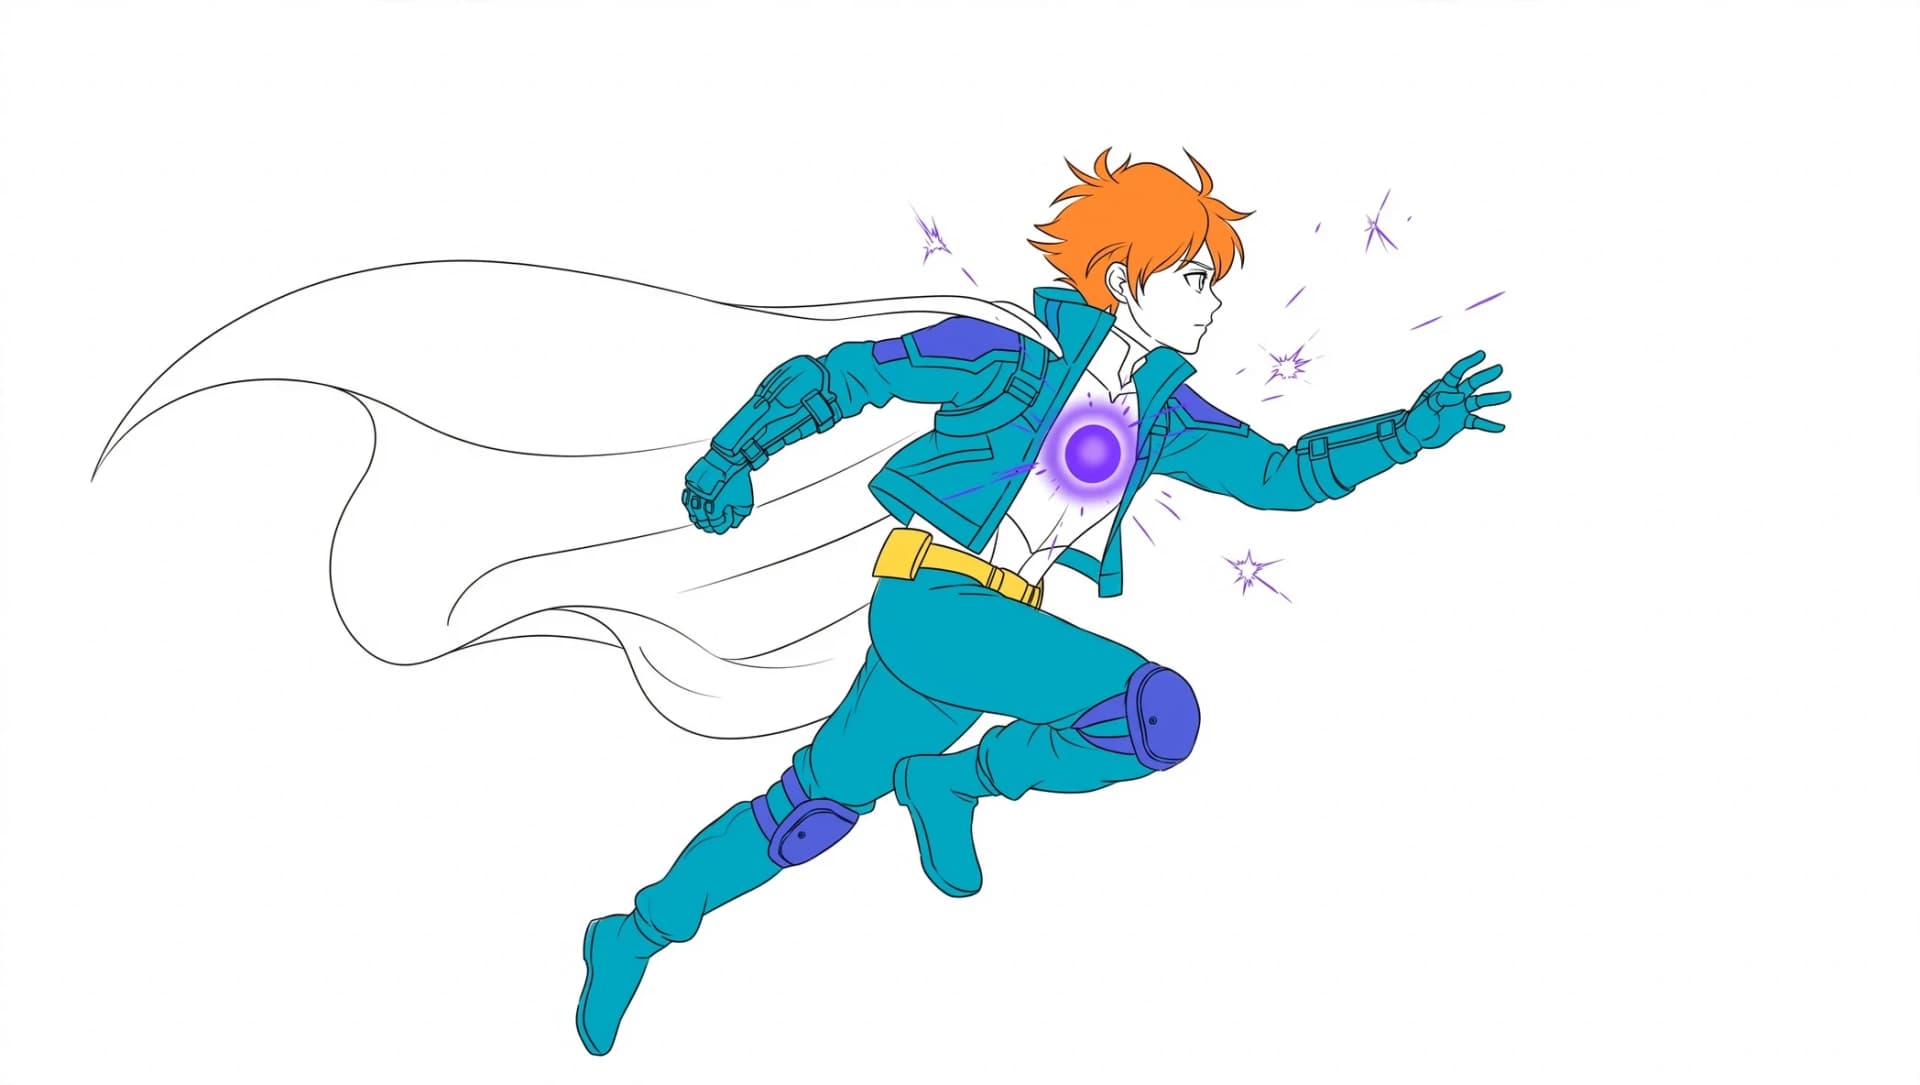
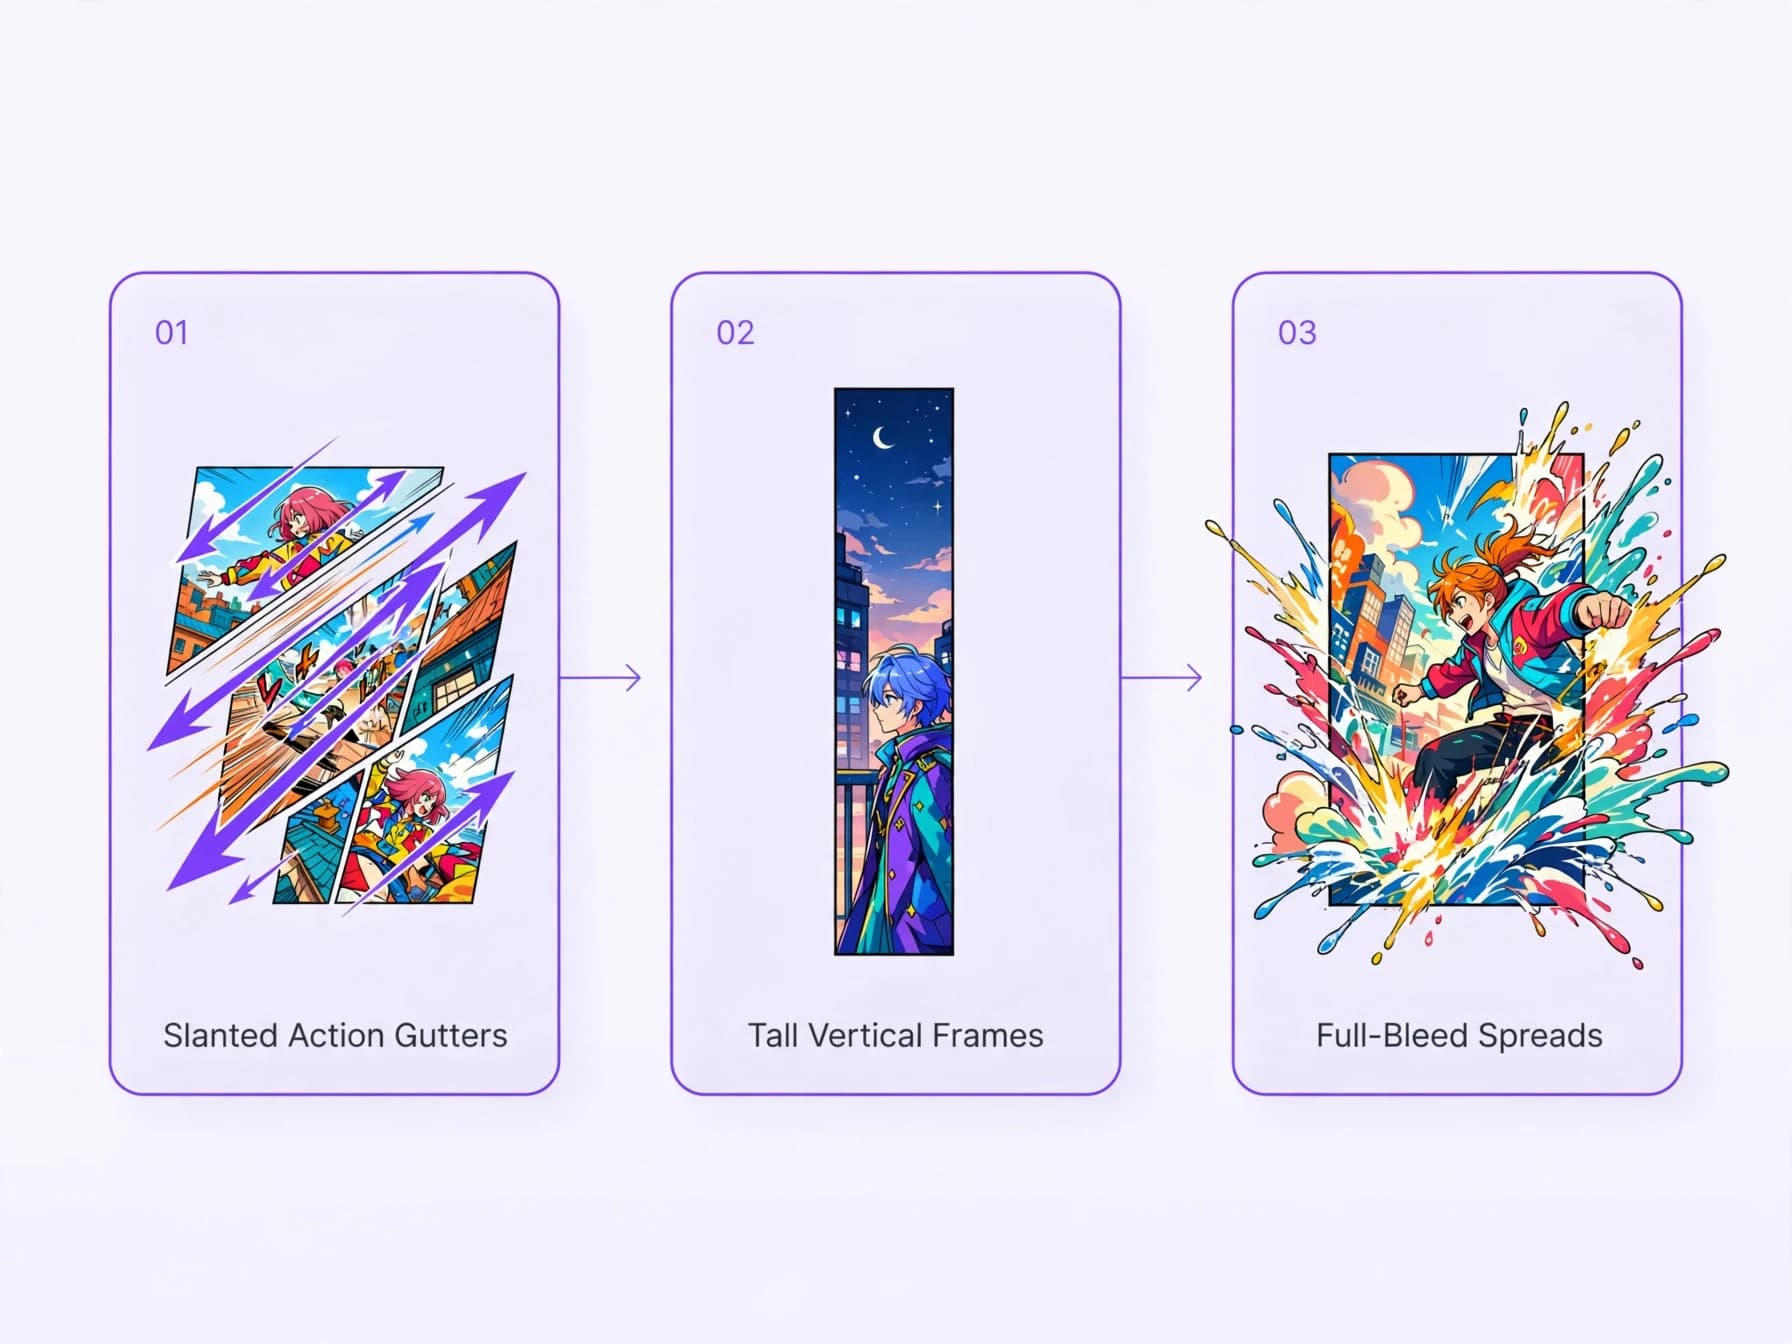
Mastering a dynamic manga panel layout requires rethinking horizontal boundaries to match fast-paced action. Japanese artists frequently use slanted gutters, bleeding illustrations, and asymmetrical boxes to push reader attention along diagonal trajectories. These kinetic angles convey physical speed far better than static rectangular boxes.
Panel height also dictates emotional intensity in serialized manga chapters. Tall vertical panels isolate characters during quiet introspective moments, emphasizing vulnerability or shock. Conversely, double-page spreads or full-bleed panels command awe by breaking standard margins entirely.
To feel how panel count changes a chapter's rhythm, try the same scene as a 4-panel and an 8-panel page in our manga page generator, then compare which version reads better.
Three steps to storyboard your scene pacing
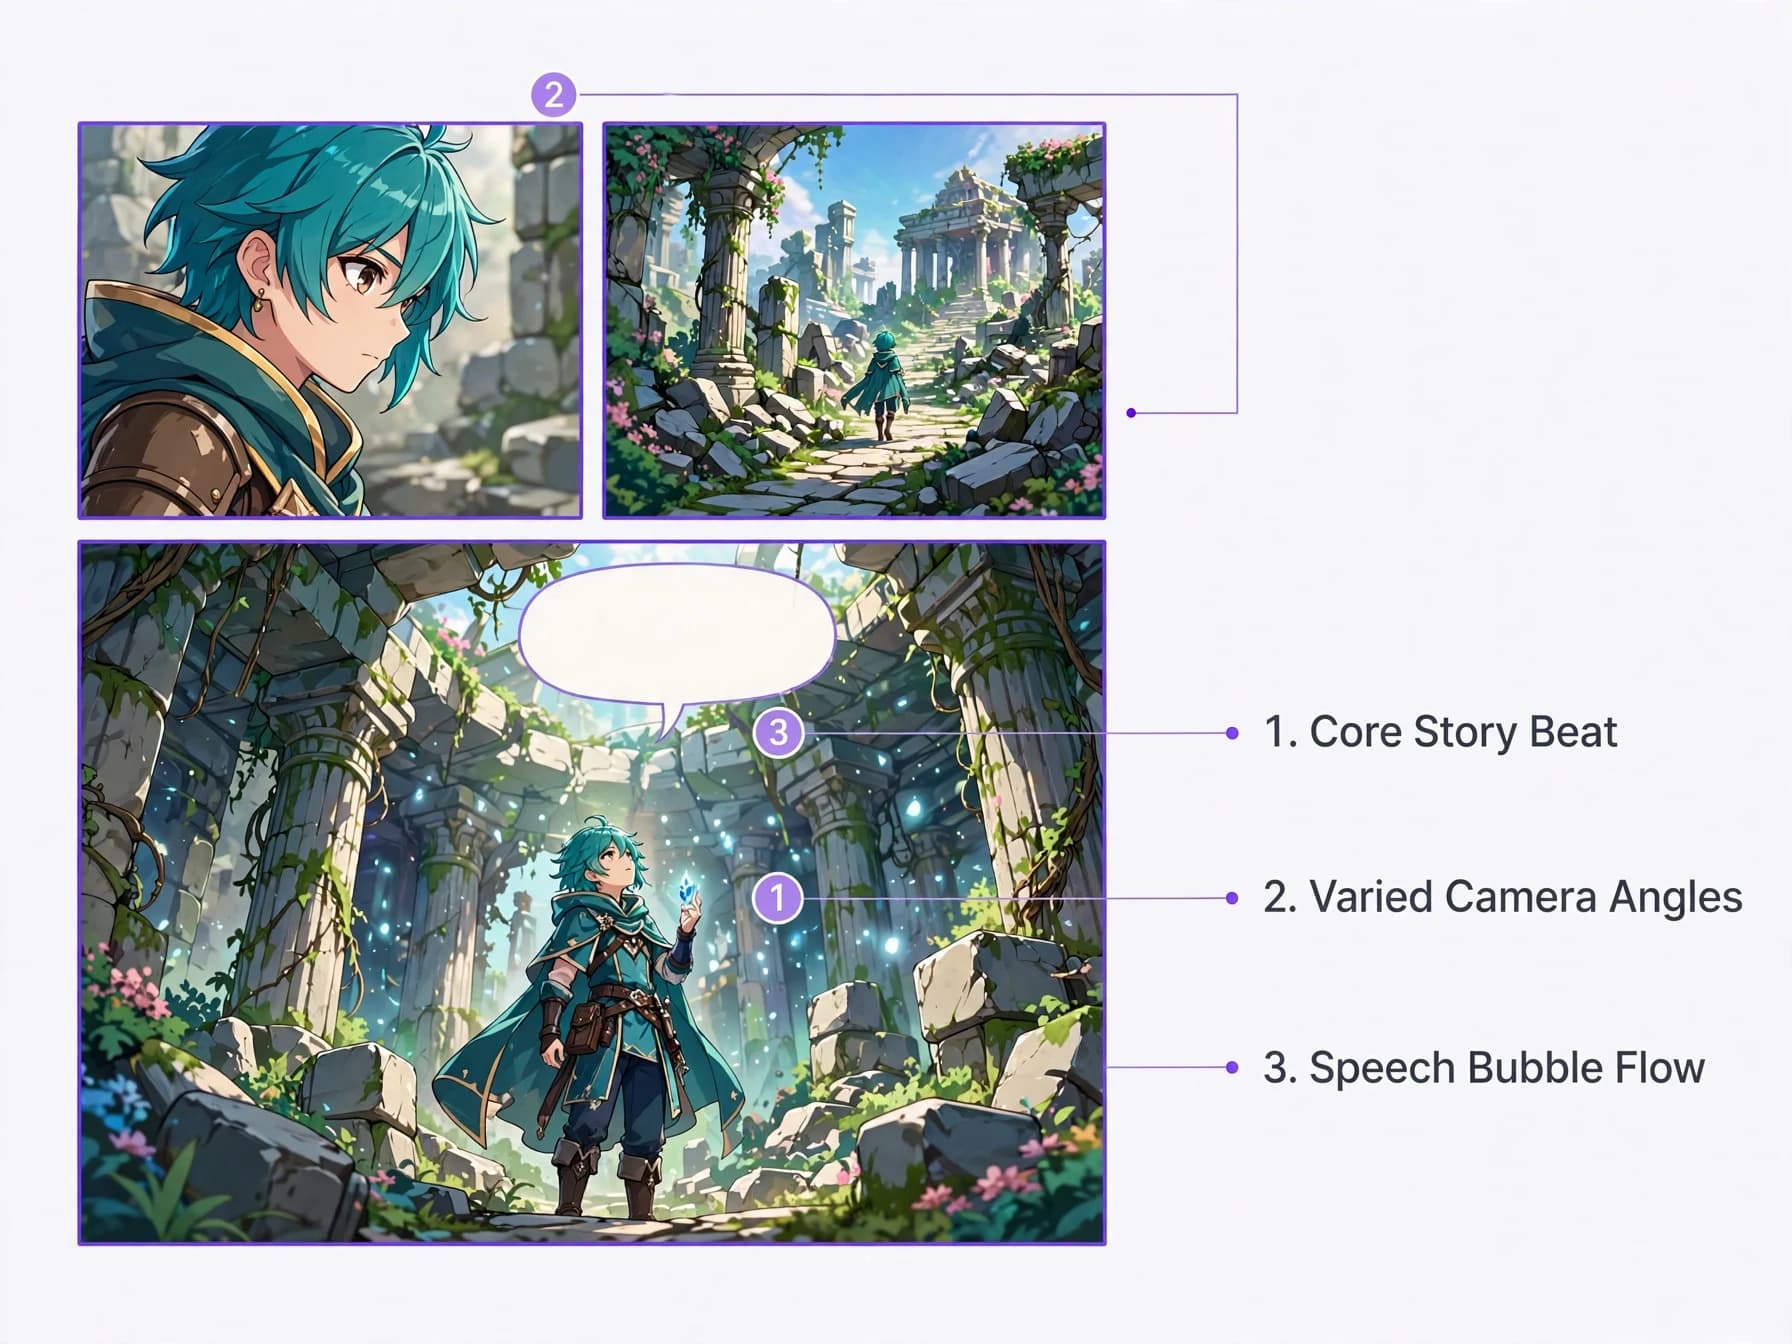
Step 1 involves breaking your script into specific story beats before drawing any borders. Decide which moment deserves primary emphasis and which lines of dialogue can share a single transitional panel. Clear planning ensures you never crowd important character reactions into tiny corner boxes.
Step 2 requires mapping your camera distances across the sequence. Alternate between wide establishing shots, medium character interactions, and tight close-ups to sustain visual variety. Consistent shot variation prevents your panels from resembling a monotonous series of talking heads.
Step 3 focuses on positioning dialogue before finalizing panel boundaries. Speech bubbles should sit along the natural line of sight so readers finish reading text just as their eyes reach character expressions. Leaving adequate negative space inside every panel prevents lettering from obscuring critical artwork.
Choosing a panel count when an AI draws the page
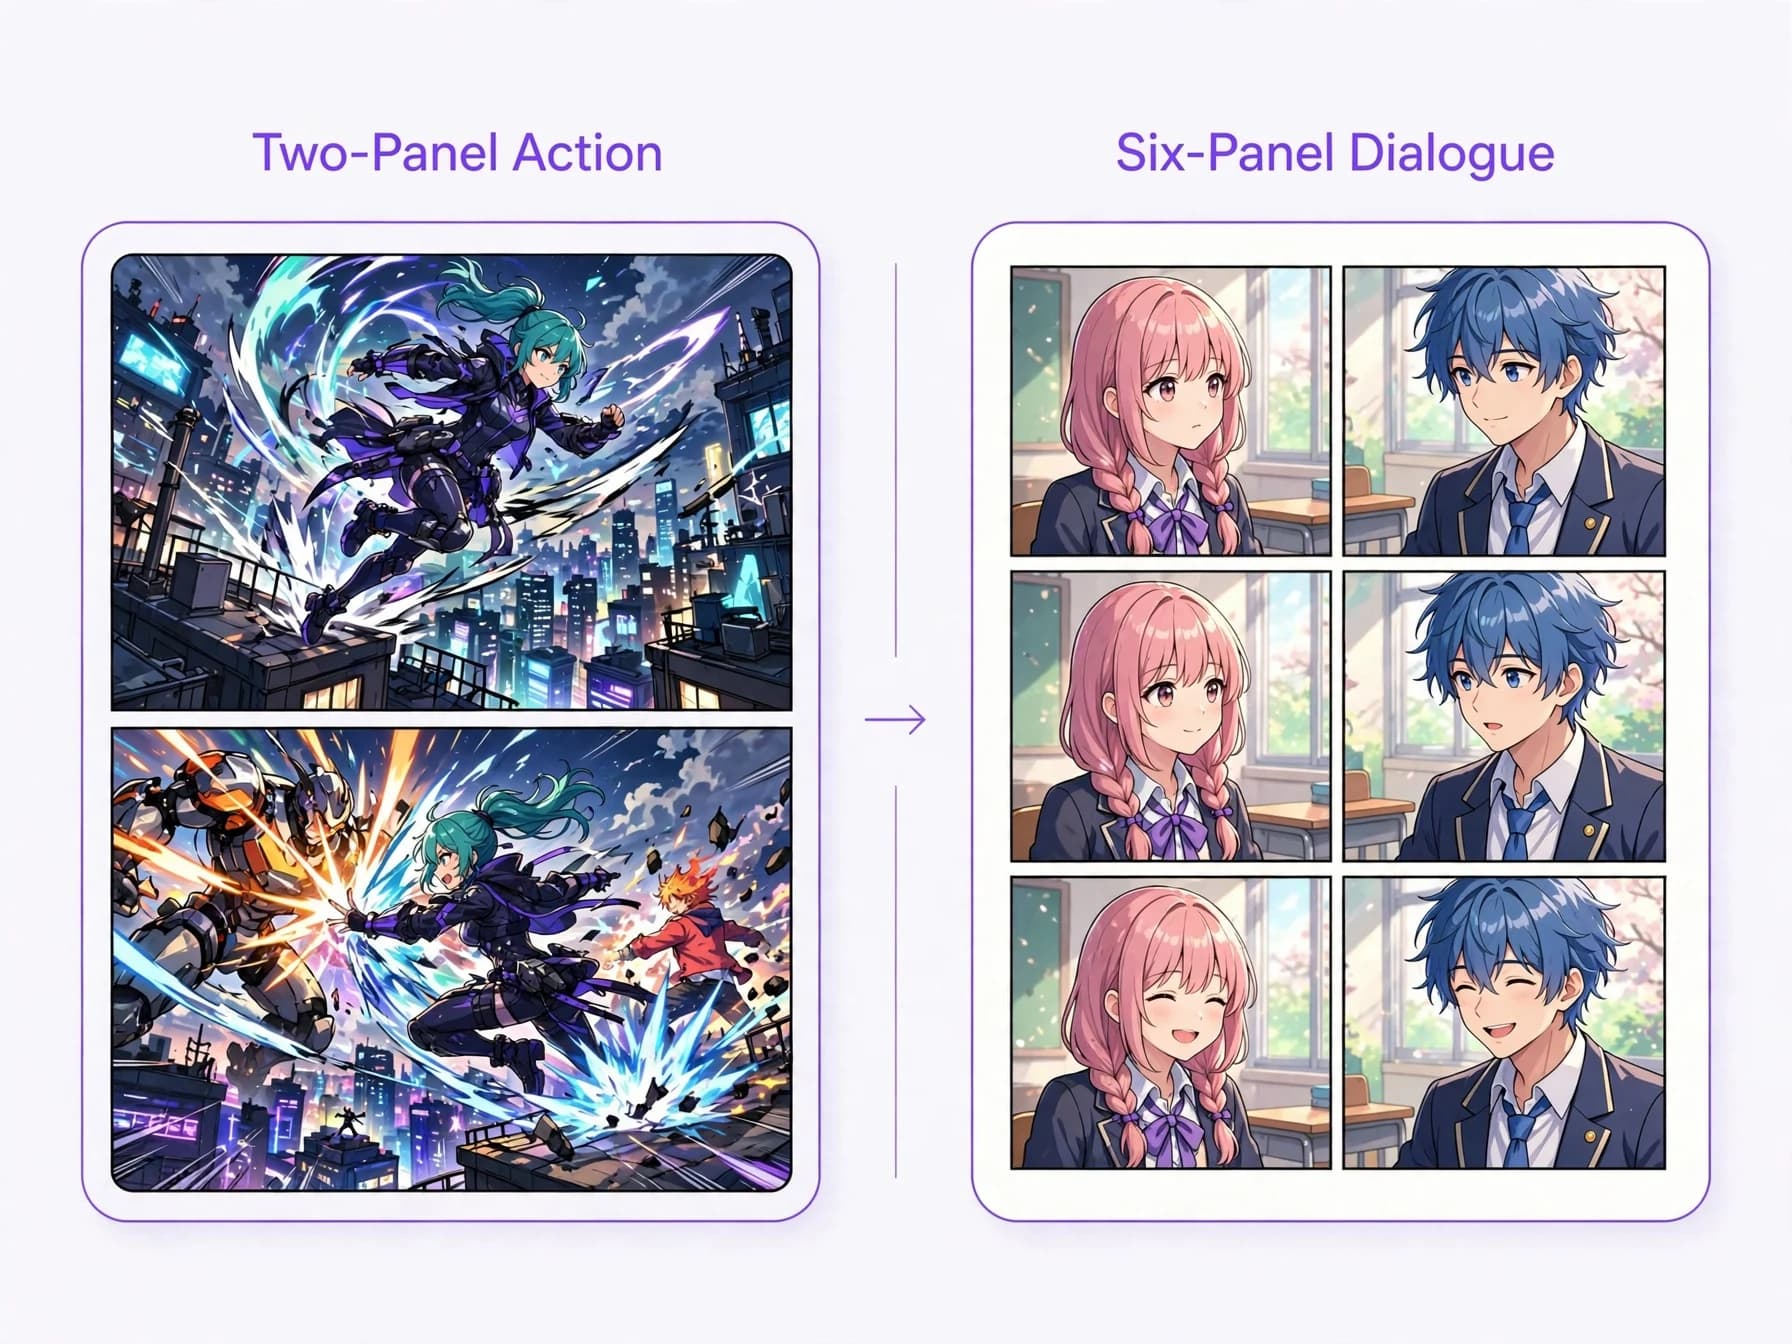
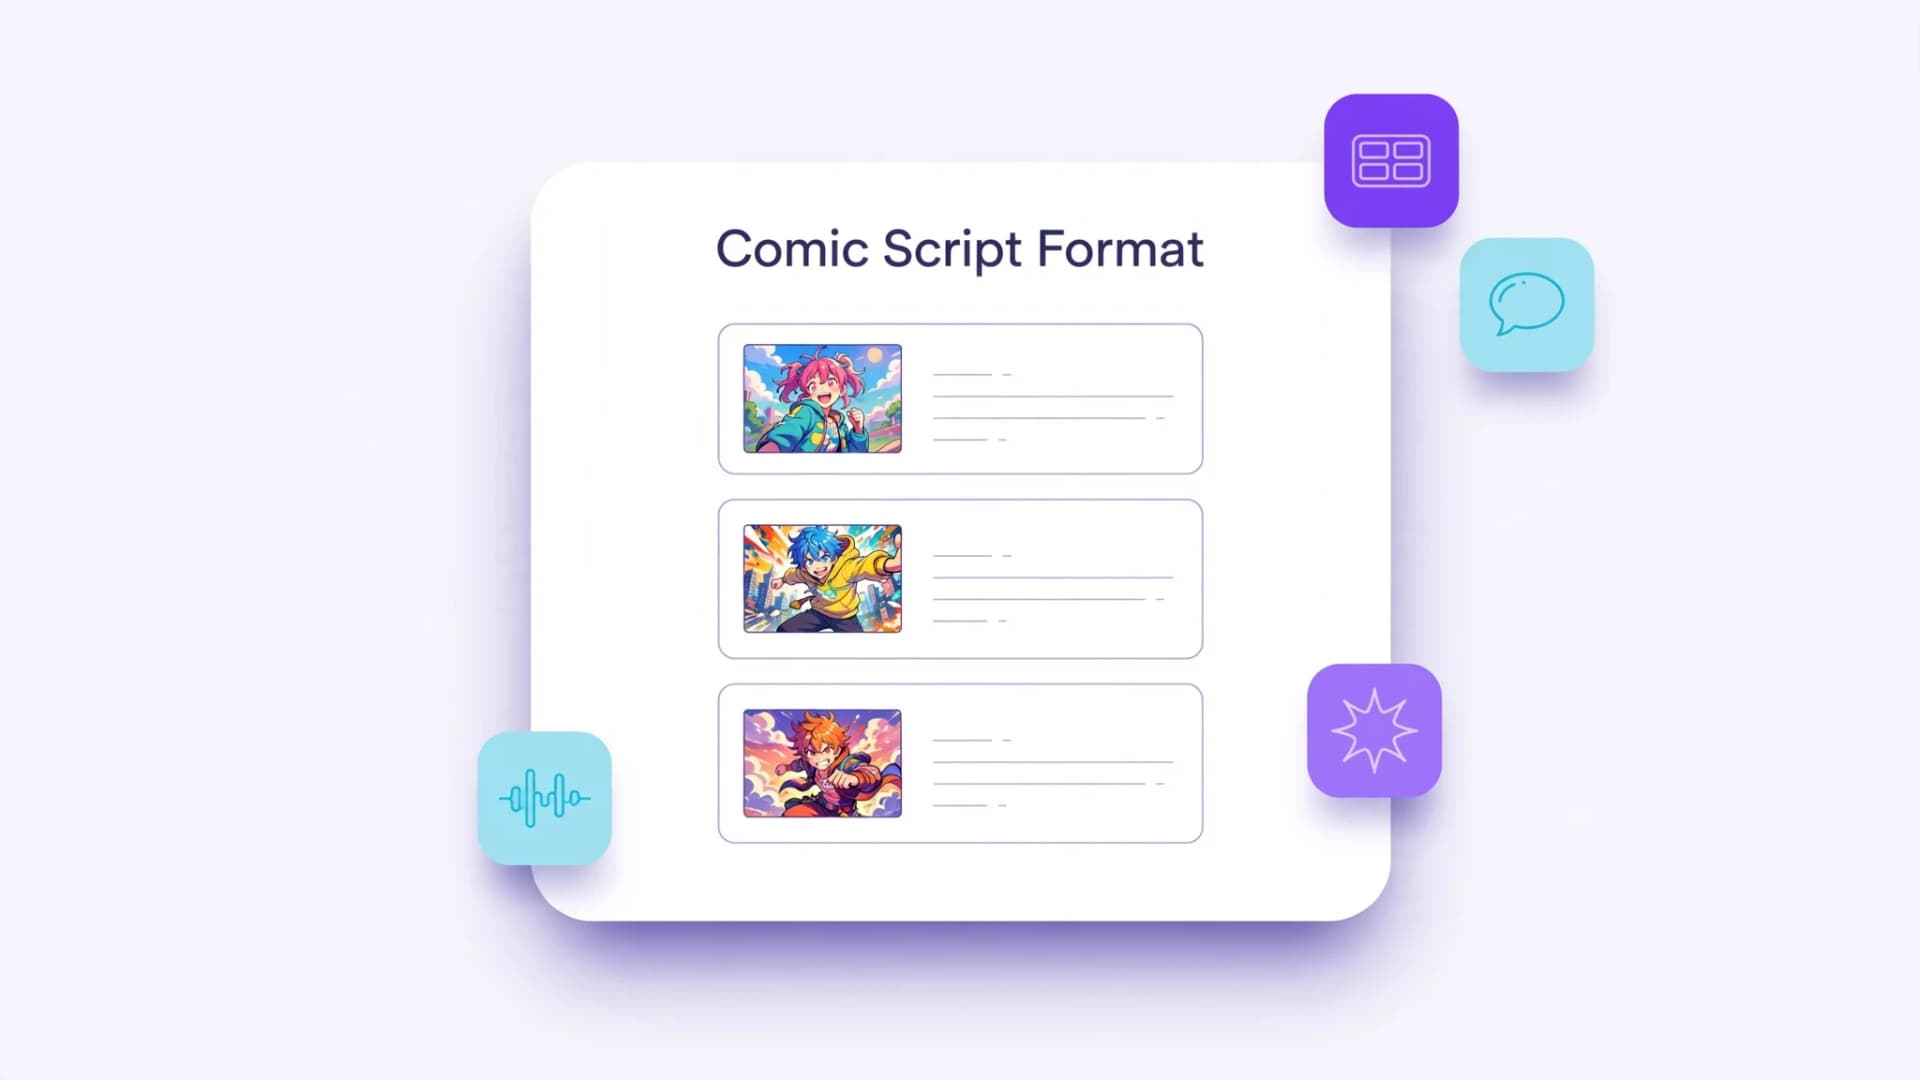
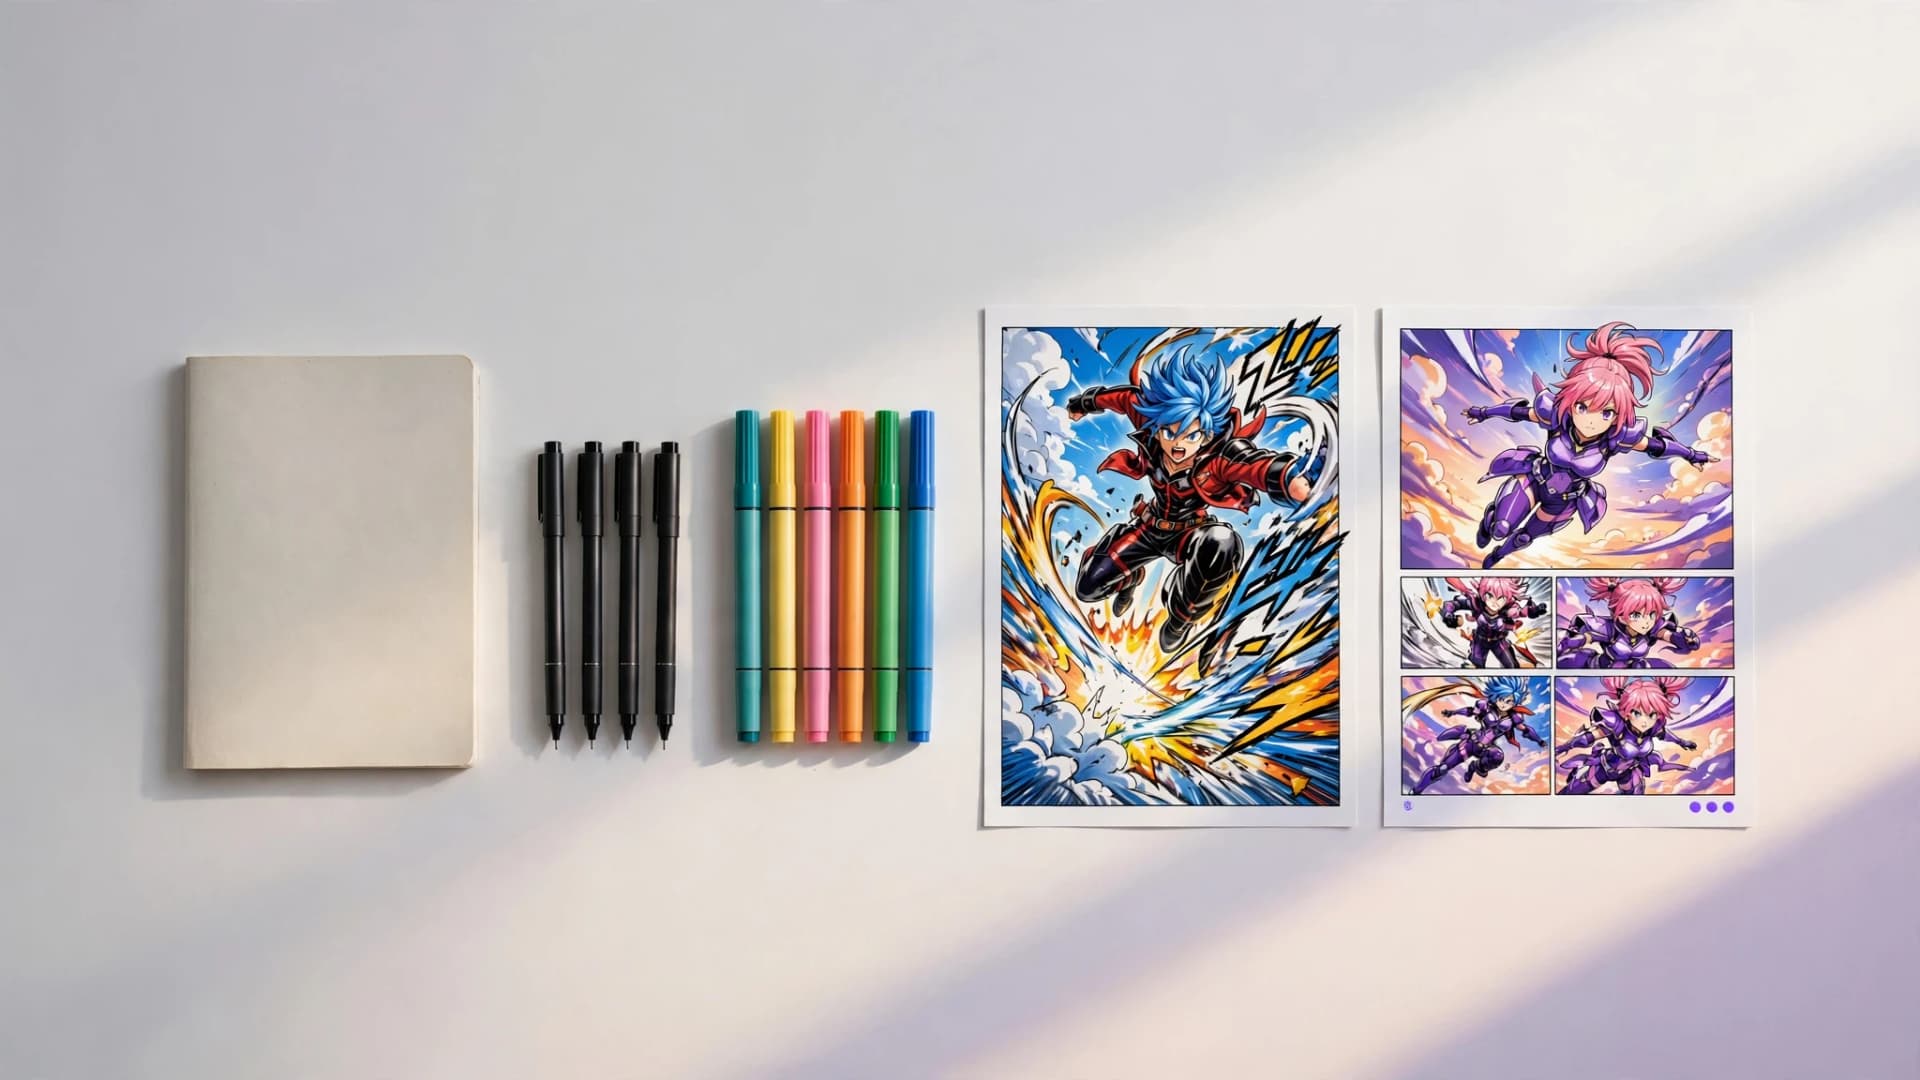
Selecting an effective comic panel layout in automated workflows begins with choosing the right panel density for your script. Yume Comic lets you configure 1, 2, 4, 6, or 8 panels per page, generating complete pages with drawn artwork and speech bubbles. Matching panel counts to narrative density ensures dialogue fits comfortably without clutter.
Action-heavy scripts benefit from fewer panels per page so characters have ample room to move. Subtle dialogue exchanges or conversational comedy can utilize six or eight panels to capture rapid reaction shots. Pro plans support comics up to 12 pages, making it easy to pace longer story arcs across multiple pages.
Once your generation completes, you can download the finished pages as full PNG files without watermarks. It's free to start after you sign up: your first page, with up to four panels, costs nothing.